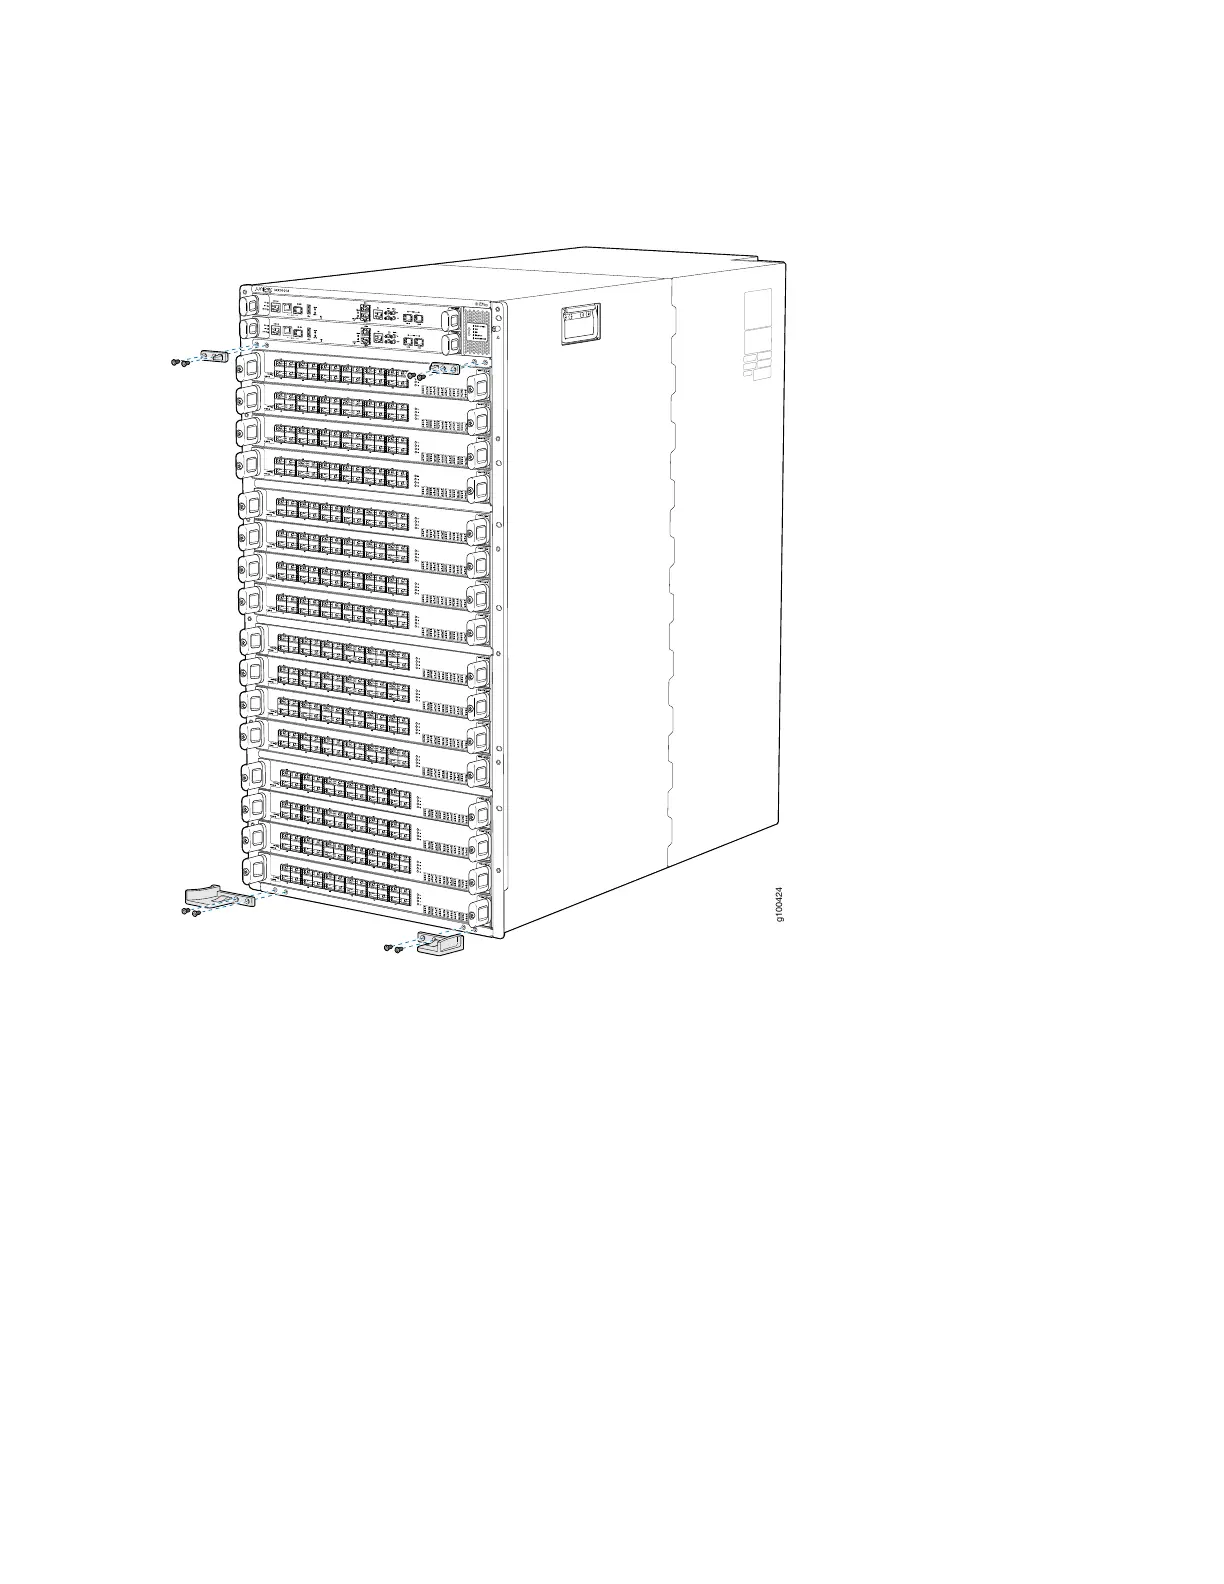
Figure 51: Attaching Front Panel Brackets on an MX10016
5. Use the Phillips screwdriver to attach the final two mounting screws to attach the second latch bracket
to the top right of the chassis frame so there are brackets on all four corners of the front of the chassis.
6. Lift the front panel and rest it on the two base brackets at the bottom.
7. Slide the panel back on the bracket glides until the panel engages on the two ramps of the brackets.
8. Tilt the panel towards the chassis until it is vertical with the chassis. The blue release buttons on the
side of the panel click into place (see Figure 52 on page 145 ).
144