134 General Maintenance
26. Retract the packer completely.
27. Turn OFF the hydraulic pump and the engine.
28. Lock out and tag out the vehicle (see Locking Out and Tagging Out the Vehicle on page 14).
29. Align the packer with the hopper walls.
30. Tack weld both floor guides to the floor in front of the packer.
31. Weld both sliding shoes to the packer.
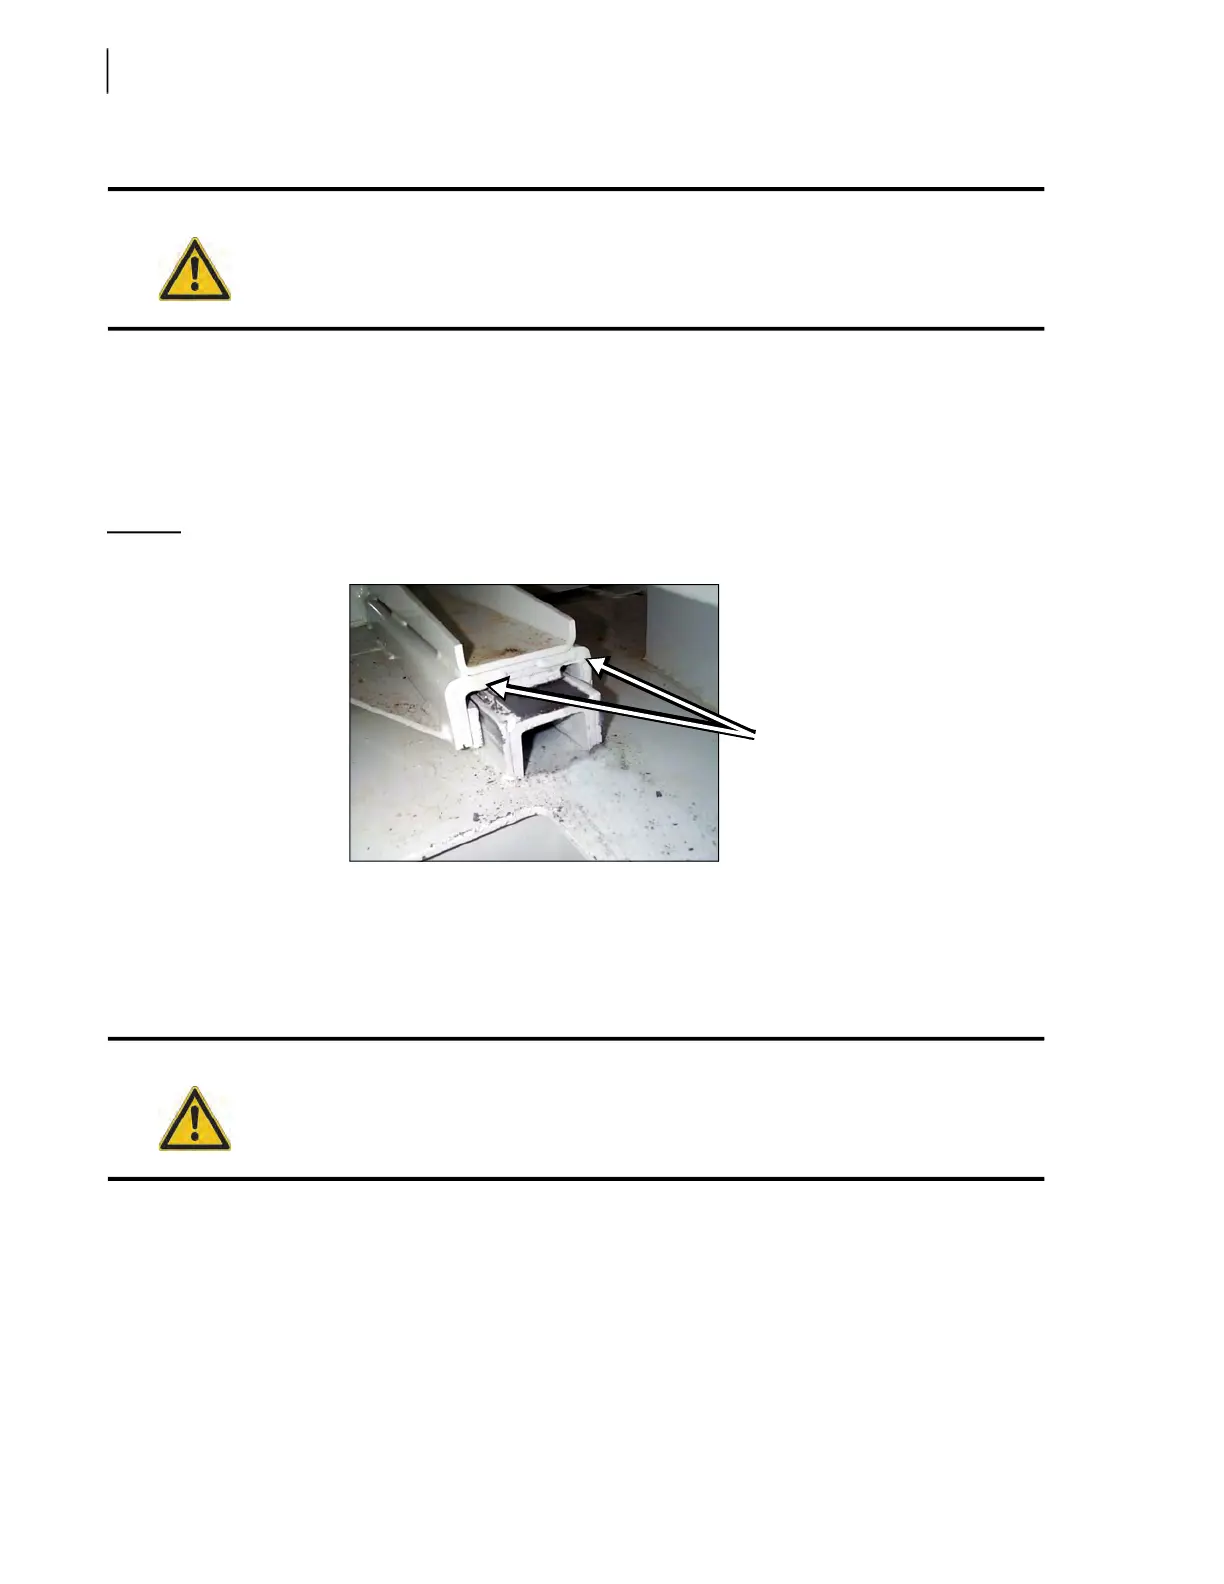
Figure 3-177
View from behind fully retracted packer
Finishing Up Replacing Sliding Shoes and Floor Guides
Apply the following procedure to finish up replacing the sliding shoes and floor guides:
1. Run the packer a few times.
1 a. If the packer is binding, apply some primer paint on the floor guide to find out where the
rubbing is occurring.
1 b. Run the packer a few times again. The location where the paint has come off indicates the
surface that needs to be grinded.
2. If the packer slides properly, weld the floor guides to the floor as illustrated in Figure 3-178.
3. Fully extend the packer to finish welding behind it.
Danger!
Never enter the hopper while the packer is moving.
Danger!
Never enter the hopper while the packer is moving.
Weld
here