General Maintenance 163
NOTE: If a tipper is installed on the side panel, you will have first to remove it before removing the side
panel.
21. Remove the lower part of both side rails (one on each side of the hopper) by using a 5/16-inch
Allen wrench and a 3/4-inch wrench (see Figure 3-194).
There are 6 bolts in total on each side.
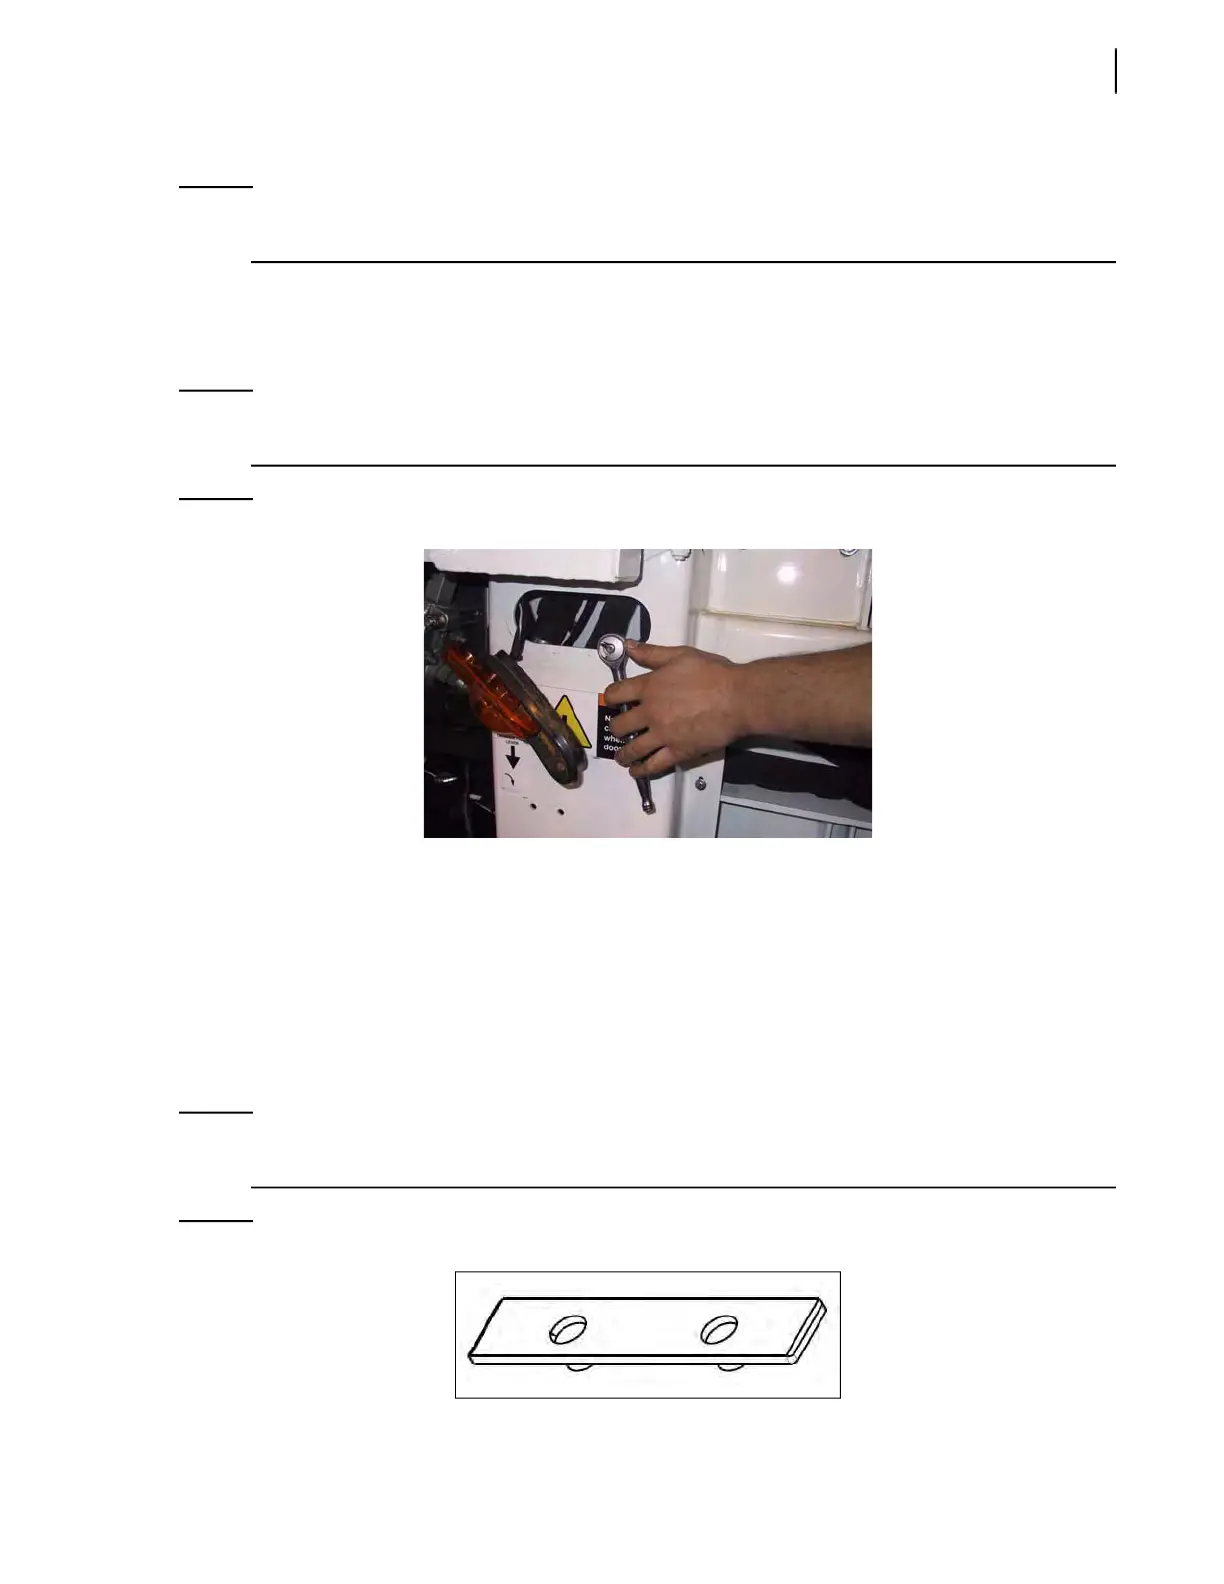
NOTE: In order to get access to the last of the 6 bolts that hold the lower part of the side rail in place,
remove the midway flashing lights located on each side of the truck.
Figure 3-231
Flashing light removed
NEXT: REPLACING AND ADJUSTING UPPER WEAR PADS: see Replacing and Adjusting
Upper Wear Pads on page 163.
Replacing and Adjusting Upper Wear Pads
Follow this procedure to replace and adjust the upper wear pads:
1. Once the preparation stage is done, remove and replace both wear pads (see Figure 3-232 and
Figure 3-233).
NOTE: Wear pads are not bolted or screwed to the packer. They are simply placed on each end of the
packer, with the 2 protruding guides inserted into the holes provided.
Figure 3-232
Wear pad