General Maintenance 113
4 bolts are to be taken out to remove that part.
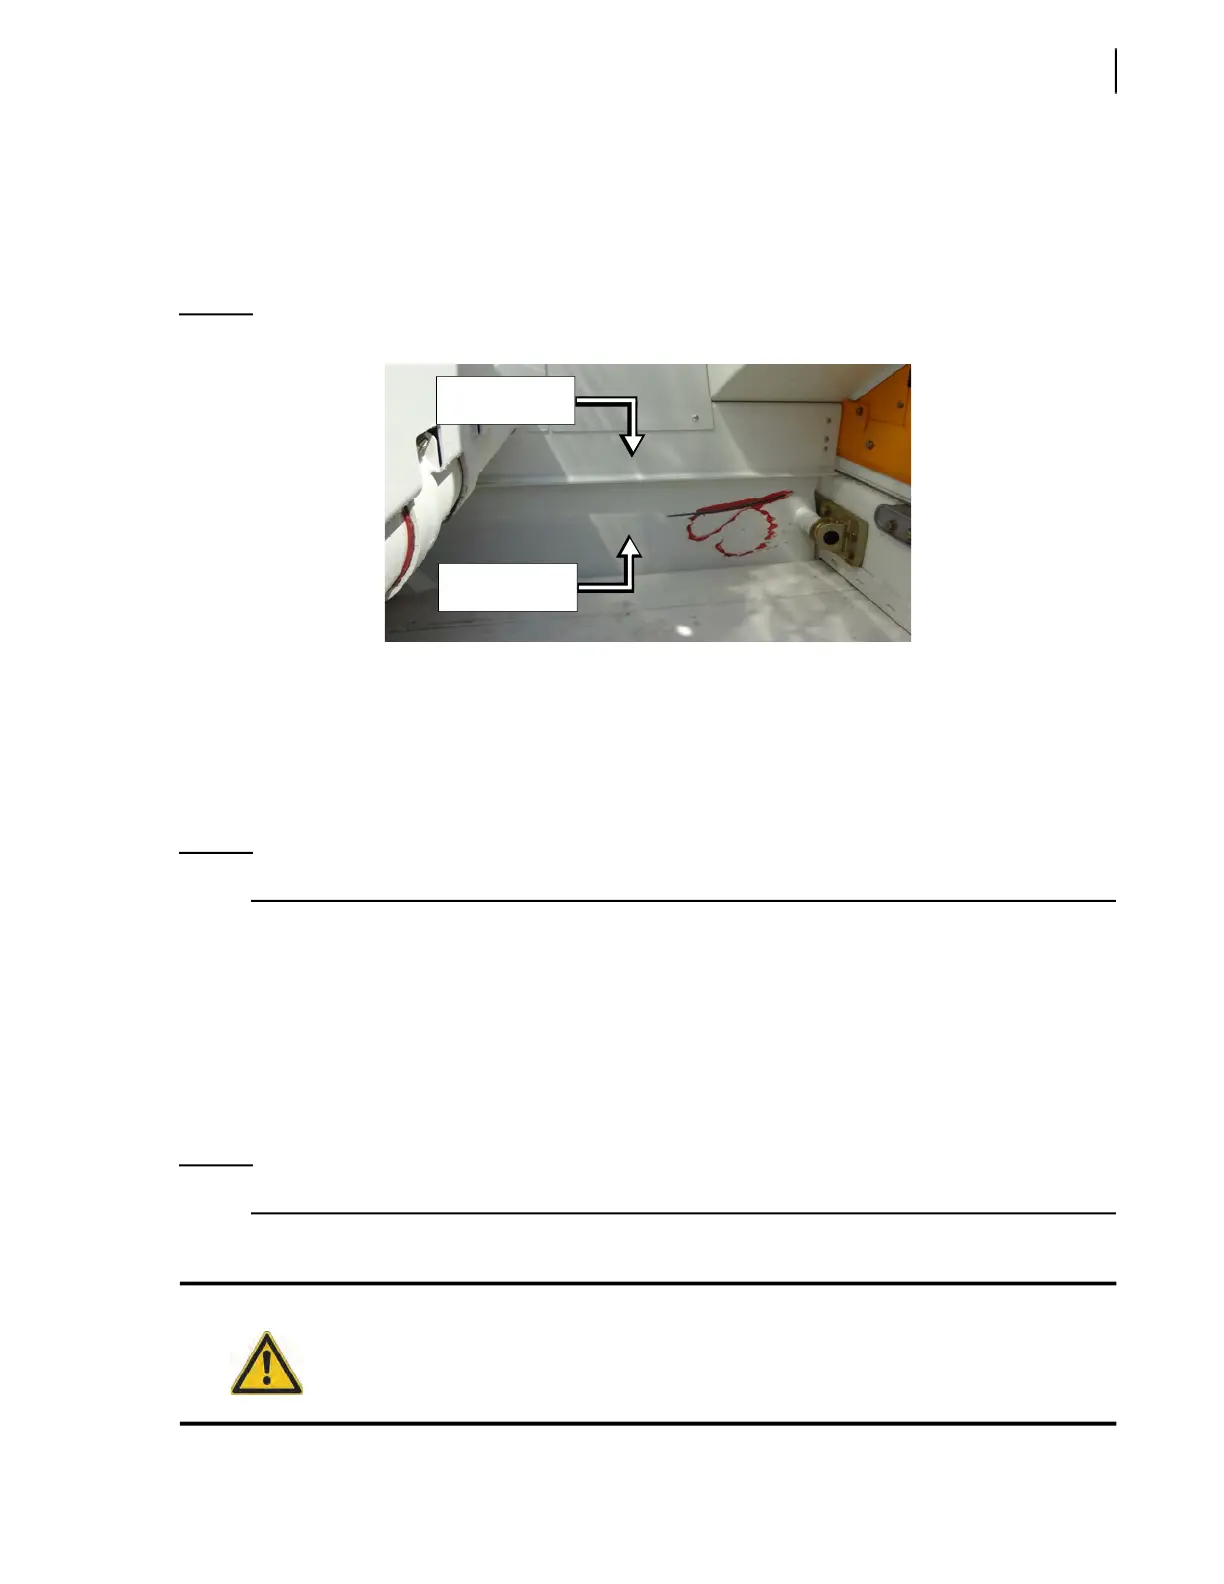
9. Remove the chute support (see Figure 3-138).
3 carriage bolts have to be removed to remove the chute support; 2 of them secure the chute
support to the hopper rear side wall and one to the divider guard.
10. Remove the divider guard (see Figure 3-140) by removing its 5 retaining bolts.
Figure 3-140
Hopper divider and divider guard
11. To reinstall the divider guard and reassemble the fixed chute, reverse the procedure.
For removing the hopper divider, see Step 2 on page 63. For removing the packer panel, see C.
Removing Packer Panel - Co-Mingle Units W/ Loading Arm on page 84.
Hopper Divider Wear Pads and Sliding Shoe
NOTE: These specially designed wear pads and sliding shoe are used only on co-comingle units.
During packing, the hopper divider slides along an ascending curved rail. A sliding shoe attached to
the divider allows the latter to move smoothly inside the rail. A set of wear pads is also used to protect
the divider against corrosion. Should these wear pads and sliding shoe show signs of wear and tear,
they must be replaced with new ones.
Replacing Hopper Divider Wear Pads and Sliding Shoe
To replace worn-out wear pads and sliding shoe with new ones, proceed this way:
NOTE: This procedure only applies to co-mingle units.
1. Start the truck and engage the hydraulic pump.
Danger!
Never enter the hopper while the hydraulic system is engaged.
Hopper divider
Divider guard