408 Lifting Arms
Figure 10-44
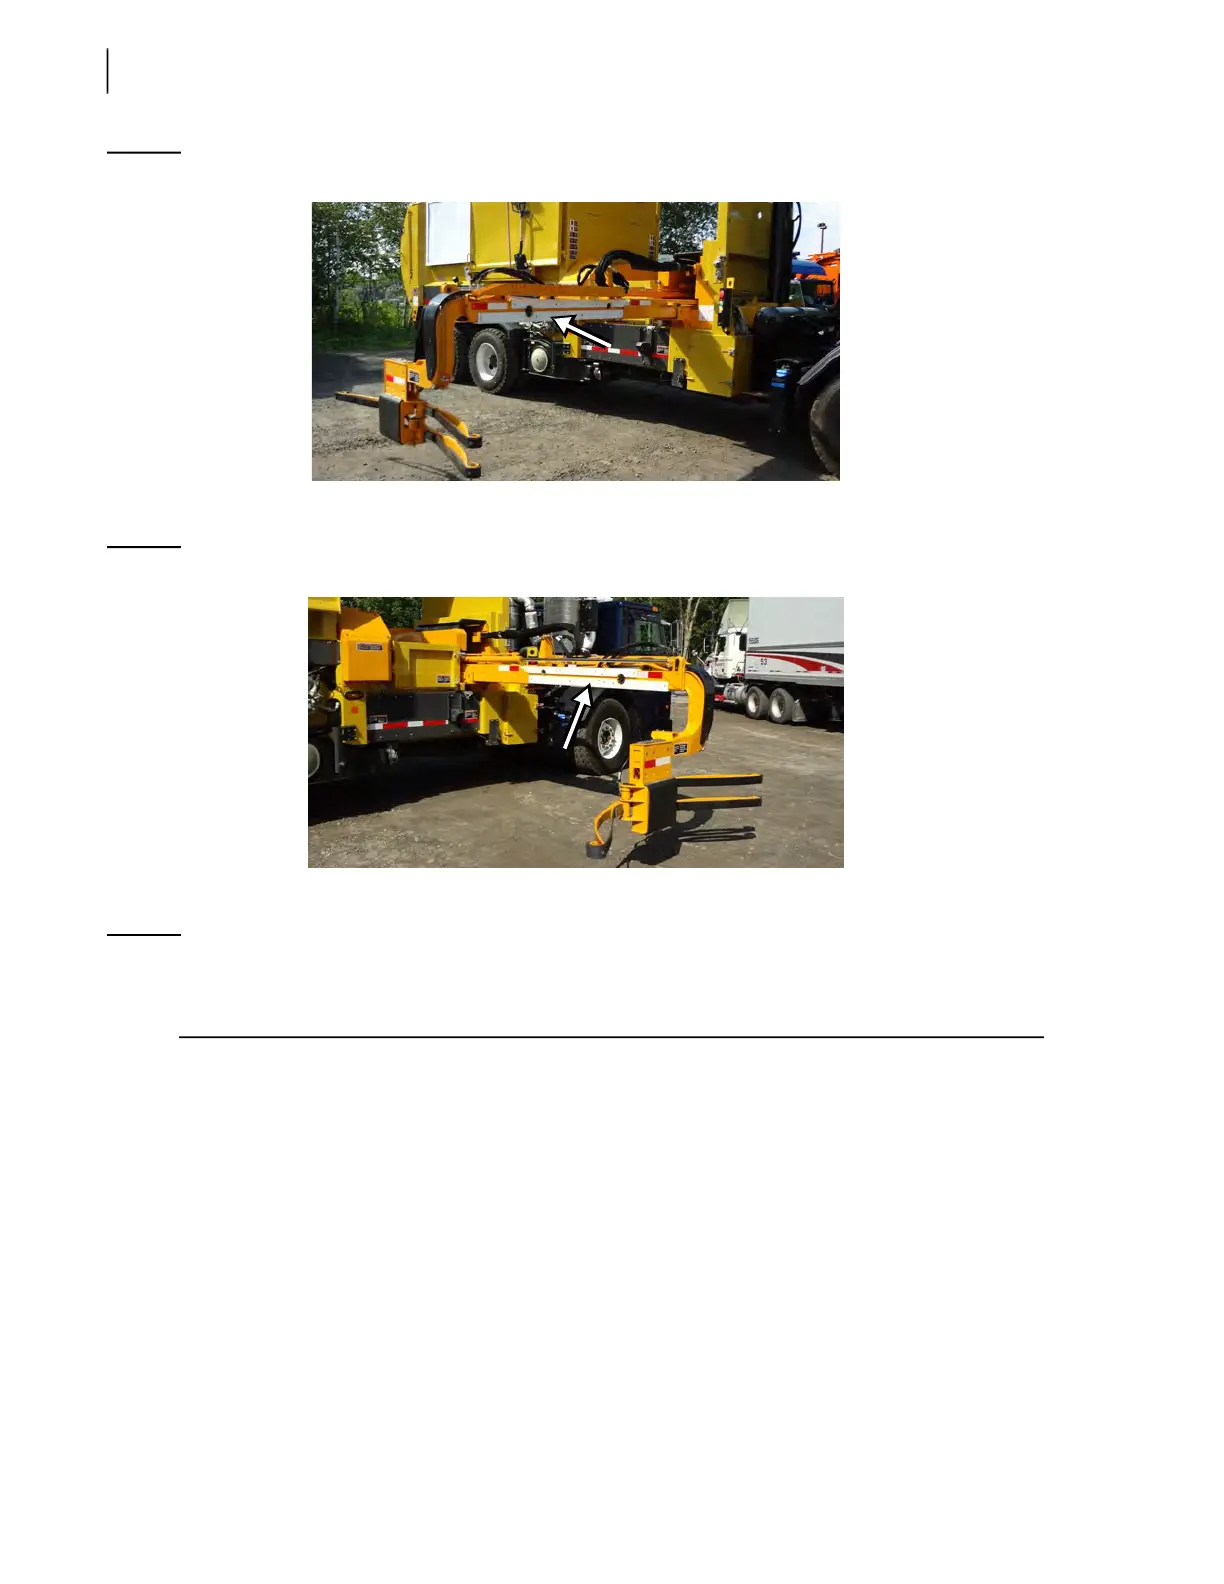
Wear pad E
8. Remove wear pad F (4 bolts) and replace it by a new one.
Figure 10-45
Wear pad F
9. Now you may install new wear pads A and B.
NOTE: There may be shims installed between the pads and the arm structure. These shims are used to
fill space between these parts, and usually they should be kept. However, their number may
vary after the installation of new wear pads.
10. Fully retract the HELPING-HAND™ automated arm.
11. Put the remaining 4 wear pad retaining bolts back in (2 on each side of the sliding rail)
[see Figure 10-39].
These bolts can only be screwed in when the arm is completely retracted.