Moldboard Tilt Cylinders
1. Park the grader on a level surface in a designated
area where oil does not touch or run off onto the
ground.
2. Engage the park brake and place wheel chocks on
wheels for safety.
3. Place a block under the moldboard attachment and
lower the moldboard to rest lightly on the block,
extending it forward. Turn off the engine.
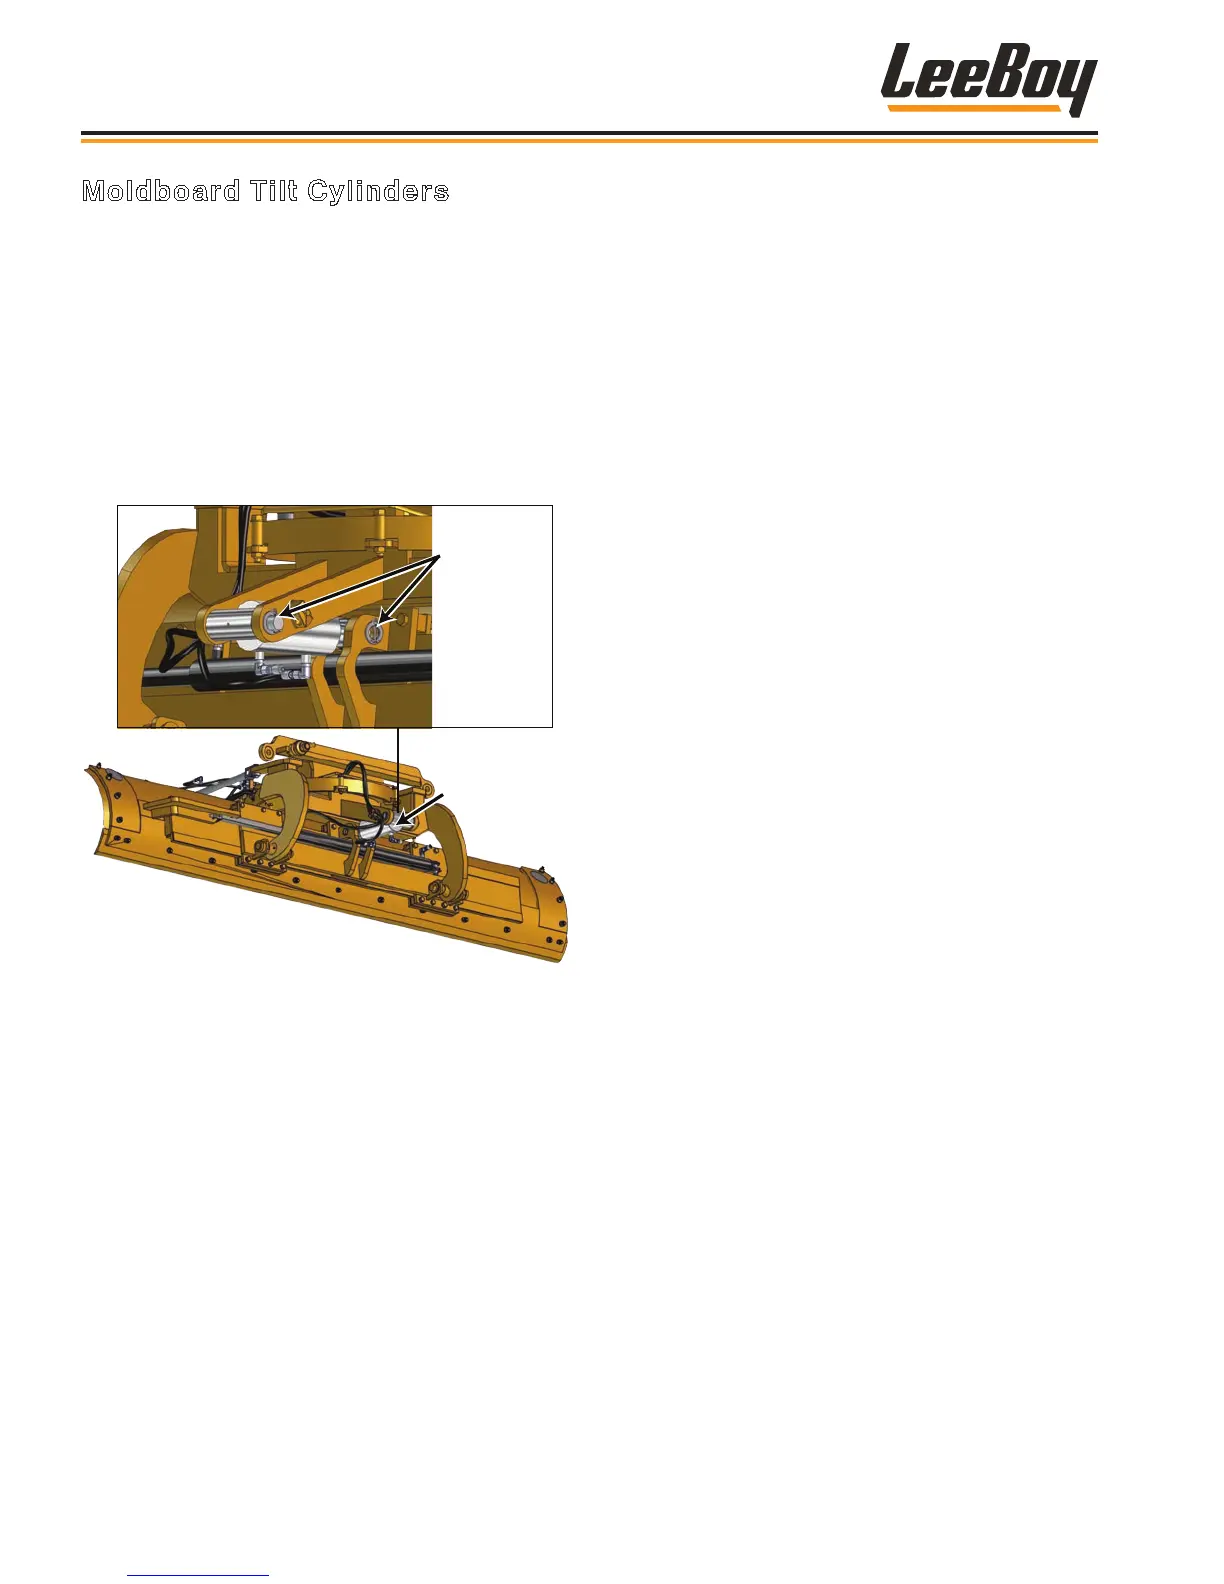
4. Remove the cotter and cylinder pins from the right
side. (Figure 5-42)
Tilt Cylinder
Cotter and
Cylinder Pins
(Right Side
of Tilt
Cylinder)
Figure 5-42. Moldboard Tilt Cylinder
5. Disconnect, plug and tag the hydraulic hoses, being
very careful to prevent any contamination when
plugging the hydraulic hose ttings.
NOTE: Inspect the hydraulic ttings. Replace any
damaged or worn ttings.
6. Carefully slide the tilt cylinder from the moldboard
frame to remove it. Clean the area thoroughly
before installing new cylinder.
7. Position the new moldboard tilt cylinder into place.
8. Insert the cylinder and cotter pins. (It is
recommended that you use new cotter pins.)
9. Reconnect the hydraulic hoses according to the
tags for correct reconnection.
10. Using a grease gun, lubricate the cylinder rod.
11. Start the engine and idle for a few minutes to ensure
the hydraulic oil has warmed in the system.
12. Tilt the moldboard back and forth several times to
ensure proper operation and check for leaks.
Maintenance
LeeBoy 685D Motor Grader5-36