4. Lean the front wheels toward the moldboard heel as
you work toward the center of the road, maintaining
a straight course.
• You may need to adjust the moldboard slightly to
carry the material the length of the project.
• Pitch the moldboard forward and use very little
down pressure to feather the material at the end of
the pass.
5. Make as many passes as needed, continuing to
push the material toward the road center.
6. Repeat Steps 1 - 5 on the other side of the road.
7. Finish the road crown using the procedure
described in the next section.
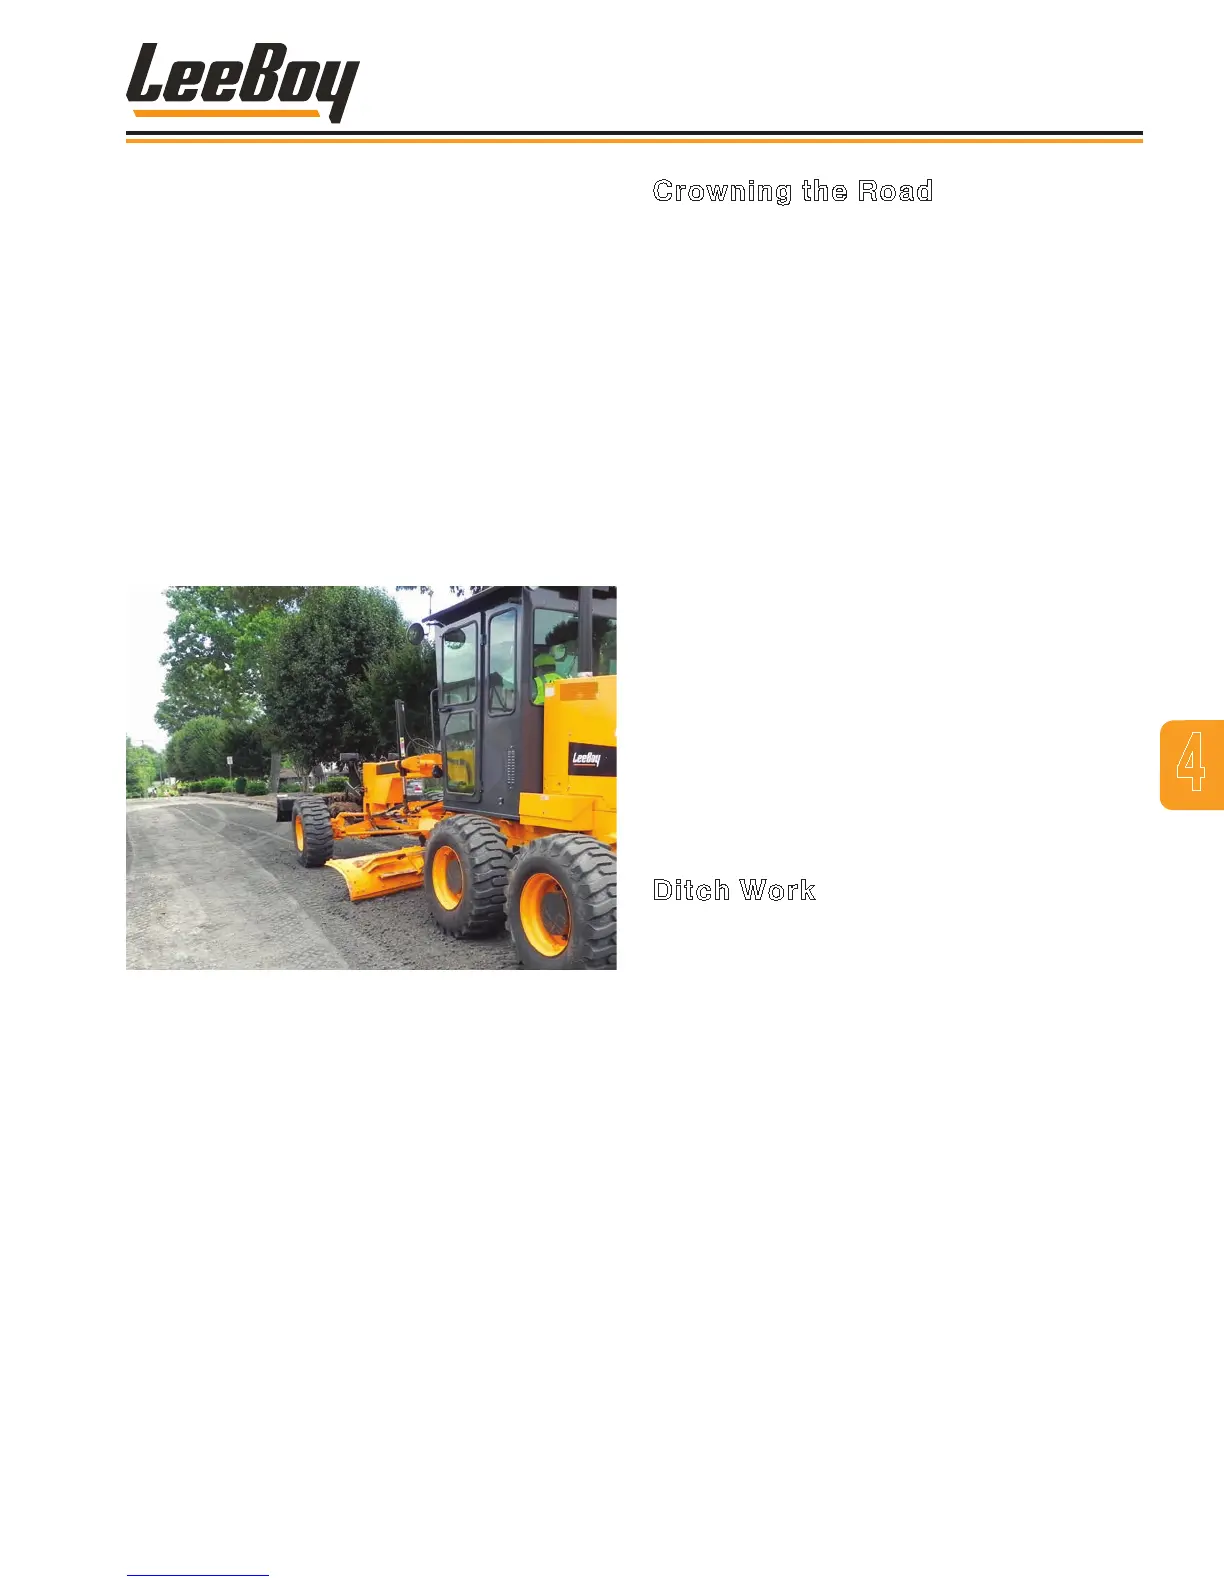
Figure 4-57. Crowning
Crowning the Road
Crowning a road is simply constructing the surface so
the center of the road is higher than the road edge to
allow water to drain. If the crown is not built properly,
water will be trapped and break up the road crust,
producing potholes and ruts. If also constructing
ditches, complete the ditch work rst, grading the
excess material to the center of the road, creating a
windrow.
• For good drainage, a road should have a crown of
1/3 inch (8.4 mm) to 1 /2 inch (12.7 mm) per foot (305
mm) as measured from the center of the road to the
outside edge where the road meets the shoulder.
To establish the road crown in the center and smooth
any ridges left:
1. Position the moldboard parallel to the front axle.
2. Raise the moldboard heel and tilt the moldboard
forward between 60 - 75 degrees.
3. Drive the grader straight down the center of the
windrow, keeping the moldboard high enough to
feather the material on both sides of the grader.
You can increase speed as this throws loose
material from the blade, feathers the material, and
blends the top.
Ditch Work
Ditch work is typically done on the right side of the
grader. Cutting a ditch is called “Vee Ditching.”
Remember the following guidelines for ditch
construction:
• Make each ditch cut as deep as possible (without
stalling or losing control of the grader).
• Start with the blade positioned so the moldboard toe
is in line with the center of the lead wheel. Bring each
successive cut in from the edge of the bank slope so
the toe is in line with the ditch bottom on the nal cut.
• Ensure the moldboard is high enough off the surface
to allow unrestricted movement.
• Side shift the blade if needed to extend the moldboard
edge to the outside edge of the front wheel.
4
Operation
LeeBoy 685D Motor Grader 4-35