• For the widest possible pass on the travel surface,
keep the moldboard angle as square to the frame
as possible. If material starts to ow around the
moldboard toe or the rolling action stops, increase the
blade angle.
• The moldboard blade’s tip angle should be position
with the cutting edge at 90 degrees to the road
surface so the downward pressure places less stress
on the cutting edge and retaining bolts. To cut hard
material or for nishing work, tilt the moldboard further
forward.
• Keep your travel speed between 3 - 5 mph (4.8 - 8
kph) for maximum productivity with less machine
bounce. At higher speeds, the grader can “lope” or
bounce, causing ridges and depressions. Moisture,
material quality and road grade stability vary, so
operating speed must be slow enough to ensure the
grader remains stable.
• Grader efciency is directly proportional to the
number of passes made. Operator skill and project
good planning are most important for eliminating
unnecessary passes that increase time and cost of
the job.
• Before performing any road maintenance project, a
formal project plan or specications to control the
work is an important factor in road improvement. Be
sure to check with local and state departments of
transportation about roadway construction standards
and requirements before beginning the project. You
may also need to contact utility companies to verify
location of any utilities within the construction area
and arrange for temporary location if needed.
• Tree stumps, large rocks and other obstructions need
to be cleared and removed before grading. Tree
branches extending over the roadbed may also need
to be trimmed for adequate grader clearance.
• On straight sections, steer the grader as straight as
possible to maintain a straight shoulder and uniform
crown on the road.
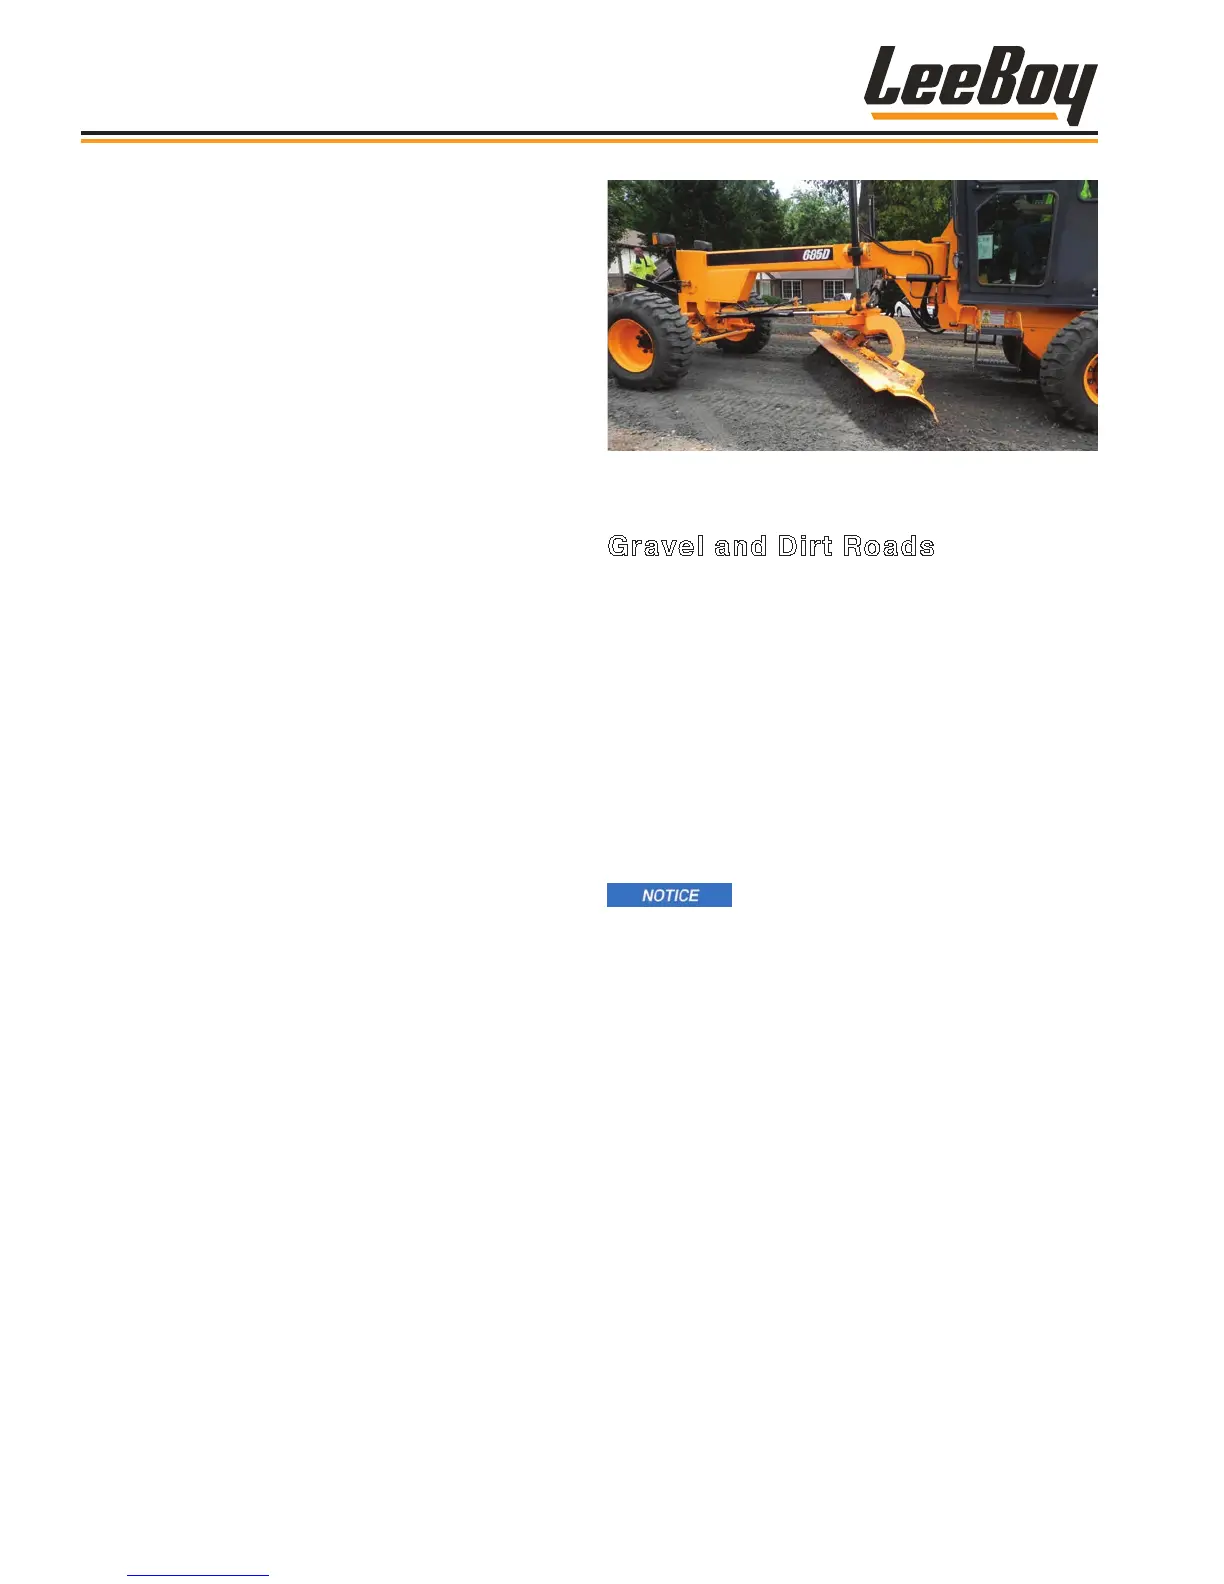
Figure 4-56. Grading a Dirt or Gravel Road
Gravel and Dirt Roads
Level and maintain the gravel or dirt surface by working
the material across the road (or runway) from one side
to the other. The surface is easier to work with if it’s
damp. If grading a dry surface, work material from the
edges and shoulders toward the center to maintain a
satisfactory result.
Good gravel road maintenance depends upon proper
use of the grader and quality gravel that is the right
size correctly distributed onto the road surface. It is
important to properly shape the road surface before
spreading gravel to achieve quality results. The gravel
should also be damp.
Trafc, wind and grading can kick up
dust and cause loss of any binder material present,
so be cautious when disturbing dry road surfaces.
It is recommended that road maintenance grading
projects be done just after it rains, or use a water
truck to dampen the surface before grading. A damp
surface results in a better, smoother nish.
1. Start at the edge of the road shoulder and cut the
material into a windrow, depositing it toward the
center of the road (outside the tandem wheels).
2. Angle the moldboard 30 - 50 degrees and pitch
halfway back to cut. This removes ridges and
potholes.
NOTE: Scarify the surface rst on dirt roads with
deep ruts or extremely rough surfaces.
3. Lower moldboard until the toe and heel slightly
touch the ground, just enough to penetrate the
surface.
Operation
LeeBoy 685D Motor Grader4-34