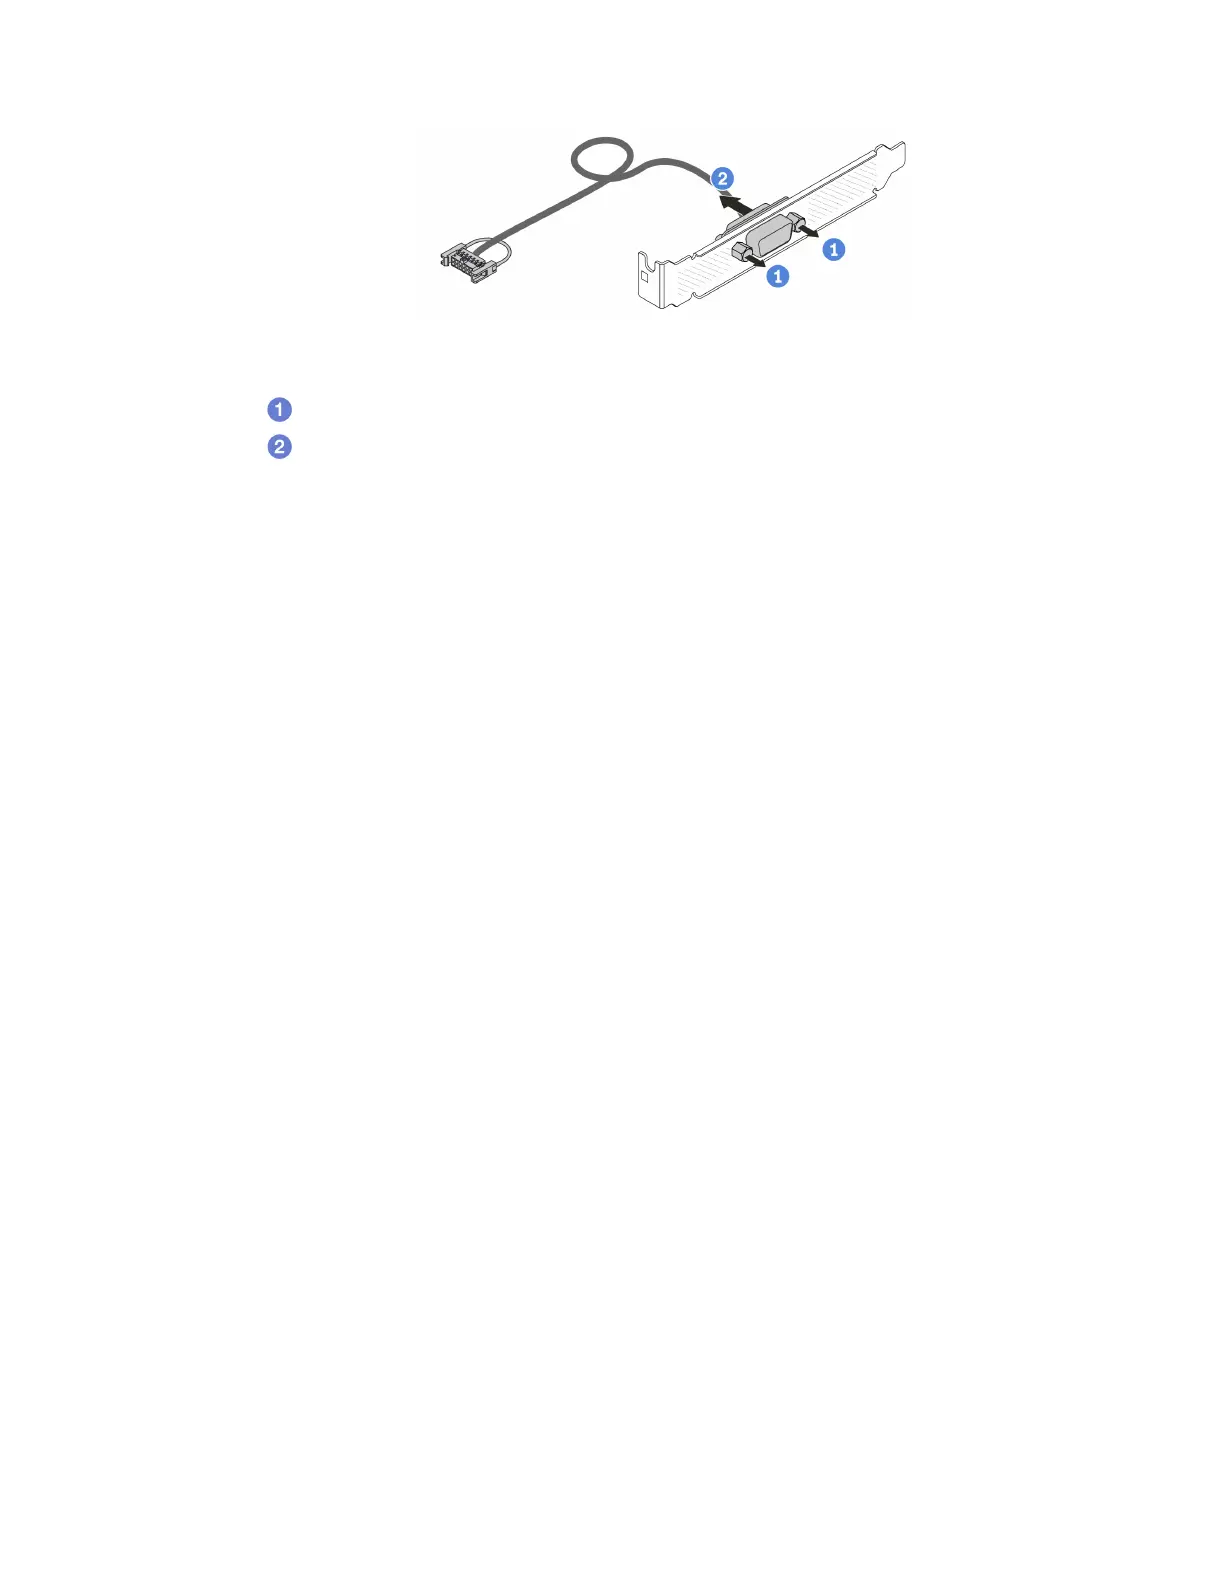
Figure 138. Disassembling the serial port module
a.
Loosen the two screws.
b.
Pull out the serial port cable from the bracket.
After you finish
1. Install a new serial port module, a PCIe adapter, or a PCIe slot bracket to cover the place. See
“Install a
serial port module” on page 189
and “Install a PCIe adapter” on page 142.
2. If you are instructed to return the old serial port module, follow all packaging instructions and use any
packaging materials that are provided.
Install a serial port module
Use this information to install a serial port module.
About this task
Attention:
• Read
“Installation Guidelines” on page 45 and “Safety inspection checklist” on page 46 to ensure that you
work safely.
• Power off the server and disconnect all power cords for this task.
• Prevent exposure to static electricity, which might lead to system halt and loss of data, by keeping static-
sensitive components in their static-protective packages until installation, and handling these devices with
an electrostatic-discharge wrist strap or other grounding system.
• Read the
“PCIe slots and adapters” on page 50 to ensure that you install the serial port module to a
correct PCIe slot.
Watch the procedure
A video of this procedure is available at YouTube:
https://www.youtube.com/playlist?list=PLYV5R7hVcs-
DrpxDWLMfgtXO4O6BVYTim
.
Procedure
Step 1. Touch the static-protective package that contains the component to any unpainted surface on the
outside of the server. Then, take the component out of the package and place it on a static-
protective surface.
Step 2. Use a 5 mm wrench to install the serial port cable into the bracket.
Chapter 5. Hardware replacement procedures 189

 Loading...


