4-28 Service Manual
5055-01X
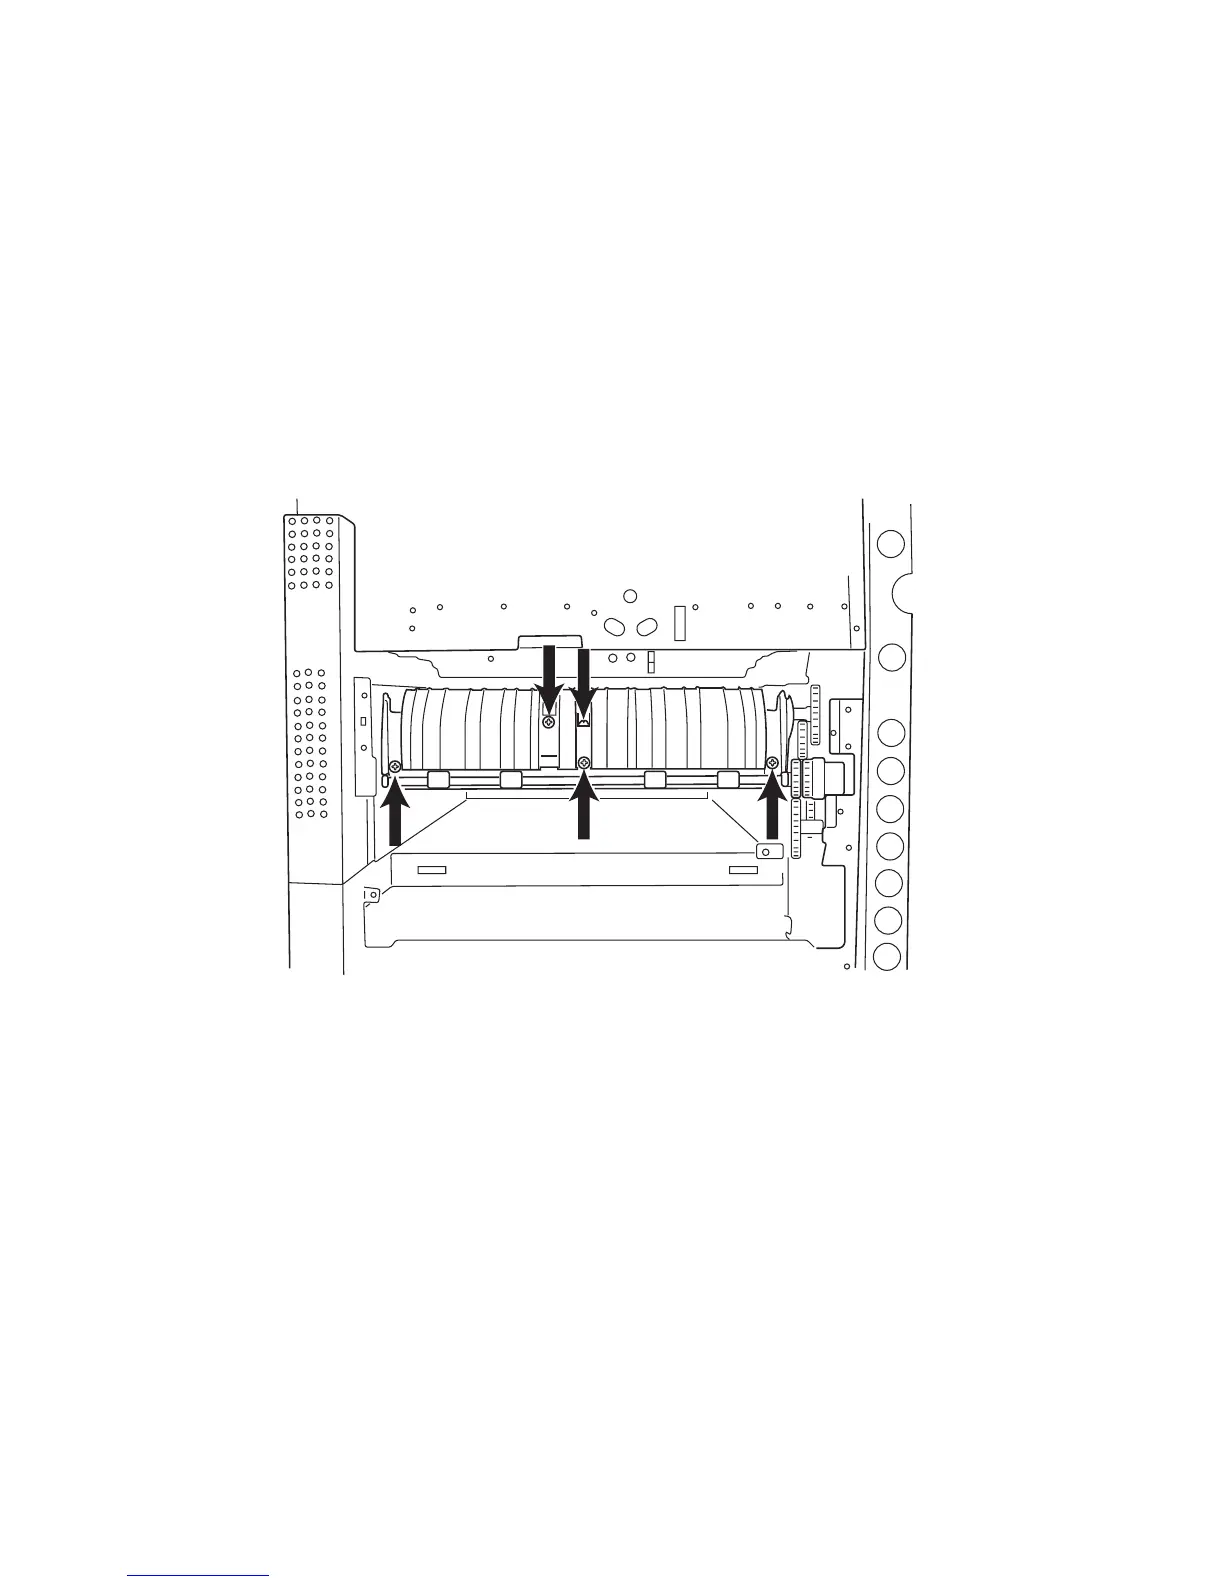
Paper Carrying Frame Removal
Paper Carrying Roller (Upper) Removal
Paper Carrying Clutch Removal
OHP Detection Sensor (Lower) Removal
1. Open the top unit and remove the upper cassette, front cover,
turn guide, multipurpose feeder, right side cover, turn guide,
OHP detection sensor (upper), multipurpose feeder frame, back
cover, RIP cover, RIP board, RIP box, and electronic box.
2. Remove the four screws from the paper carrying frame.
3. Remove the screw from the OHP sensor (lower).
4. Remove the paper carrying roller (upper).
5. Remove the paper carrying clutch.
Note: When installing, the clip of the paper carrying clutch should
be securely set to the stop, and the shaft of the paper carrying clutch
and spring should be securely in contact with each other.