Repair Information 4-45
5055-01X
Drive Motor Assembly Removal
1. Open the top unit and remove the RIP cover, RIP board, RIP
box, and electronic box.
2. Remove the upper cassette, left front cover, and back cover.
3. Remove the turn guide.
4. Open the paper feed cover and remove the duplex unit.
5. Remove the side left cover. Remove the connector, two ground
wires, and power supply 1.
6. Remove the connector (CN2, CN4 and CN5) from the motor
drive board.
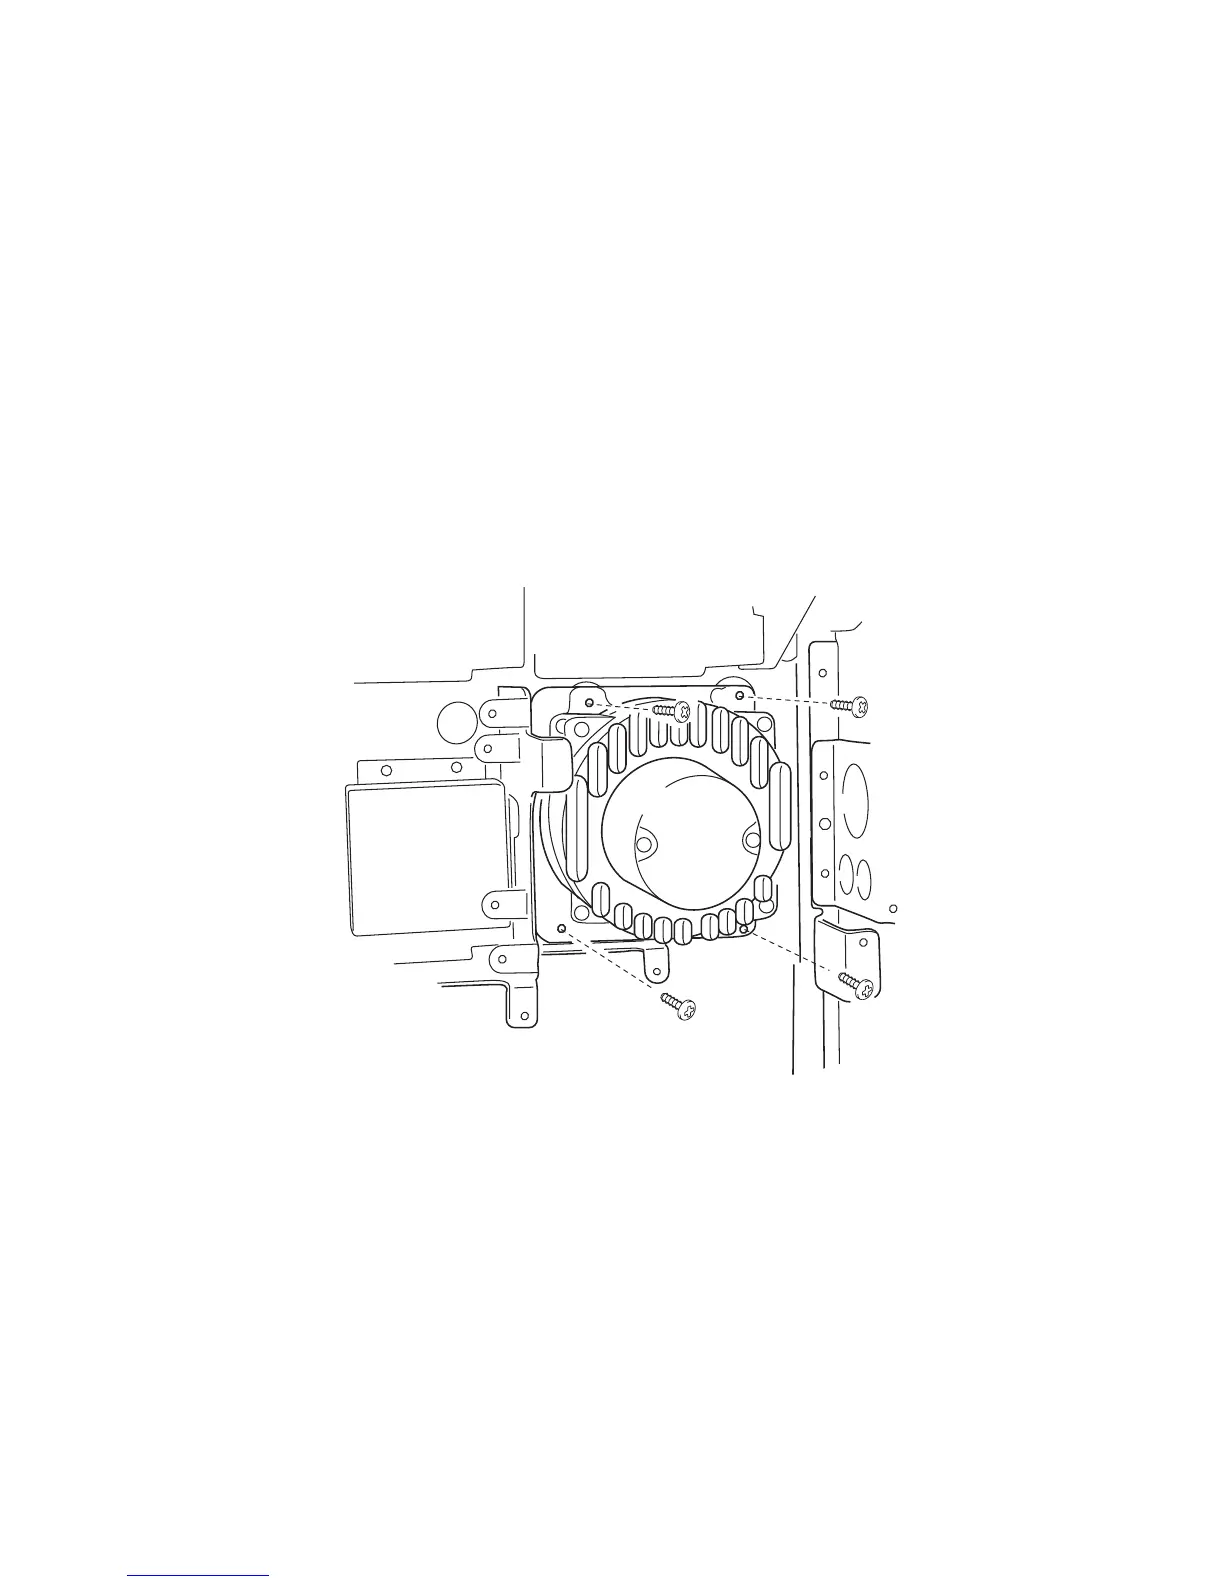
7. Remove the four screws with spring washers from the drive
motor.
Note: When installing, hold the motor securely and mount the
screws.
Motor Drive Board Removal
1. Remove the upper cassette, front cover B, paper feed cover,
and the left side cover.
2. Disconnect the five connectors and remove five screws, and two
screws from the motor drive board.