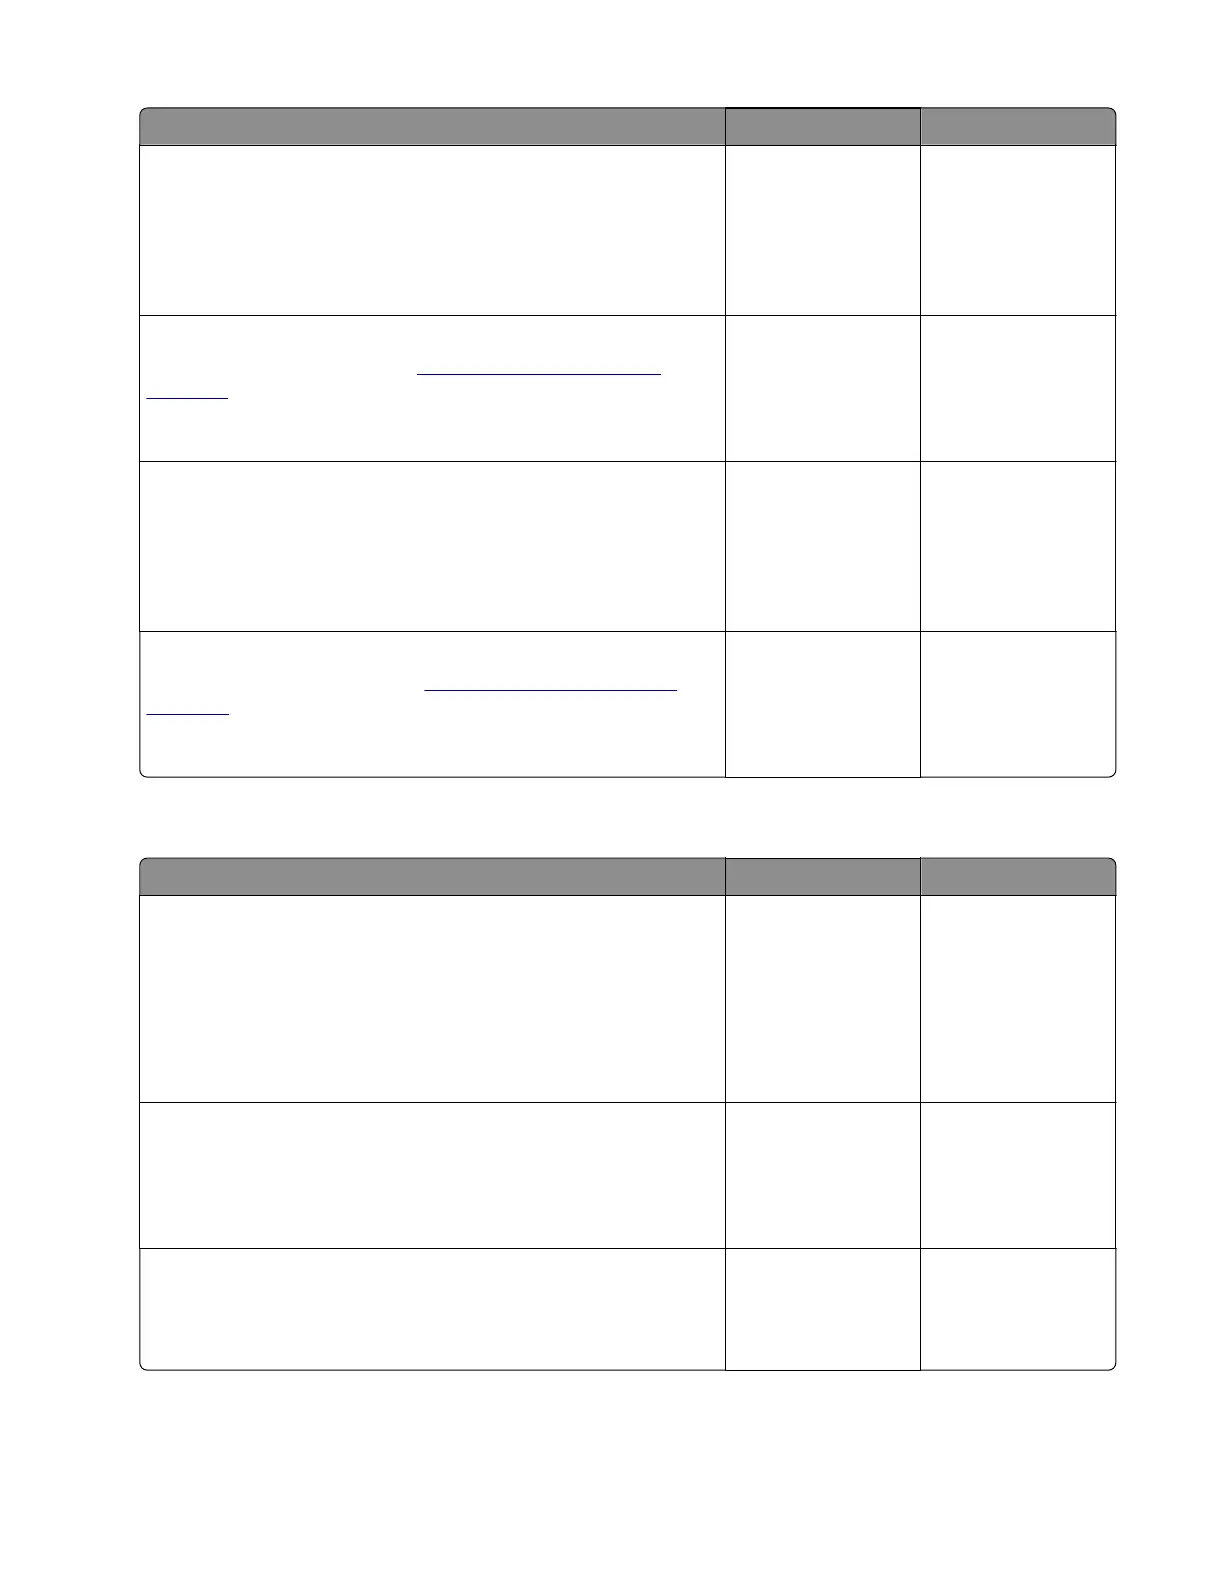
Action Yes No
Step 8
Check the green, yellow, and blue cables connecting the JPKSNS1
connector to the blue and green cables on the isolation unit for
proper connection and damage. Replace the cables if necessary.
Does the problem remain?
Go to step 9. The problem is
solved.
Step 9
Replace the isolation unit. See
“Isolation unit removal” on
page 371.
Does the problem remain?
Contact the next
level of support.
The problem is
solved.
Step 10
Check the red cables connecting the JPKSNS1 connector to the
sensor (input) for proper connection and damage, and replace if
necessary.
Does the problem remain?
Go to step 11. The problem is
solved.
Step 11
Replace the sensor (input). See
“Sensor (input) removal” on
page 341.
Does the problem remain?
Contact the next
level of support.
The problem is
solved.
Upper paper path sensors service check
Action Yes No
Step 1
Check the following sensors for proper connection, and reseat if
necessary:
• Sensor (output)
• Sensor (bin full)
Does the problem remain?
Go to step 2. The problem is
solved.
Step 2
Check the sensor cables for proper connection on the sensors and
on the JDSNS1 connector on the controller board.
Are the cables properly connected at both ends?
Go to step 4. Go to step 3.
Step 3
Reconnect the cables.
Does the problem remain?
Go to step 4. The problem is
solved.
5028
Diagnostic information
178

 Loading...