214713 105 Revision A
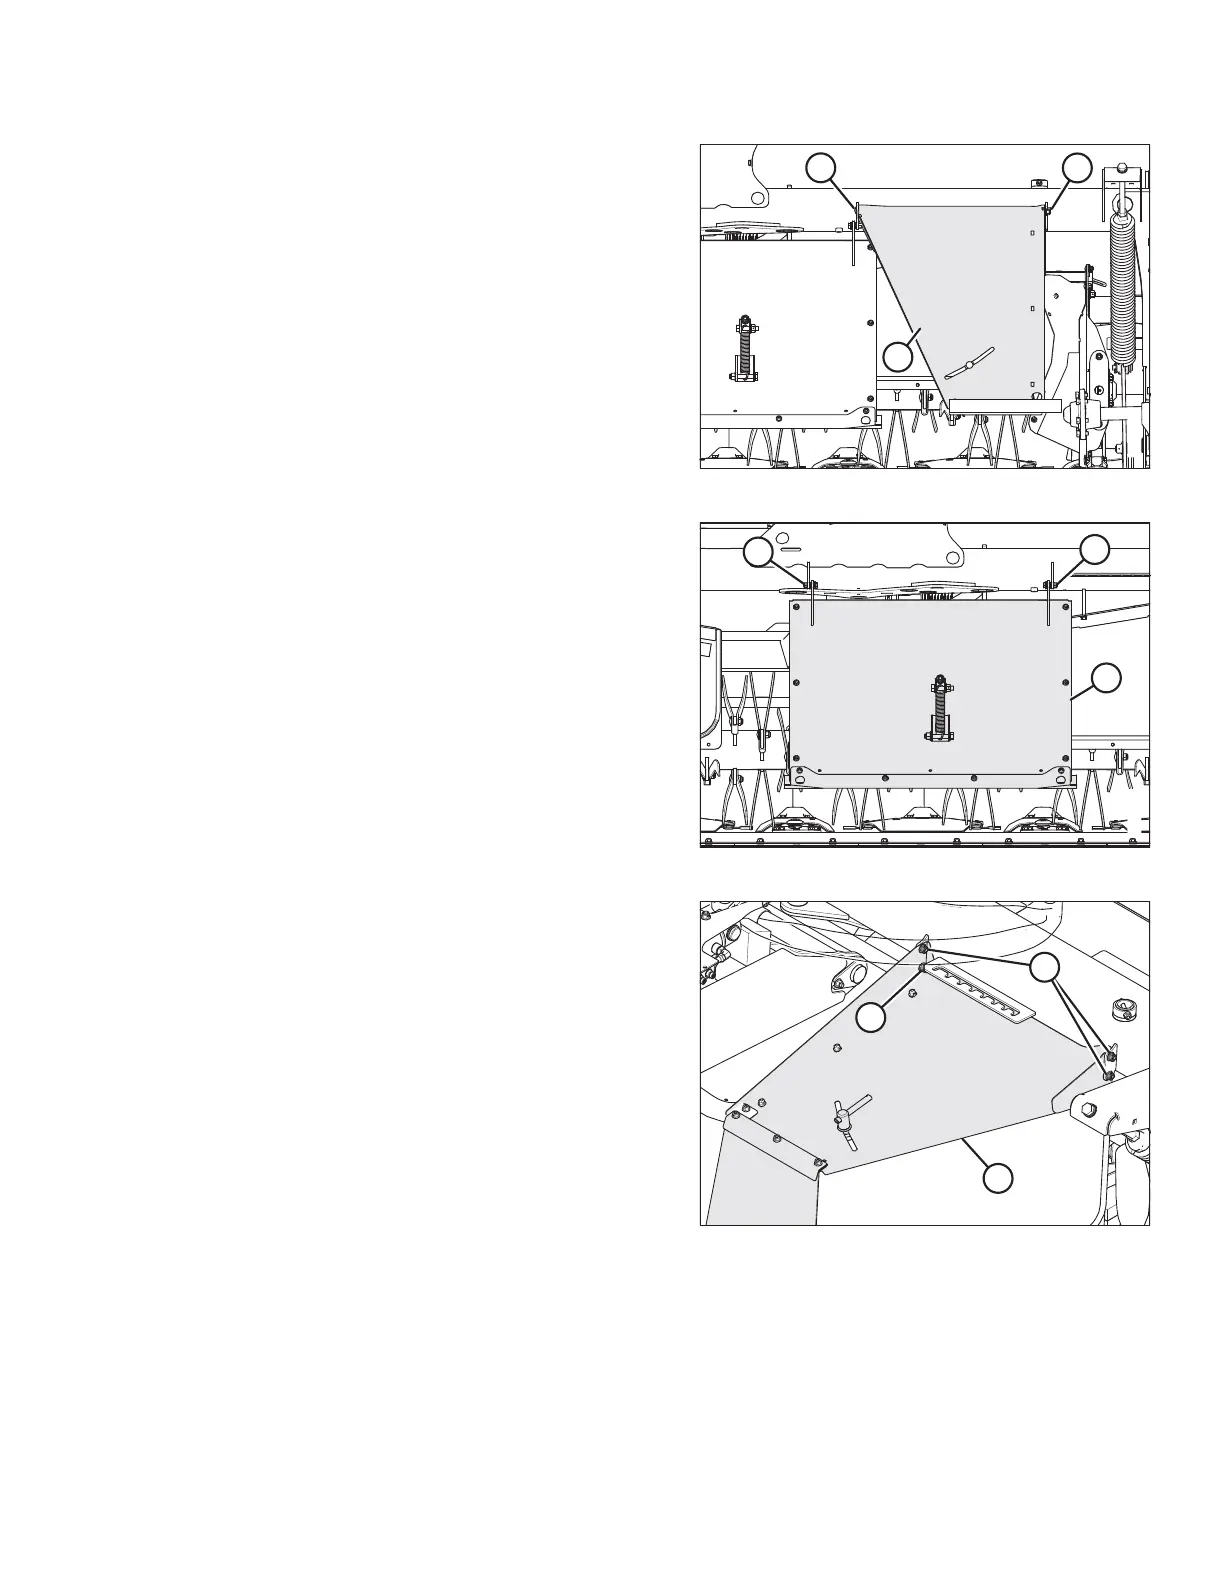
Figure 5.26: Outboard Top Cover
4. Support shield (C), remove the two bolts at locations (A)
and (B), and remove the shield.
Figure 5.27: Center Shield
5. Remove nuts (A) from center shield (B). Do not remove
the bolts.
Figure 5.28: Forming Shield (Right Side)
6. Flip right forming shield over so the adjustment handle
is facing up and install it as follows:
NOTE:
If installing the Road Friendly Transport
™
system, install
shield (A) after transport assembly is in place.
a. Position shield (A) onto hex head bolt (B). Loosely
install nut to hold shield in place.
b. Install carriage bolts (C) with heads facing towards
center of shield. Install nuts and tighten.
c. Repeat for the left side forming shield.
SETTING UP THE TRACTOR
 Loading...


