214713 70 Revision A
1023634
A
B
C
D
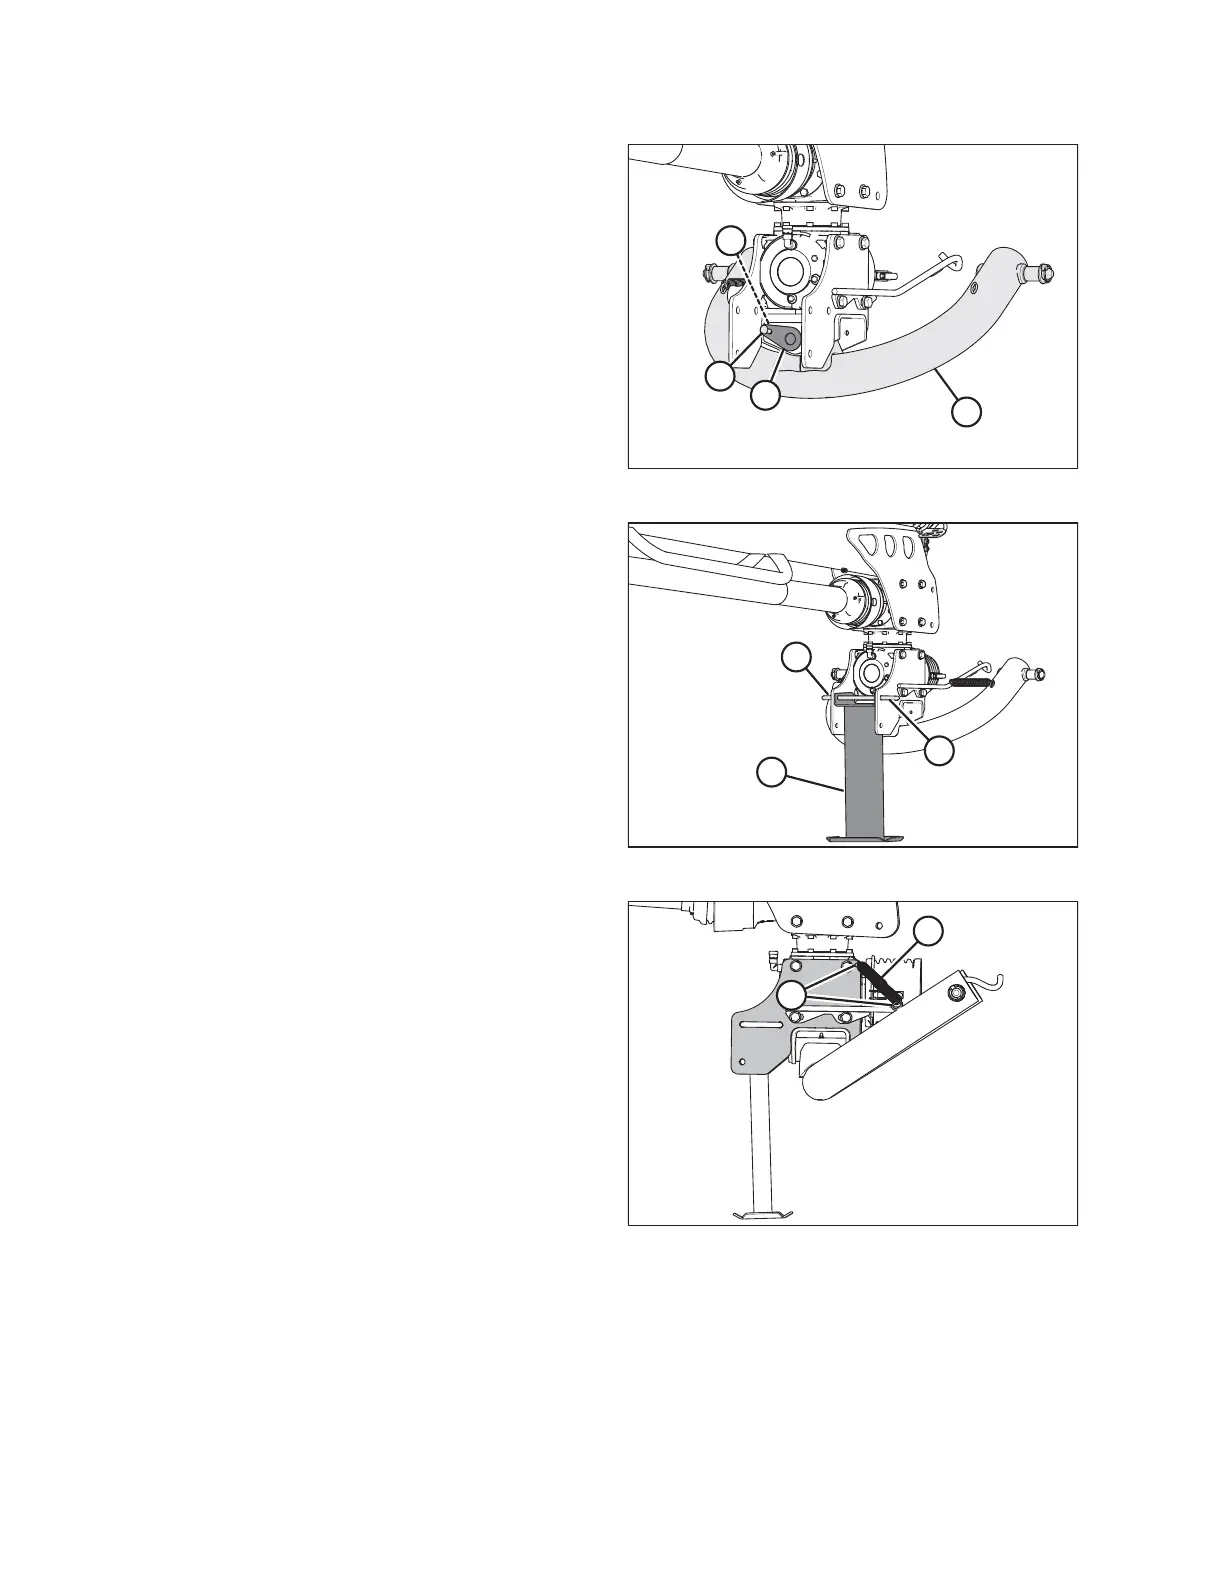
Figure 4.35: Two-Point Hitch Adapter
7. Using a floor jack or equivalent, raise two-point hitch
adapter (A) into position under the gearbox.
8. Maneuver adapter (A) so that pin (B) can be installed to
secure adapter to hitch.
9. Secure pin with bolt (C) and nut (D).
10. Remove floor jack, and remove remaining strapping
and pallet from hitch adapter.
1023633
A
B
C
Figure 4.36: Stand
11. Retrieve stand (A).
12. Position stand (A) under gearbox as shown, and install
hitch pin (B) to secure the stand.
13. Install hairpins (C) to secure hitch pin (B).
14. Lower hitch and stand to the ground.
1023642
A
B
Figure 4.37: Springs
15. Install springs (A) into hooks (B). Repeat on
opposite side.
ASSEMBLING THE DISC MOWER (FACTORY-INSTALLED TRANSPORT)