214713 83 Revision A
Figure 4.64: Lift Hoses
10. Retrieve the blue collars with the number one (blue
collar #1) on them from the shipping bag. Place one
collar on each end of the secondary lift hose (B).
11. Undo adjustable strap (A) around hoses at aft end
of hitch.
12. Locate the green wire preinstalled in the hitch for pulling
hoses through the hitch.
NOTE:
If you are installing a hydraulic center-link, pull the
hydraulic hoses through the hitch at the same time as
the lift hose.
13. At rear of hitch, feed male ORB end of hose (B) into
access hole (C). Route hose through the hitch to the
opening at front.
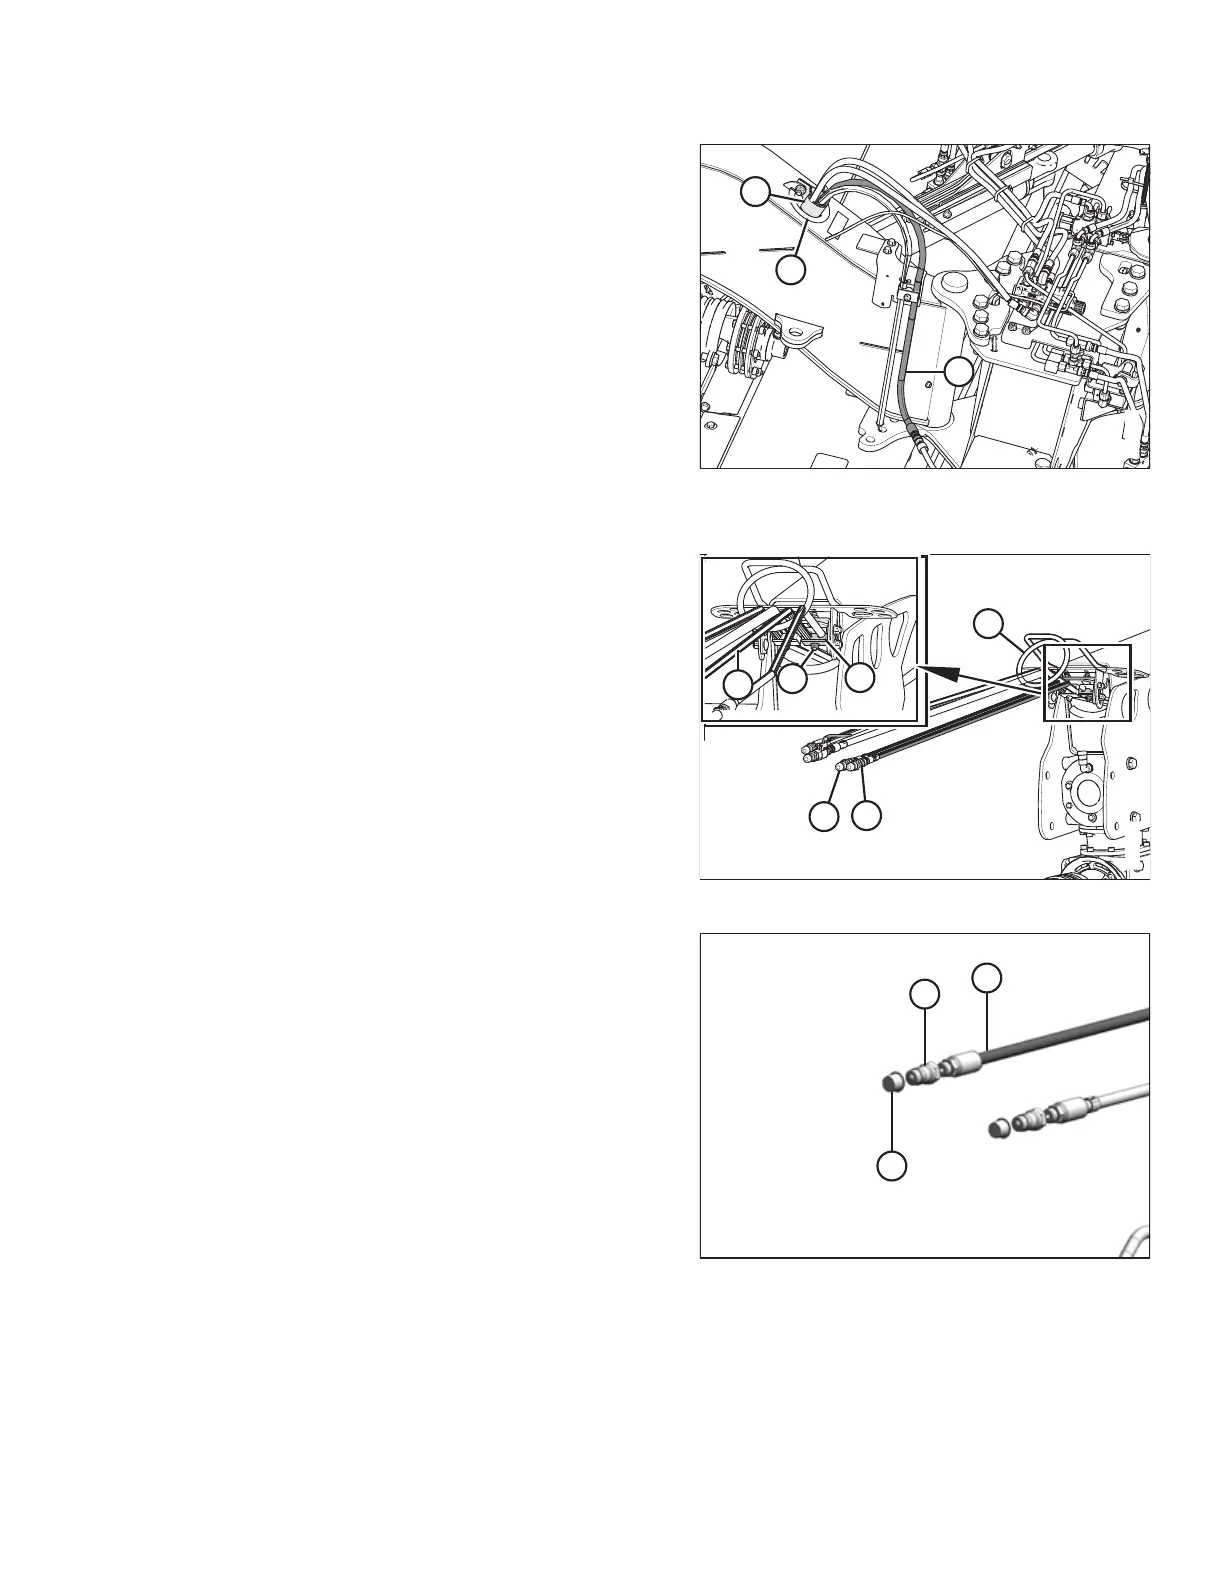
Figure 4.65: Lift Hoses
14. Position long hose (A) so that the exposed length at the
front of hitch matches existing hose (B). Route hose
through guide (C).
15. At front of hitch, loosen nut (D) on hose clamp (E) until
hose (A) can be positioned in clamp.
16. Tighten nut (D).
Figure 4.66: Lift Hose Fittings
17. Retrieve ORB-8 coupler (A) and plastic cap (B) from the
hardware bag.
18. At forward end of hitch, install coupling (A) and plastic
cap (B) onto secondary lift hose (C). Do NOT attach
hoses to tractor at this time.
ASSEMBLING THE DISC MOWER (FACTORY-INSTALLED TRANSPORT)