a length for the Sample to be recorded: either 1, 2, 4, 8, or 16 bars — or choose Free if
you don’t want to set any duration limit to the recording. At any time you can click Stop to
stop the recording before the duration defined by LENGTH has been reached — the record-
ing will then stop at the next bar.
▪ Detect: If Detect is selected, you can set a certain threshold using the THRESHOLD control
on the right. After you clicked Start, the input signal level exceeding this threshold will
start the recording. You can then manually stop the recording by clicking Stop. This is use-
ful to record a singer or an instrumentalist, for example. You can also adjust the threshold
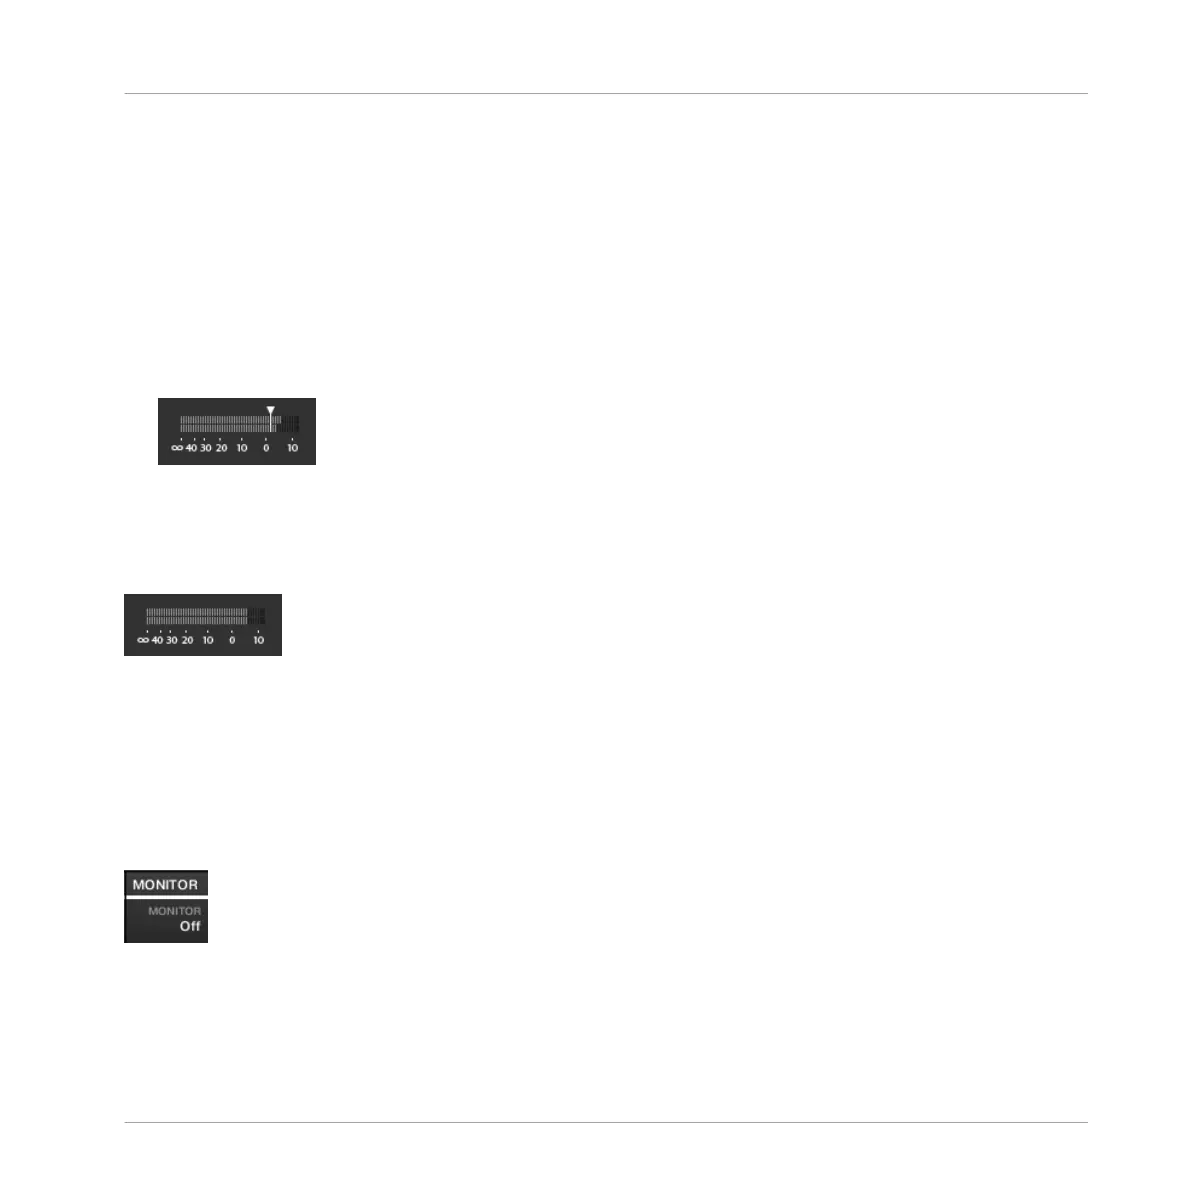
by dragging the slider that appears on the horizontal input level meters above the RECORD-
ING section:
Any input level reaching the slider position will start the recording! Double-click the slider
to reset the threshold to its default value (-12 dB).
Monitoring the Input Signal
Visually controlling the input signal.
The level meters above the RECORDING section show you at any time the level of the selected
audio source. For example, this can come in handy to adjust the appropriate threshold in De-
tect mode. For this purpose, in Detect mode the level meters additionally provide a fader ad-
justing the threshold level — this fader is a strict equivalent to the THRESHOLD control de-
scribed above. This way, you can easily visualize when the input signal exceeds the current
threshold (and hence, when it would start the recording) and adjust that threshold accordingly.
Prelistening to the input signal.
Sampling and Sample Mapping
Recording a Sample
MASCHINE - Manual - 755