ACCESS GATEWAY
Installing the Access Gateway 27
Installation Workflow
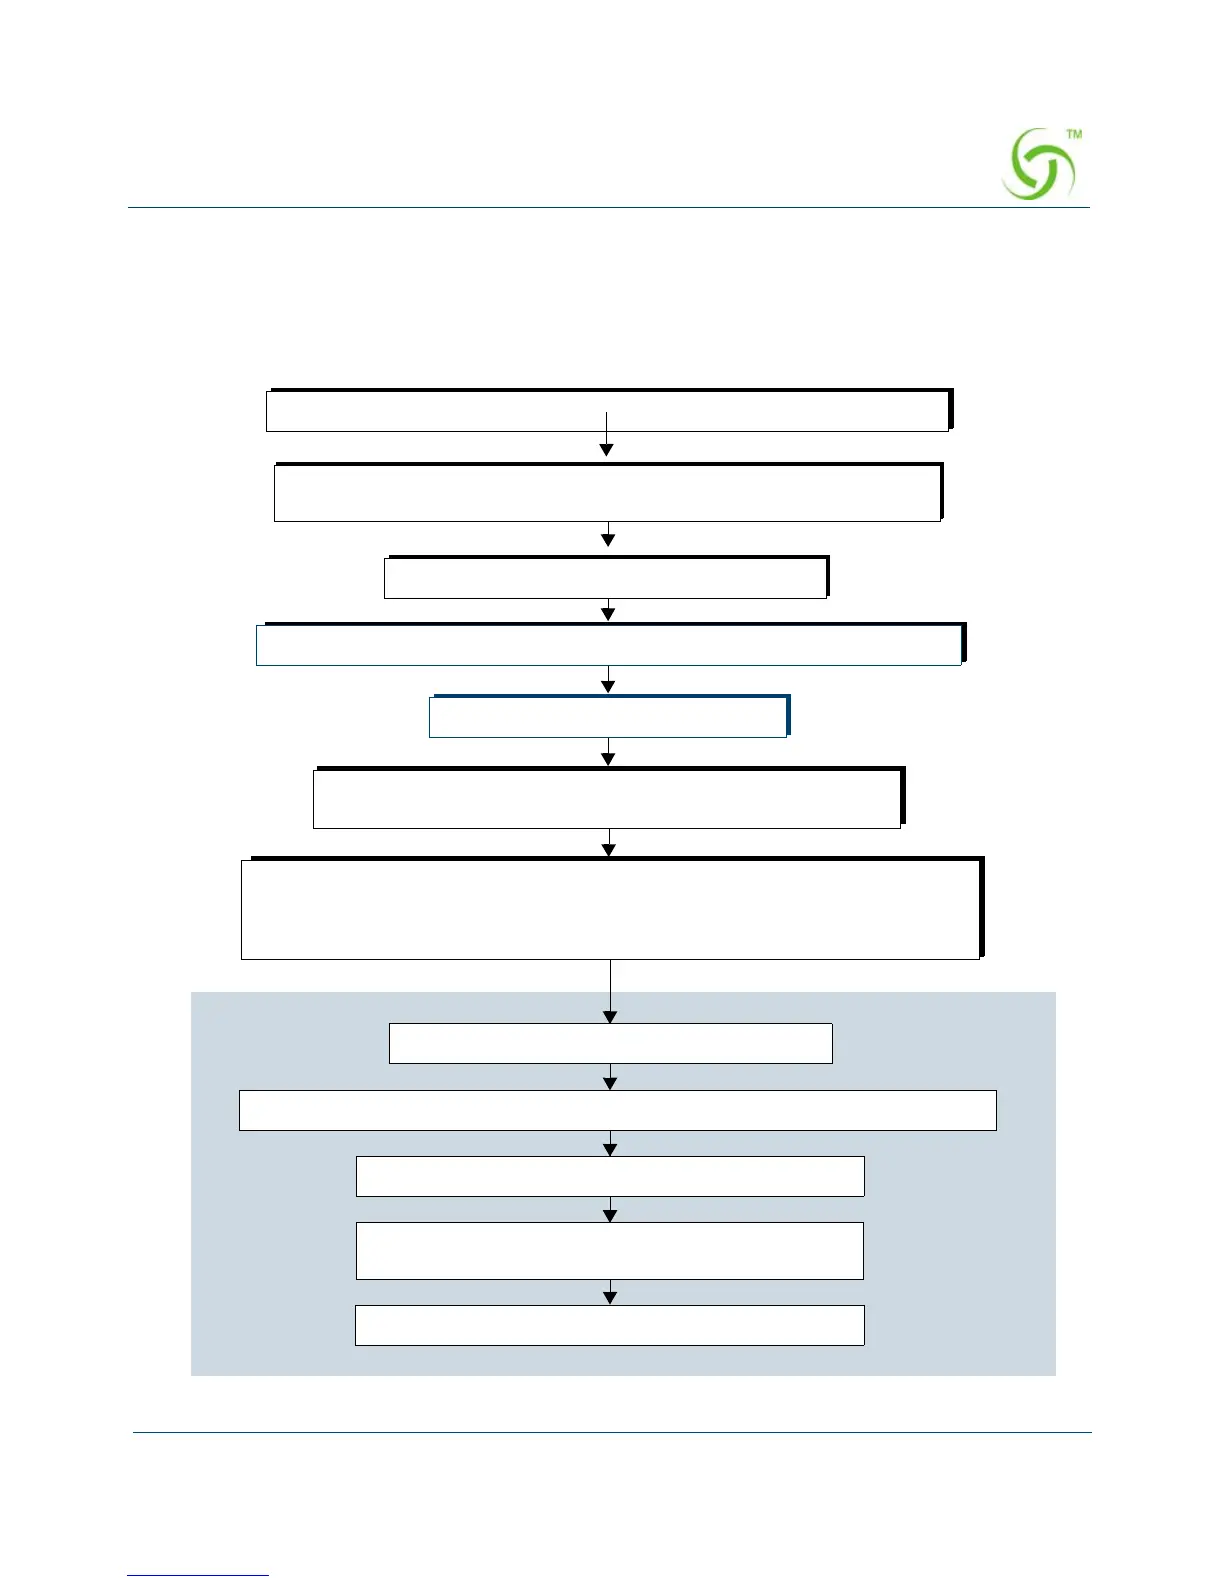
The following flowchart illustrates the steps that are required to install and configure your
Access Gateway successfully. Review the installation workflow before attempting to install
the Access Gateway on the customer’s network.
Place the AG on a flat and stable work surface and connect the power cord.
Start a HyperTerminal session to communicate with the AG via the serial port.
Power up your computer and turn on the AG.
Log in to the Command Line Interface.
When prompted, configure your AG’s IP, DNS, and Location
settings. The AG will then prompt you to reboot the system.
Connect the AG to the customer’s network.
Power up the AG and log in via a Telnet session or the Web Management Interface.
Set the basic configuration parameters for subscribers.
Network
Connect the AG to a “live” network. Use the DB9 serial cable (6 ft. length)
between the AG’s serial port and your computer.
Export your configuration settings to an archive file.
The AG is now ready for administrators to add, delete, or
change unique subscriber profiles.
When prompted, accept to the Nomadix End User License Agreement (EULA). You
must accept the EULA before the AG can connect with the Nomadix License Key
Server. When the key is successfully received from the server, your AG will reboot.
You can now power down and connect the AG to the customer’s network.