ACCESS GATEWAY
System Administration 225
10. Select the protocol (TCP or UDP) from the pull-down menu.
11. Click on the Add button to add this static port, or click on the Reset button to reset all
values to their previous state.
For more information about Static Port-Mapping, see also:
“Displaying the Static Port Mapping Table {Static Port-Mapping}” on page 147.
“Deleting Static Ports {Static Port-Mapping Delete}” on page 225.
Deleting Static Ports {Static Port-Mapping Delete}
Static Port-Mapping allows the network administrator to setup a port mapping scheme that
forwards packets received on a specific port to a particular static IP (typically private and mis-
configured) and port number on the subscriber side of the Access Gateway. The advantage for
the network administrator is that free private IP addresses can be used to manage devices (such
as Access Points) on the subscriber side of the Access Gateway without setting them up with
public IP addresses.
This procedure shows you how to add static ports.
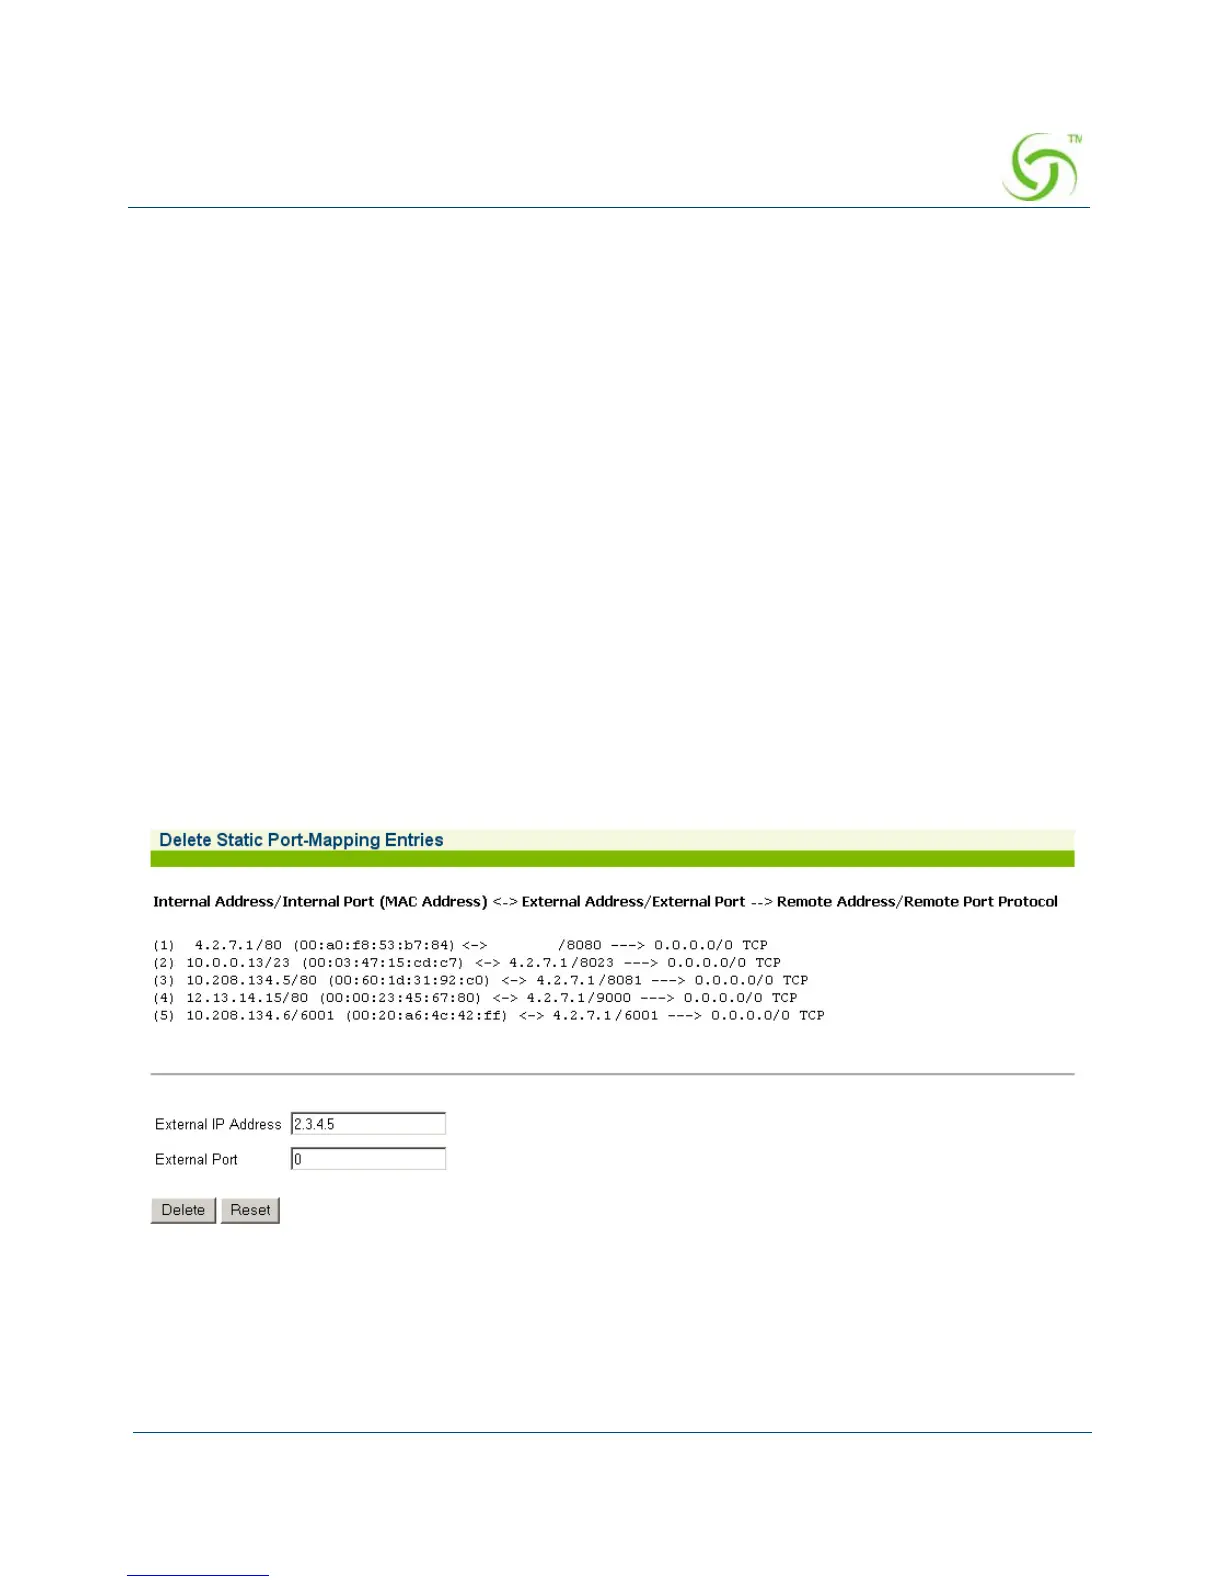
1. From the Web Management Interface, click on System, then Static Port-Mapping
Delete. The Delete Static Port-Mapping Entries screen appears:
2. Enter the External IP Address and/or the External Port of the item you want to delete.
3. Click on the Delete button to delete the static port, or click on the Reset button to reset
your changes to their previous state.
For more information about Static Port-Mapping, see also: