Installation
3-15
Part 1128350_02
E 2020 Nordson Corporation
Mounting the Melter
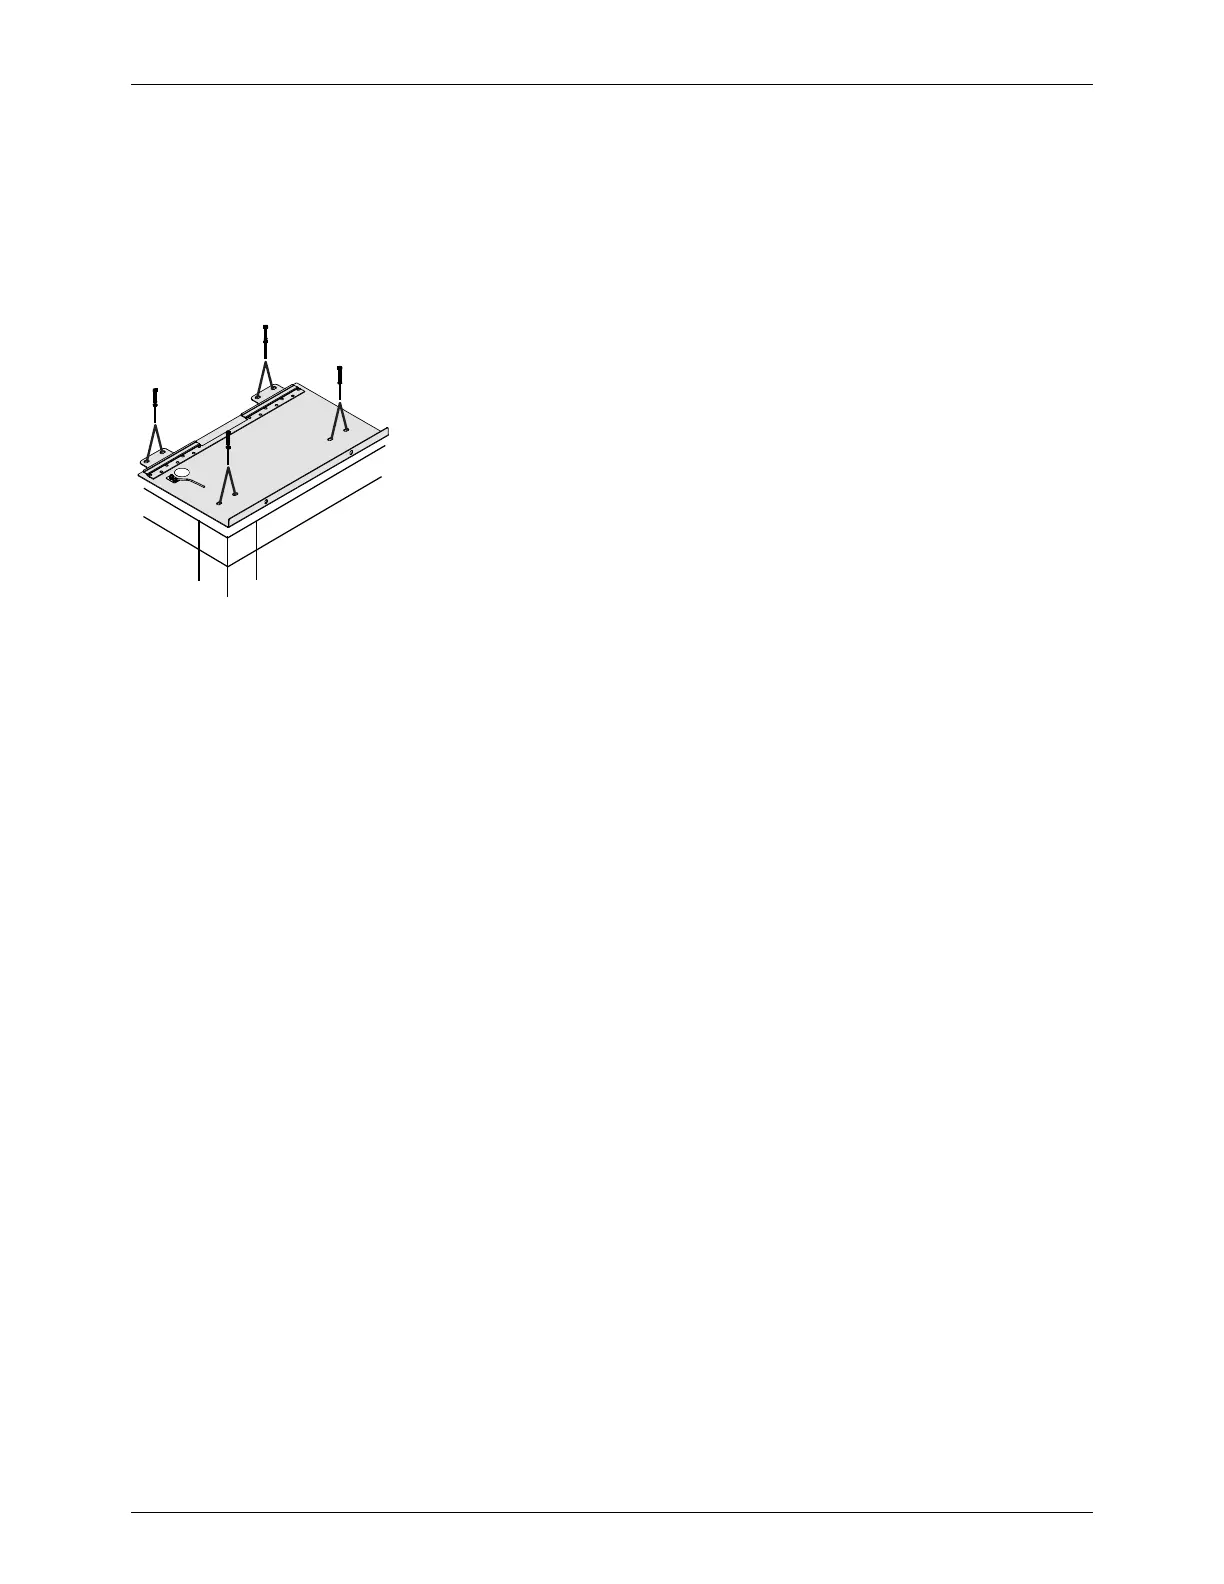
1. Markthesub-baseboltpatternontheparentmachineorsupport
structureandthendrillholesforfour8mm(
5
/
16
in.) mounting bolts
(customer-supplied).
NOTE: The mounting sub-base has the same bolt-mounting pattern as
Nordson's ProBlue
®
melters.
2. Bolt the sub-base to the parent machine using four 8-mm (
5
/
16
in.)
machine bolts with locking hardware. See figure on the left.
NOTE: If you want to route the incoming power line from underneath the
melter and through the sub-base, refer to ConnectingIncomingPower
given in the following page.
3. Carefully lower the melter onto the sub-base.
4. Slide the melter forward so that the sub-base locking tabs securely
connect with the melter.
5. Lock the melter to the sub-base by reattaching the two M8 socket head
cap screws located on the front of the chassis using an M6 hex wrench.
NOTE: TorquetheM8socketheadcapscrewsto17ft-lb(23Nm).
6. Connect the ground wire from the ground wire connection on the
sub-base plate into the ground wire connection on the chassis. Reinstall
the cove r plate and fasten the screw.