NTI ENTERPRISE ENVIRONMENT MONITORING SYSTEM
99
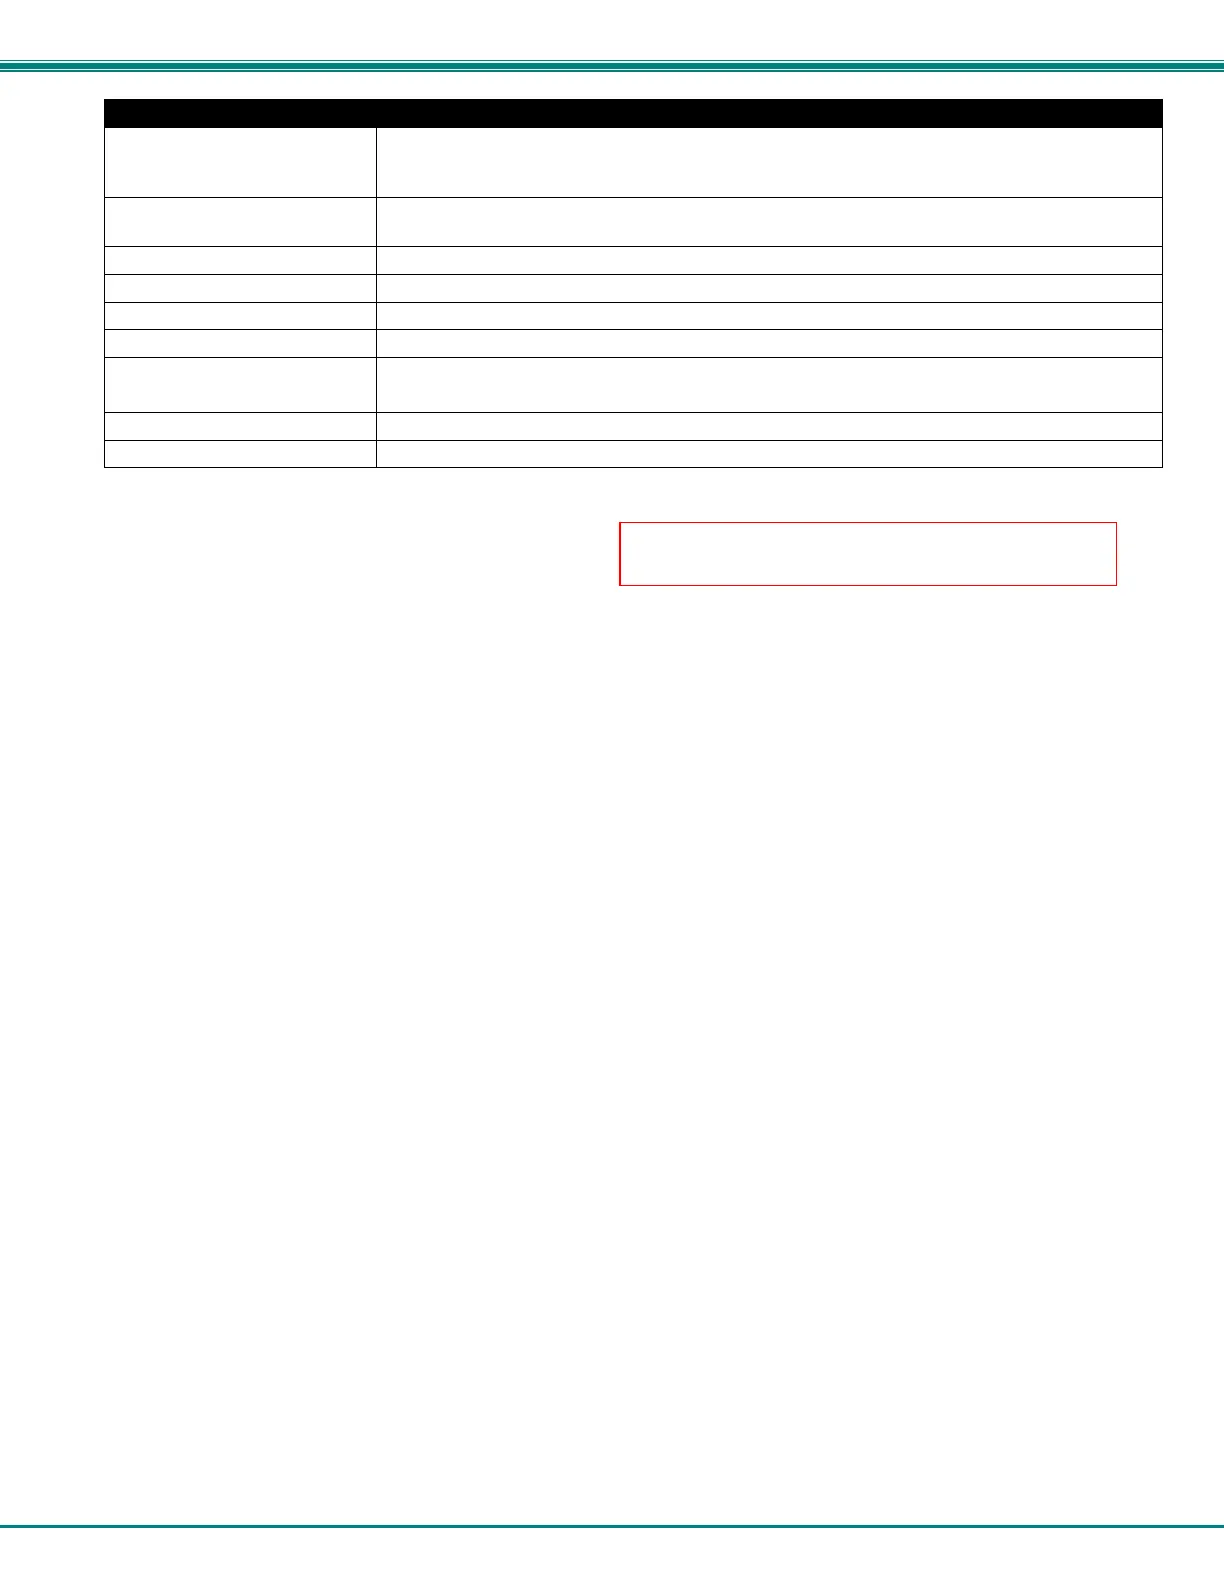
Alert Settings
Group Just as sensors are assigned to a group, a Slave loss alert can be assigned to a group. In the
event a Slave loses connection with the Master, for any reason, an alert notification will be sent
to all users subscribing to alerts from this sensor group.
Notify on Return to Normal The user can also be notified when the connection to a Slave has been restored by selecting
the "Notify when return to normal" box.
Enable Syslog Alerts Place a checkmark in this box to have alert notifications sent via Syslog messages
Enable SNMP traps Place a checkmark in this box to have alert notifications sent via SNMP traps (v2c)
Enable Email Alerts Place a checkmark in this box to have alert notifications sent via Email
Email Subject Enter the subject to be viewed when an email alert message is received
Enable SMS Alerts
Place a checkmark in this box to have alert notifications sent via SMS messages (requires a
modem)
Enable Siren Turn ON the Master unit siren when a Slave connection is in an alert state
Enable Beacon Turn ON the Master unit beacon when a Slave connection is in an alert state
Note: The Beacon and Siren connections of the Slave units are not used.
Be sure to click Save before exiting this page.
8. Power-cycle each Slave unit and allow to fully boot up.
9. Power-cycle the Master unit
Sensors attached to the connected slaves will appear when viewing the Summary Page for the master (see Figure 111).
Note: Contact sensors wired to “RJ45 Sensor” ports and any sensor connected to “Dig
ital Input” terminals must first be
added to the sensor list from the web interface of the Slave unit before they can be monitored and configured from the
Master unit.
If the ENVIROMUX in a cascade configuration is behind a firewall, be sure to open port 5919 so that it can communicate
with other ENVIROMUXs.
Summary- Steps to Setup Cascading
1. Define whether the unit will be the Master, an Ethernet Slave or an RS485 slave.
2. Assign unique IP addresses to Ethernet Slaves
3. Assign unique RS485 addresses to RS485 slaves and connect to Master unit with CAT5 cable. Don’t forget to install the
terminating plug!
4. Configure Master unit to communicate with each Slave unit (Figure 109).
5. Configure a
lert settings for cascaded slaves (in Master unit only) to alert user(s) when connection to any slave is lost and
restored.
6. Power-cycle each Slave, allow them to fully boot up, then power-cycle the Master unit.
7. Configure sensors of all units (Master and Slaves) as desired from the web interface of the Master unit.
Note: Contact sensors wired to “RJ45 Sensor” ports and any sensor connected to “Digital Input” terminals must first be
added to the sensor list from the web interface of the Slave unit before they can be monitored and configured from the
Master unit.
Note: The master and each slave must be power-cycled
for changes to take effect.
 Loading...