Configuration Guide Web-based Configuration
Figure 1-7 Create VLAN
Enter the VLAN ID and VLAN Name (optional) and then click Save to validate the setting. After
the succesful setting, the new VLAN is displayed on the VLAN Management page.
Delete: To delete the specified VLAN, select the corresponding checkbox and then click Delete
to validate the configuration.
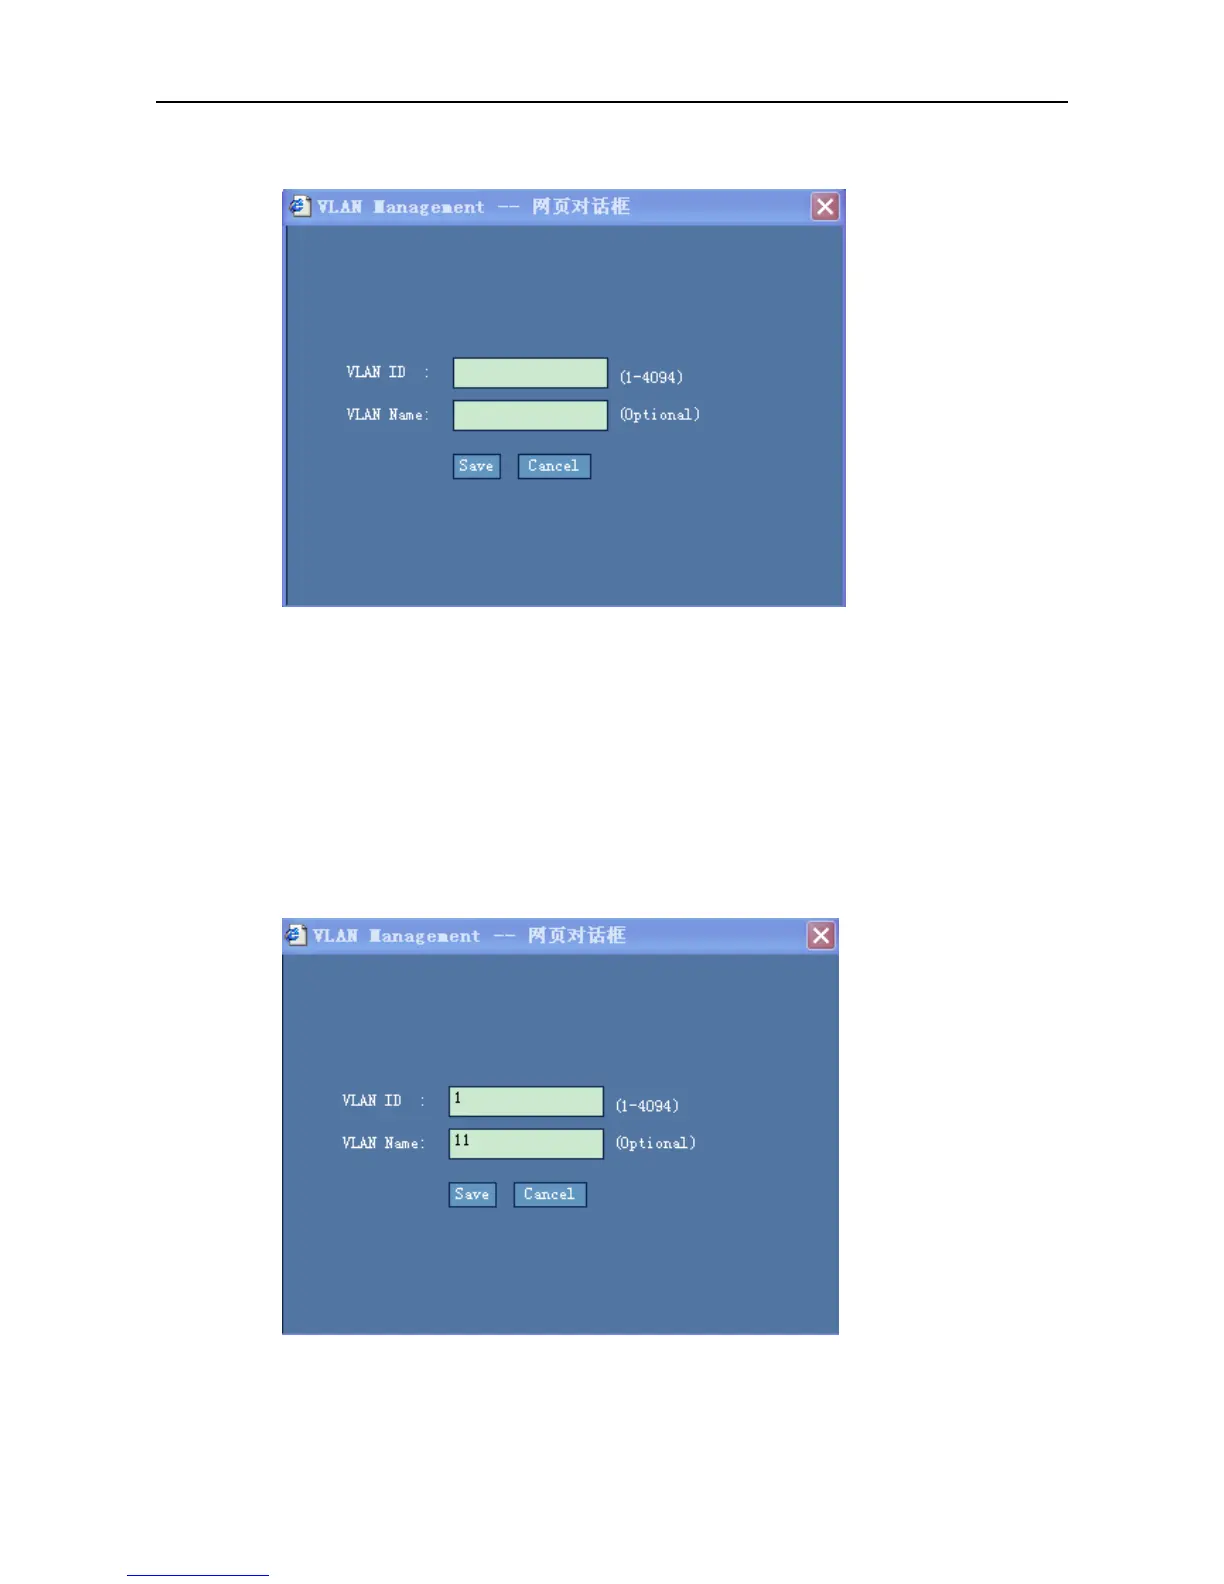
Modify: To modify the configured VLAN, select the corresponding checkbox and then click
Modify to display the following configuration page.
Figure 1-8 Modifying VLAN
The VLAN information to be modified is displayed in the textbook. After modifying the VLAN
information, click Save to validate the configuration. The modified result is displayed in the
VLAN management page.
 Loading...