Operating Procedure
2-6
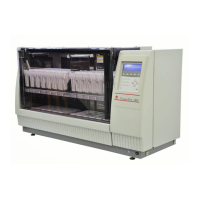
5. Open the door at the bottom of the cover to set a basket into the start station. Push the top of the
center of the door toward the back once opens the door toward you. When the door opens, draw out
the reservoir in the start station and set by paying attention to the orientation of the basket in which
slides have been set. Set the basket so that the "UP SIDE" mark on top of the basket adapter faces
right. Align the grooves in the top surface of the start station with the grooves provided at both ends of
the top surface of the basket adapter. After setting the basket, push the start station reservoir into the
instrument, close the door, and then push the door until a click sound is heard.
When setting a small solution reservoir or special stain solution reservoir, attach an applicable
adapter to the start station. If not, stain process cannot be performed correctly. Also confirm that the
arm holder has only one tab. If a wrong arm holder is set, stain process cannot be performed
correctly.
6. Touching the Start key at the bottom right of the screen displays a confirmation message. Select Start
to start staining.
7. Once staining starts, the Stain Process Monitor screen appears where you can check the current
processing. Refer to P. 2-7 for the operations permitted during stain process.
The starting procedure explained above is only one example. If the instrument has been set to start
staining upon closing of the door, you need not touch the Start key because closing the door
automatically starts stain process. Refer to P. 1-33 for the settings relating to the starting procedure.