76 FLOWSIC500 · Operating Instructions · 8025733/1GMJ/V4-2/2022-07 · © SICK Engineering GmbH
Commissioning
Subject to change without notice
4.3.3 Activate and configure the daylight saving time
1 Open the tile “System/User” in the “Parameter Modification” area.
2 Activate Configuration mode.
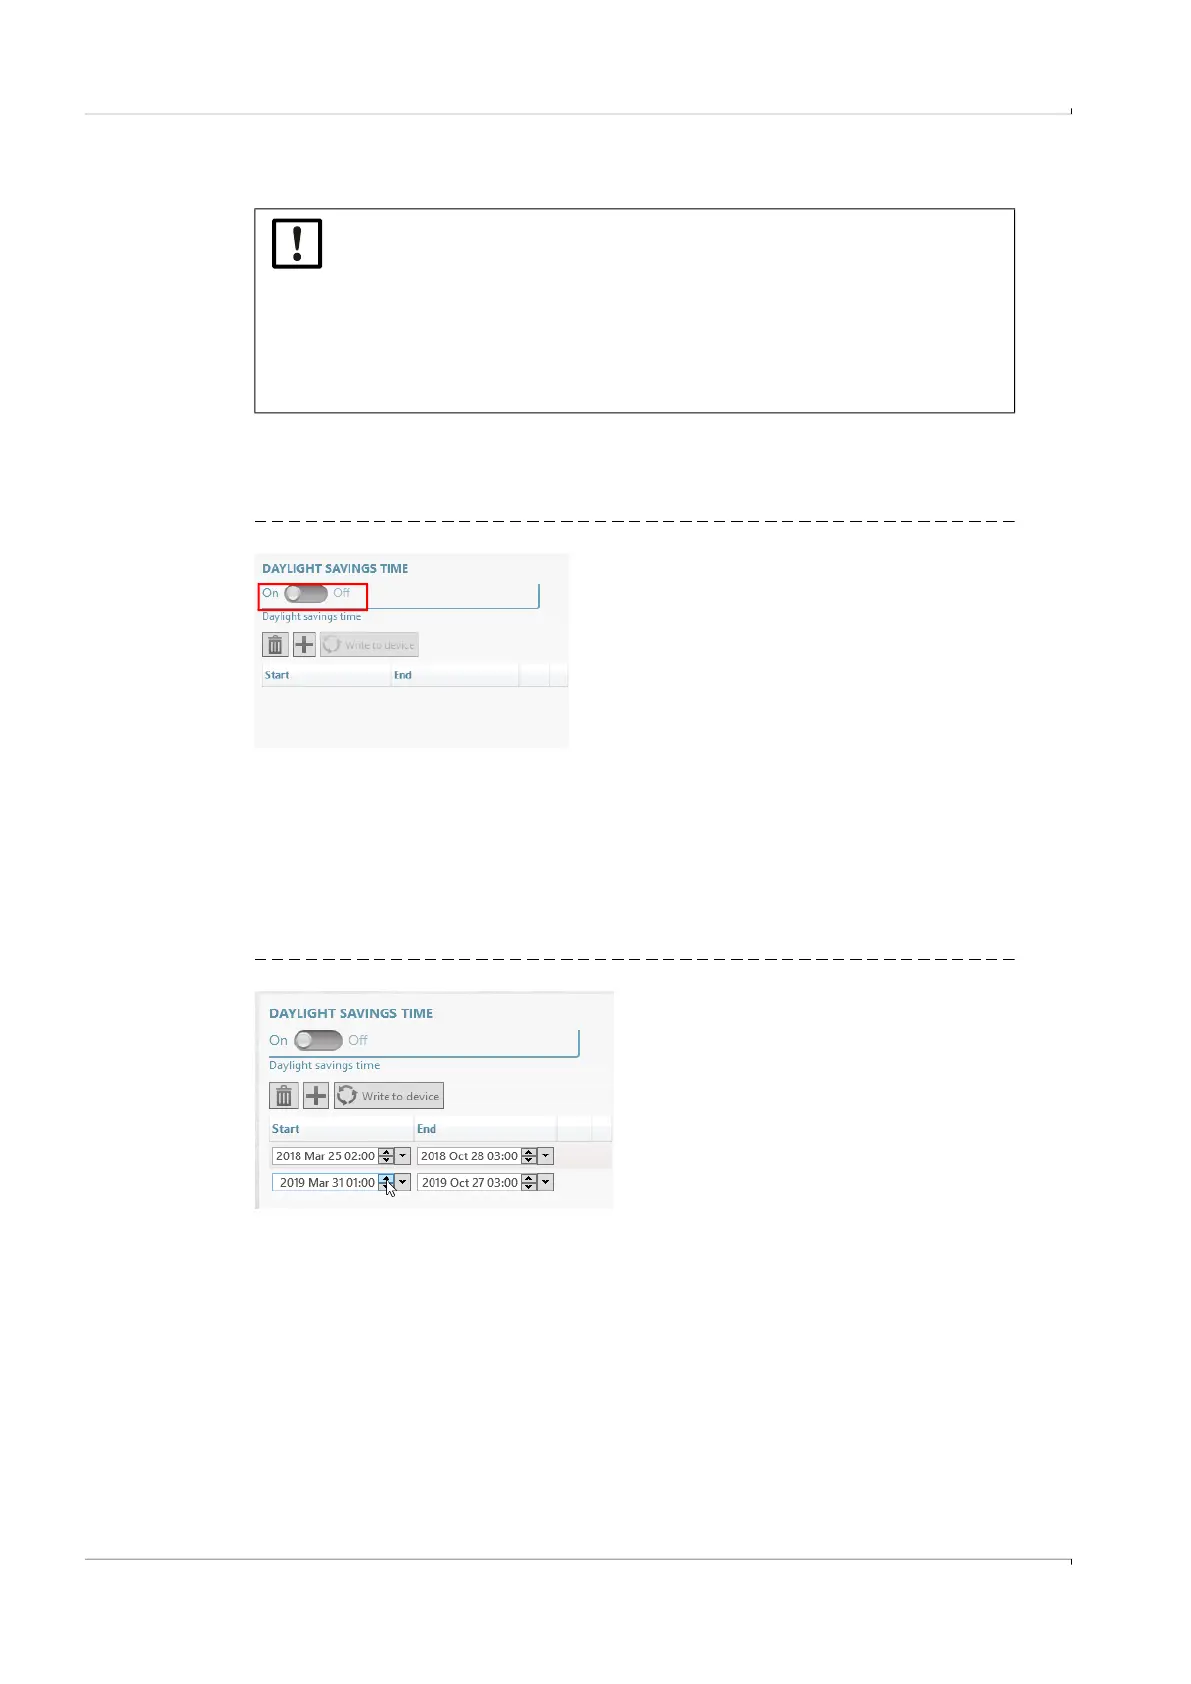
3 Activate the daylight saving time.
Fig. 42 Activating the daylight saving time settings
4 Click “+” to enter a new time period for daylight saving time.
5 Use the arrow buttons to set the start of the daylight saving time.
The FLOWgate™ operating software always increases or reduces the position you
clicked beforehand; e.g. the month is increased when the month is clicked. The year is
increased when the year is clicked. The FLOWgate
TM
operating software increases the
day by 1 when the text box is not clicked.
The date can also be entered using the keyboard.
Fig. 43 Setting the time period for the daylight saving time
6 Then set the end of the daylight saving time.
7 Click “Write to device” to write the daylight saving time to the FLOWSIC500.
8 Enter further time periods when desired. Daylight saving time start and end can be
configured for up to 10 years in advance.
NOTICE:
If the optional feature "Load recording device with maximum load display" fea-
ture is activated, the periods for daylight saving time are preset at the factory
for 10 years.
The periods for daylight saving time must be updated before the preset times
expire. This is the responsibility of the plant operator.
To ensure that the archive entries are displayed correctly, the last two years
must be retained when updating.