148
Basic Procedure for DME Wipe Settings
Chapter 6 DME Wipes
Display indications when multiple channels are
selected at the same time
The indications on the knobs show the settings of the
lowest-numbered channel. When you turn the knobs to
adjust the settings, this changes the settings on the
other channels by the same amount.
Adjusting the DME wipe pattern cropping
When pattern numbers 1701 and 1702 are selected, crop
cannot be used.
1
In the M/E-1 >DME Wipe menu, select HF5 ‘Modify.’
The Modify menu appears.
2
Depending on whether the selected pattern is in one-
channel mode or two-channel mode, proceed as
follows.
For a pattern in one-channel mode: press [1st Ch],
turning it on.
For a pattern in two-channel mode: from the <Ch
Select> group, select the corresponding channel.
You can select more than one channel at the same
time. Some patterns need no selection which is
fixed in the <Ch Select> group.
3
In the <Crop Mode> group, press [Crop], turning it on.
4
Set the following parameters.
Display indications when multiple channels are
selected at the same time
The indications on the knobs show the settings of the
lowest-numbered channel. When you turn the knobs to
adjust the settings, this changes the settings on the
other channels by the same amount.
In 16:9 mode, to crop to 4:3 aspect ratio
In the <Crop Mode> group, press [4:3 Crop], turning it on.
To set the action when a DME wipe crop
transition is executed
1
In the M/E-1 >DME Wipe menu, select HF5 ‘Modify.’
The Modify menu appears.
2
Depending on whether the selected pattern is in one-
channel mode or two-channel mode, proceed as
follows.
For a pattern in one-channel mode: in the <Ch
Select> group, press [1st Ch], turning it on.
For a pattern in two-channel mode: from the <Ch
Select> group, select the corresponding channels.
You can select more than one channel at the same
time.
3
In the <Crop Mode> group, press [Crop] or [4:3 Crop]
(to crop from 16:9 to 4:3 aspect ratio), turning it on.
4
In the <Crop Mode> group, press [Remove From
Begin].
The Remove From Begin menu appears.
5
In the <Crop Transition> group, select the execution
mode for the DME wipe crop transition.
Cut: Cut mode. The cropping does not change during
the transition, but at the end point of the transition
the cropping is removed (enlarges).
Last 5%: The cropping is maintained for the first 95%
of the transition, and is progressively removed
during the last 5% of the transition (enlarges).
Linear: The cropping is removed linearly through the
whole course of the transition (enlarges).
Notes
Parameter group [1/2]
Knob Parameter Adjustment Setting values
1 H Crop the left
and right of the
image
Left value shown
2 V Crop the top
and bottom of
the image
Top value shown
3 All Crop the top,
bottom, left,
and right of the
image
Left value shown
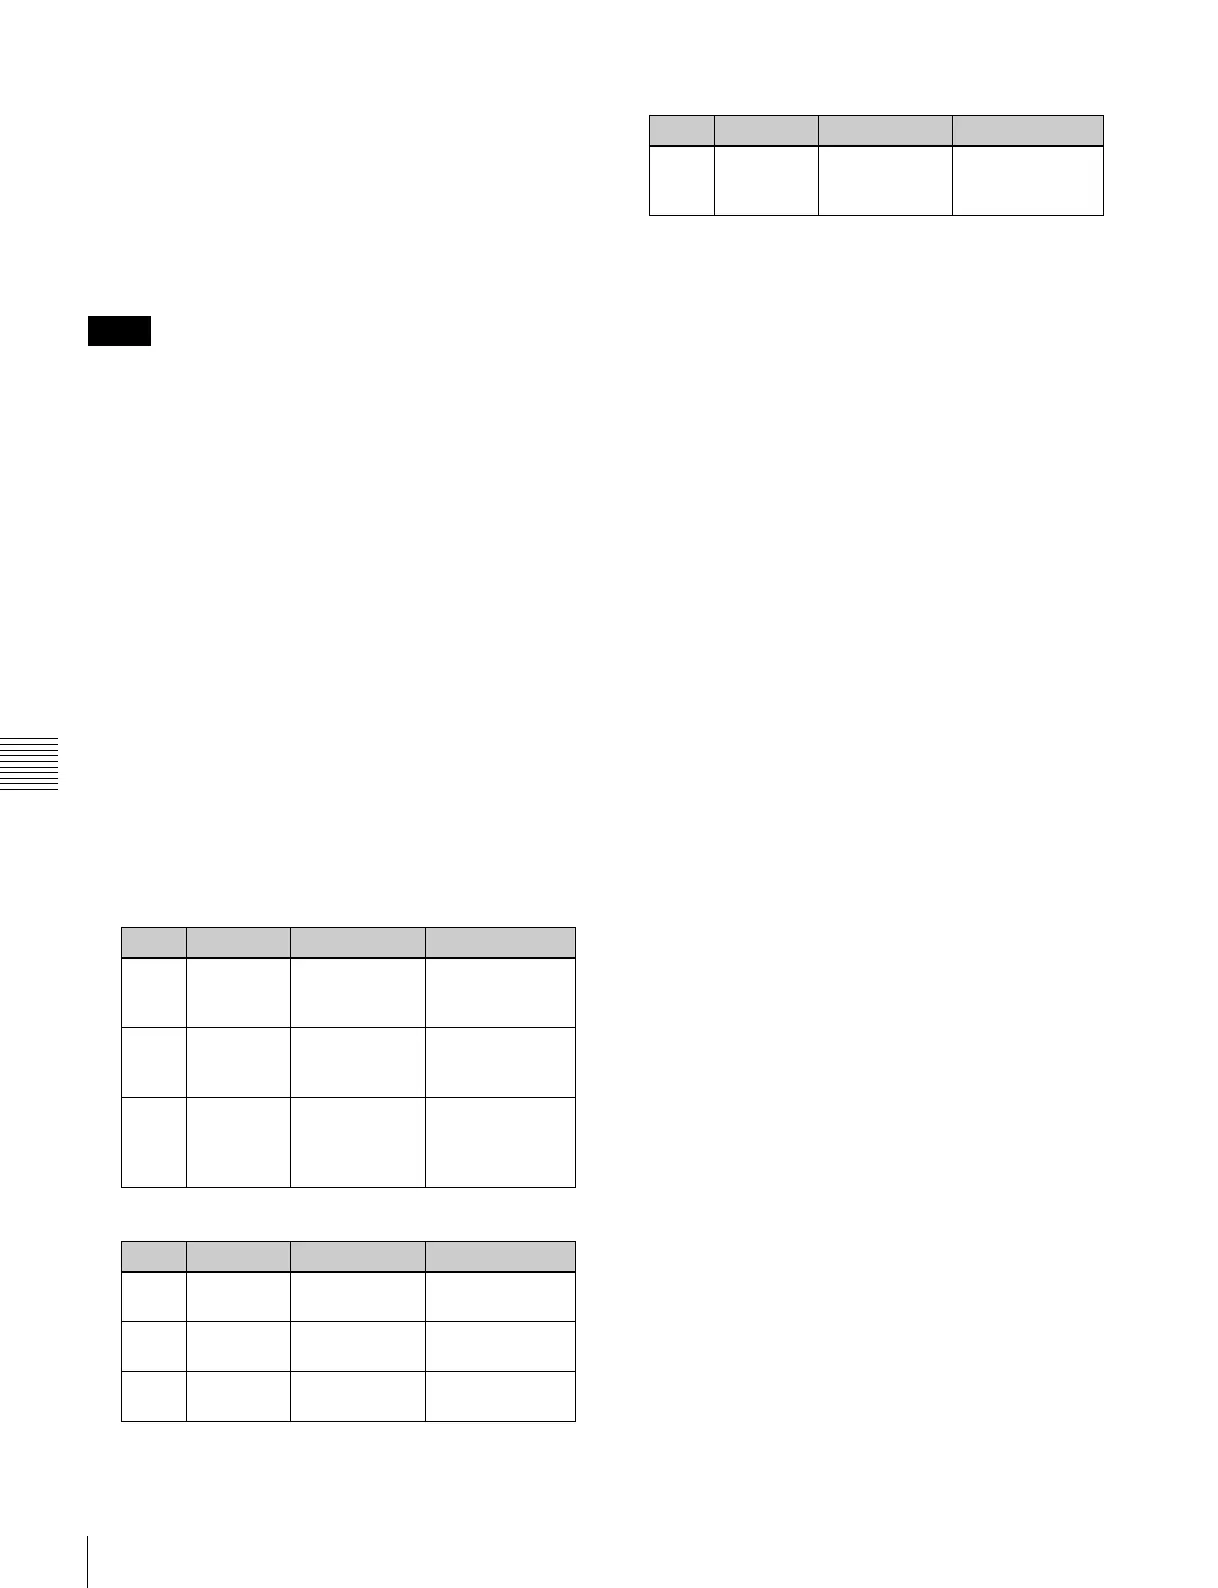
Parameter group [2/2]
Knob Parameter Adjustment Setting values
1 Top Crop the top of
the image
–100.00 to
+100.00
2 Left Crop the left of
the image
–100.00 to
+100.00
3 Right Crop the right
of the image
–100.00 to
+100.00
4 Bottom Crop the
bottom of the
image
–100.00 to
+100.00
Parameter group [2/2]
Knob Parameter Adjustment Setting values
 Loading...


