533
Signal Output Settings (Output Menu)
Chapter 20 Switcher Setup (Switcher)
2
In the <Output Assign> group, select either of the
following.
[Re-Entry Source]: It is possible to make duplicate
assignments.
M/E-1 Output 1 to 6
a)
M/E-2 Output 1 to 6
a)
M/E-3 Output 1 to 6
a)
M/E-4 Output 1 to 6
a)
PGM/PST 1 to 6
a)
M/E-1 to 4 Proc Video
P/P Proc Video
M/E-1 to 4 Proc Key
P/P Proc Key
DME Monitor Video
DME Monitor Key
Color Corrector 1 and 2
Undefined
Color Bkgd 2
[Aux Bus]: It is not possible to make duplicate
assignments.
Preset
Edit Preview
AUX 1 to 48
a) M/E output signals selected in the M/E Output Assign menu.
3
Using any of the following methods, select the output
port number and signal to be assigned.
• Press directly on the list in the status area to make the
selection.
• Press the arrow keys to scroll the reverse video
cursor.
• Turn the knobs.
• For output ports not to be assigned, press [Inhibit].
The selected signal appears in reverse video.
4
Press [Set] to confirm the assignment.
Setting the Output Signal
In the following adjustment/setting operations, use any of
the following methods to select the output signal before
making the setting.
• Press directly on the list in the status area.
• Press the arrow keys to scroll the reverse video cursor.
• Turn the knob.
The selected output signal appears in reverse video.
Adjusting the video clip
To adjust the clip value for each of the output signals from
the Output 1 to 48 ports, use the following procedure.
1
In the Switcher >Output menu, press [Video Clip].
The Video Clip menu appears.
The status area shows the output ports and assigned
signals, and the white clip, dark clip, and chrominance
clip values.
2
Adjust the following parameters.
To set the values to the default values, press [Default].
Making vertical blanking interval
adjustment and through mode settings
1
In the Switcher >Output menu, press [V Blank/
Through].
The V Blank/Through menu appears.
The status area shows the output ports and the assigned
signals, the vertical blanking interval, and the through
mode Enable/Disable status.
2
Press [V Blank Mask].
3
Adjust the parameter.
a) Depending on the signal format, the adjustment range varies as
follows.
480i: 10 to 19
576i: 6 to 22
1080i/1080PsF: 7 to 20
720P: 7 to 25
1080P: 15 to 41
To return the values to their defaults, press [Default].
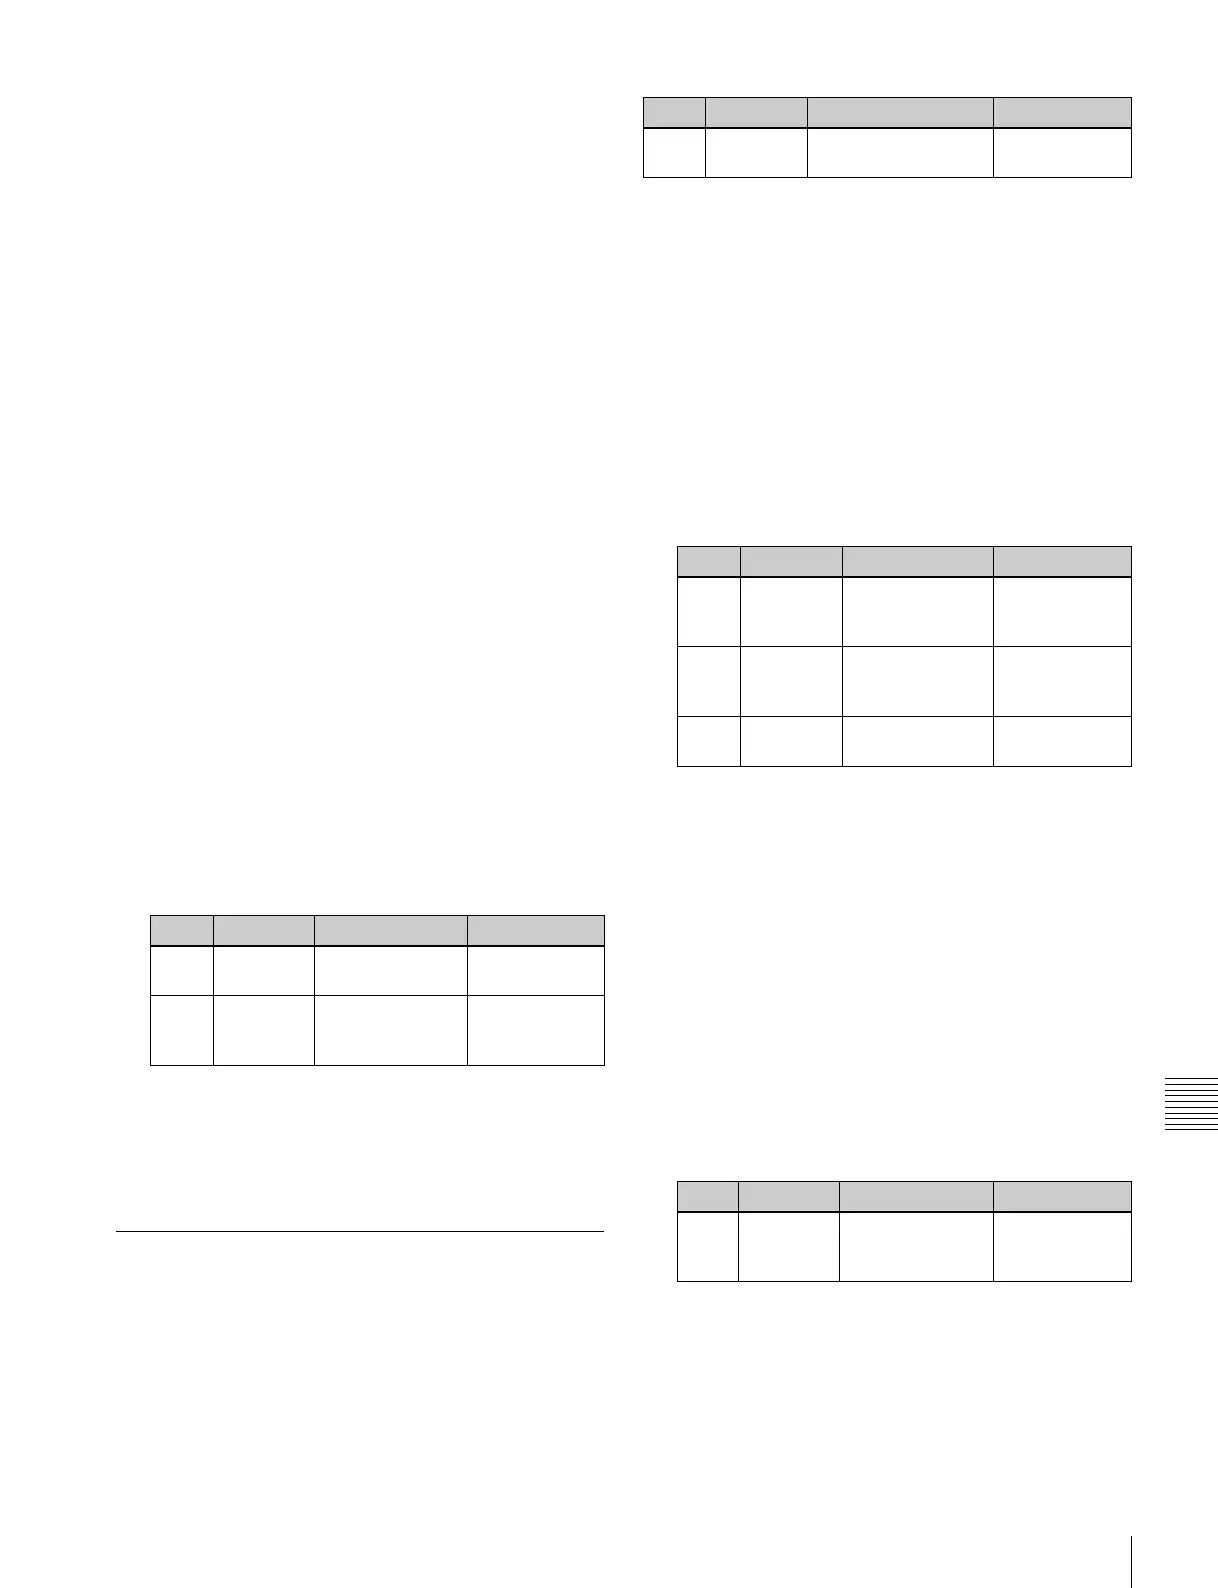
Knob Parameter Adjustment Setting values
1 Output No Output port
number
1 to 48
2 Source No Selection of
signal to be
assigned
1 and upwards
Knob Parameter Adjustment Setting values
1 Output No Output port number
selection
1 to 48
Knob Parameter Adjustment Setting values
2 White Clip Luminance
signal white clip
value
90.00 to 109.02
3 Dark Clip Luminance
signal dark clip
value
–6.85 to +10.00
4 Chroma
Clip
Chrominance
signal clip value
90.00 to 113.17
Knob Parameter Adjustment Setting values
2 Mask End Final value for
vertical blanking
interval
See note a)
below