287
Applying Special Effects (Lighting and Recursive Effects)
Chapter 11 DME Operations
Ext Video: Insert the external video signal input to the Ext
IN connector in the afterimage portion.
Rainbow: Use a freeze image with the hue changing every
frame in the afterimage portion. The difference from
“Hue Rotate” is that many colors appear
simultaneously.
For details of the Rainbow parameters, see the “Hue
Rotate” item above.
Applying modulation to the afterimage
portion (Modulation)
1
In the Wind menu, press [Modulation], turning it on.
2
Set the following parameters.
For details of Priority, Wind Freeze Timing, Wind
Eraser, Defocus, Dust, and Combine Process in the
Wind menu, see “Trail Settings” (page 282).
Spotlighting Settings
You can set up to three light sources (lights 1 to 3).
• The Spotlighting effect is not supported on the MVE-
8000A.
• The BZDM-9050 Texture Lighting Software (for MVE-
9000) is required to set lights 2 and 3.
• When the global effect Combiner is enabled, the settings
of the smallest-numbered channel selected for the
Combiner are used.
Adjustments to the image surface
The following adjustments can be made to the image
surface struck by the light.
• Adjusting the brightness of the whole image
• Selecting the image surface effect
• Test sphere function
• Adjusting the bumpiness of the image surface
• Coordinate axis on surface of image
• Texture deformations
Selecting the image surface effect
Flat: The image surface is unchanged, causing the selected
light source to appear as the effect.
Texture: A texture appears on the surface of the image.
Textures can be selected from among 30 patterns (see
page 354).
Non Linear: Spotlighting effect is applied to an area to
which a DME nonlinear effect is applied.
The BZDM-9050 is required to enable Texture and Non
Linear settings on the MVE-9000.
Test sphere function
A test sphere is a translucent sphere virtually embedded in
the center of the input picture to provide an intuitive way
for you to check the position and direction of the spotlight.
When you change the position or direction of a light
source, the side of the sphere closest to the light source
grows brighter. You can easily check the position and
direction of the light source by viewing the test sphere (see
page 289).
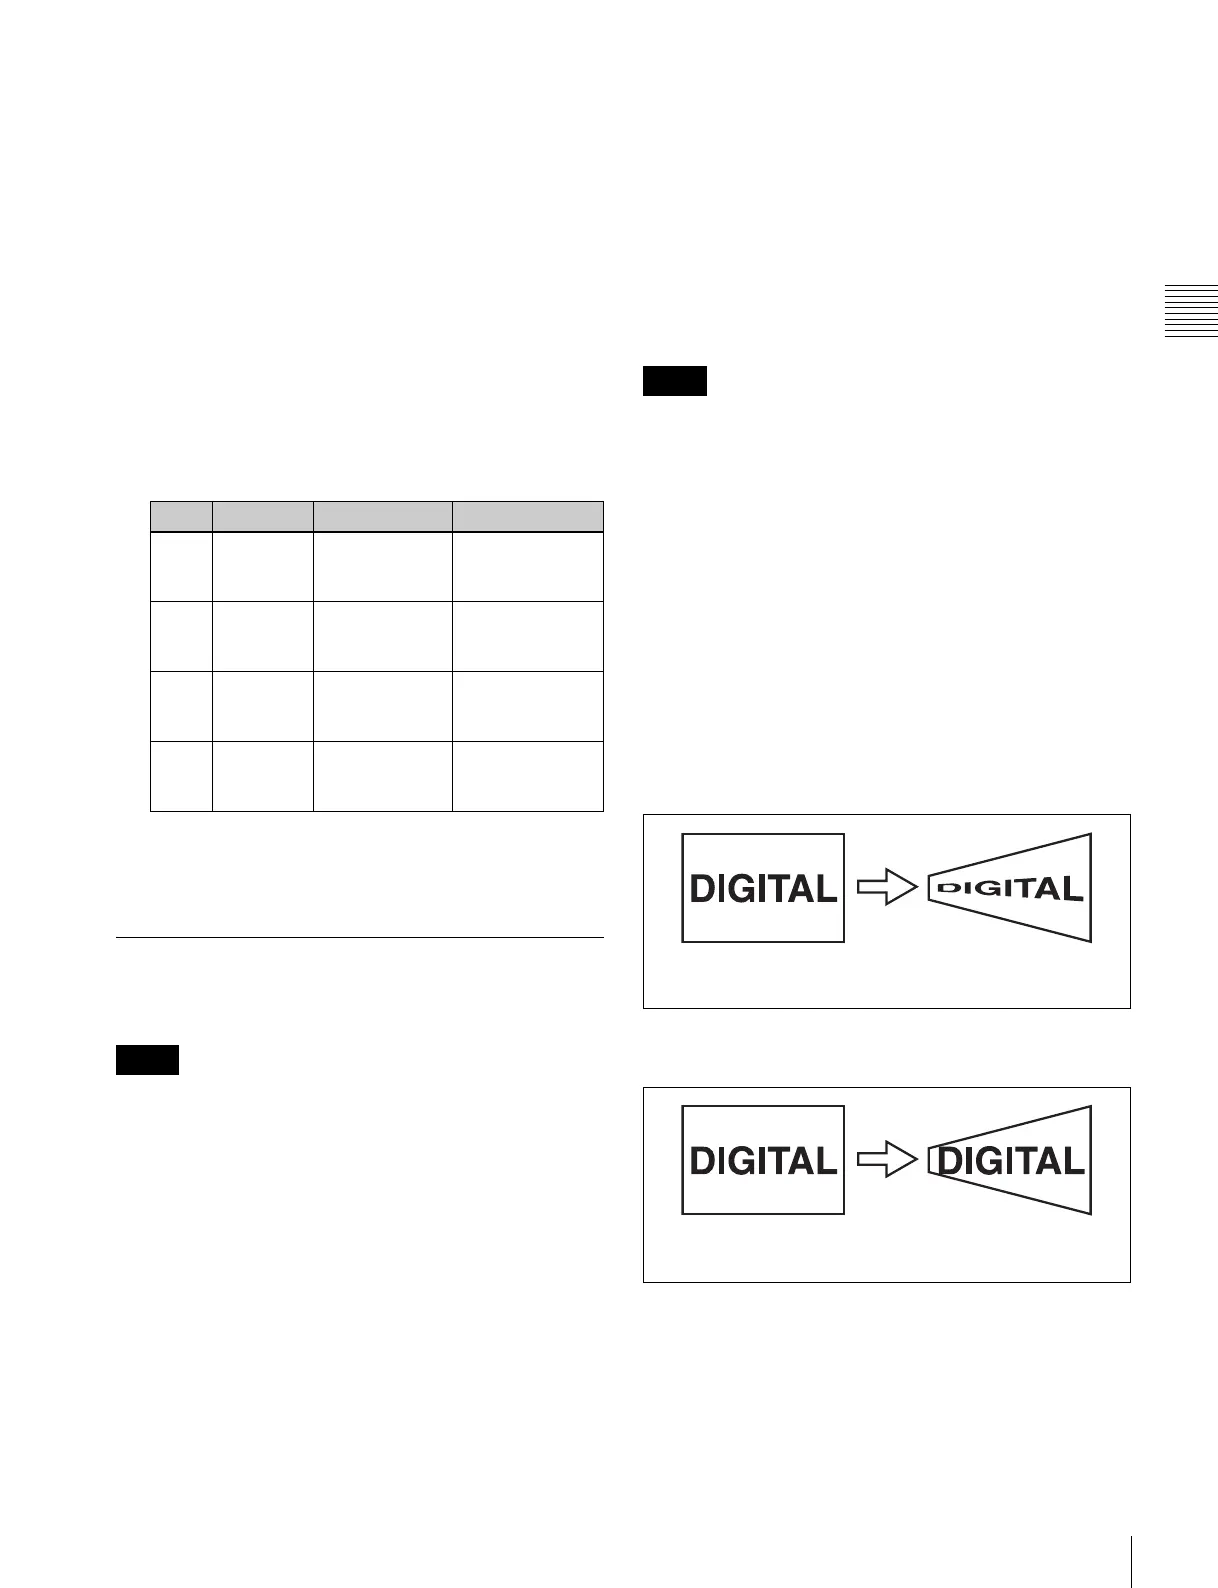
Coordinate axis on surface of image
Specify where to apply the texture or test sphere on the
image surface.
Move: The texture moves together with the DME image.
Fix: The texture does not move, even if the DME image
moves.
Texture deformations
You can change the texture pattern, position, and size, and
use the repetition function.
The following figure shows examples of a texture pattern
repeated in the X and Y directions.
Knob Parameter Adjustment Setting values
1 Amp H Horizontal
amplitude of the
wave
0.00 to 100.00
2 Freq H Horizontal
frequency of
the wave
–100.00 to
+100.00
3Amp VVertical
amplitude of the
wave
0.00 to 100.00
4Freq VVertical
frequency of
the wave
–100.00 to
+100.00
Notes
Notes
Image before movement Coordinate axis = Move
Texture moves together
with DME image.
Image before movement Coordinate axis = Fix
Texture does not move, even
if DME image moves.