447
Menu Macros
Chapter 16 Macros
For details of menus that can be recorded, see page
444.
• When auto insert mode (see page 432) is on,
carrying out a menu operation automatically saves
the event in a menu macro.
• When auto insert mode is off, skip to step 5.
5
When auto insert mode is off, press [Insert Before] or
[Insert After] to save the event.
6
Repeat steps 4 and 5, to record the required events in
the menu macro.
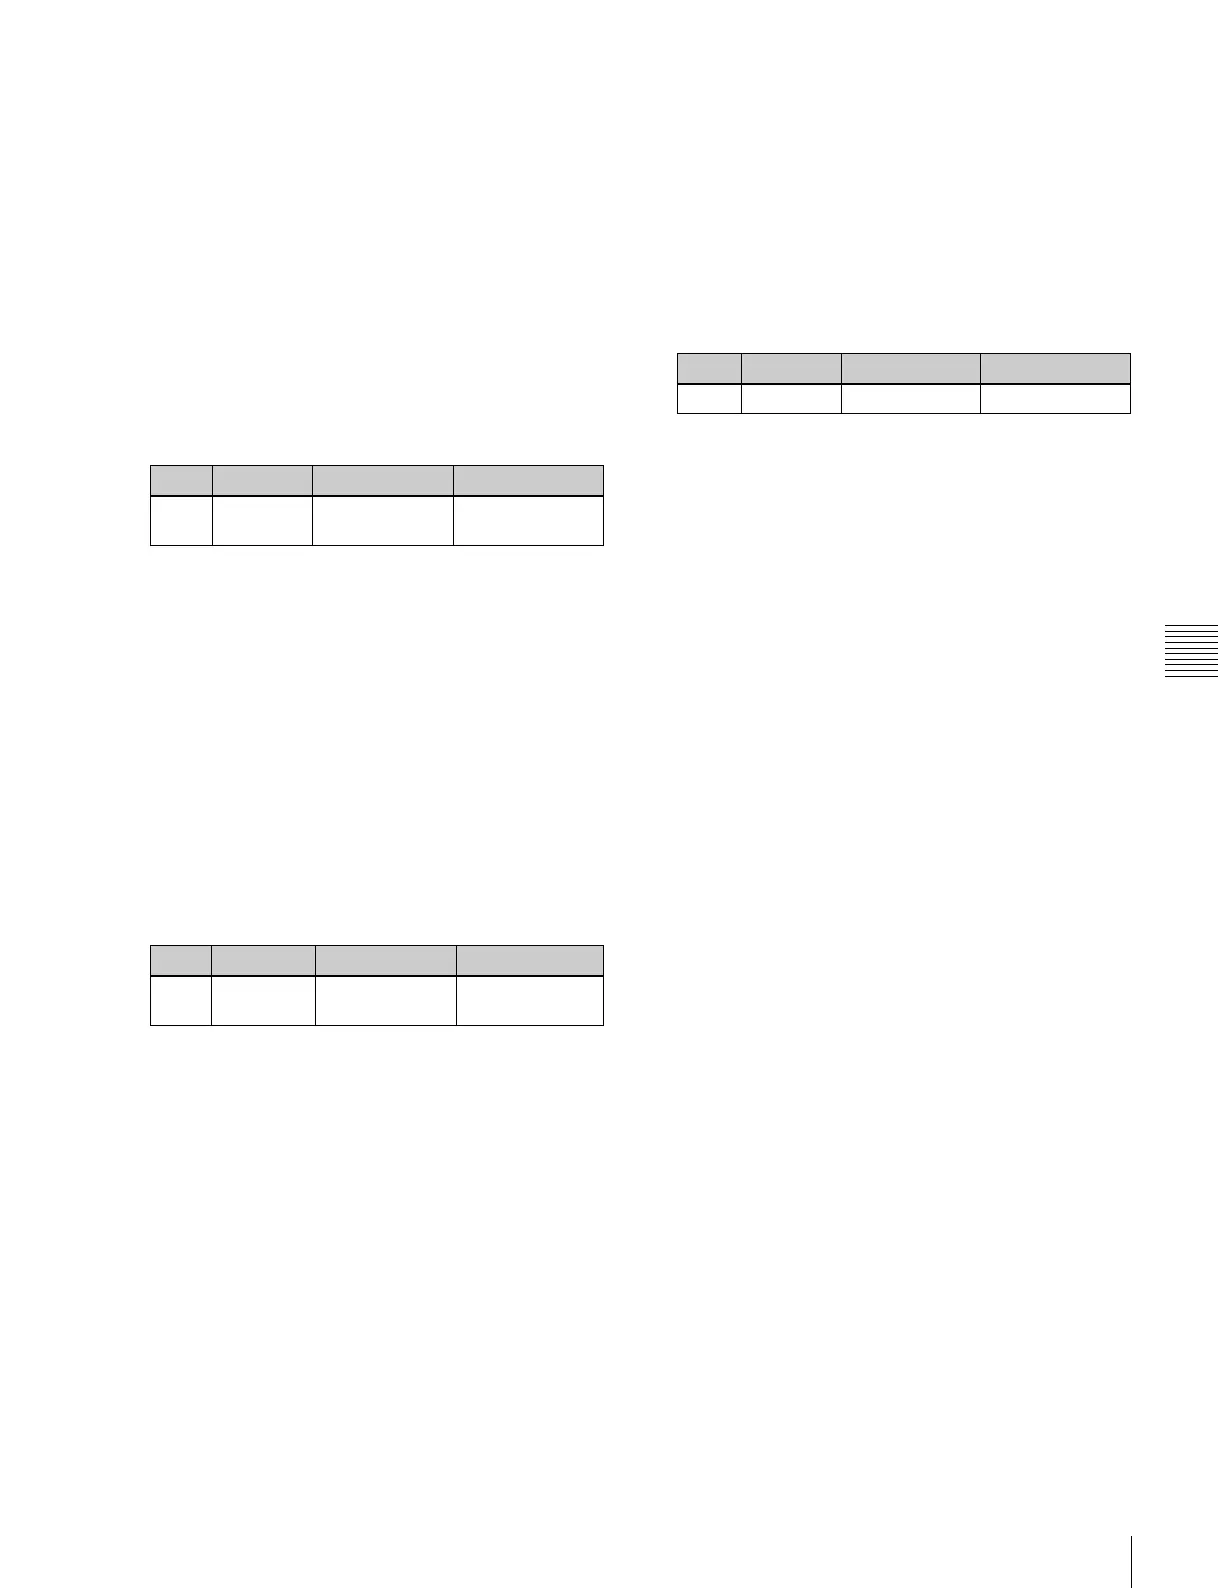
7
Turn the knob to input the event execution interval.
This value can be set for each menu macro register.
8
Press the [Store] button.
The numeric keypad window appears.
9
Enter the menu macro register number as required, and
press [Enter].
The menu macro is saved with the specified number.
The menu returns to the state in step 1.
To set a pause duration
During menu macro editing, use the following procedure.
1
Enter the pause duration by turning the knob.
2
Press [Pause Set].
• When auto insert mode (see page 432) is on, this sets
the pause duration, and inserts the pause event.
• When auto insert mode is off, use the same
operations as in step 5 of “Creating a new menu
macro” (page 446) to save the event.
Editing a menu macro
To edit the content of a menu macro, use the following
procedure.
1
In the Macro >Menu Macro Register >Recall & Run
menu, select the desired register on the menu macro
register list (see page 445).
2
Press [Menu Macro Edit].
The Menu Macro Edit menu (see previous figure)
appears. The menu macro register is recalled, and the
system is now in menu macro editing mode.
3
Select the event you want to edit.
• Press directly on the menu macro register
configuration list.
• Press the arrow keys on the right list to scroll the
reverse video cursor.
• Turn the knob.
• To select all events, press [All Event Select].
4
If required, press [Auto Insert] to switch the auto insert
mode on or off.
• When auto insert mode (see page 432) is on, a new
menu is automatically inserted after the event
selected in step 3.
• When auto insert mode is off, skip to step 5.
5
Carry out the editing, using any of the following
methods.
• To delete the selected event, press the [Delete]
button.
• To overwrite the selected event, carry out the new
menu operation, then press the [Modify] button.
• To insert an event before the selected event, carry
out the new menu operation, then press the [Insert
Before].
• To insert an event after the selected event, carry out
the new menu operation, then press the [Insert
After].
6
With the same operation as step 7 of “Creating a new
menu macro” (page 446), change the event execution
interval.
7
With the same operation as steps 8 and 9 of “Creating
a new menu macro” (page 446) save the register.
Exiting the Menu Macro Edit menu without
saving the results of editing
In the Menu Macro Edit menu, press [Exit].
Scrolling event display using the menu
macro listing
1
Move the cursor to the event you want to display.
2
Turn the knob.
Knob Parameter Adjustment Setting values
5Interval
Time
Event interval 0.0 to 0.5 (sec)
Knob Parameter Adjustment Setting values
4Pause
Time (Sec)
Pause duration 0.1 to 99.9 (sec)
Knob Parameter Adjustment Setting values
1 No Event number 1 and upwards