47
Names and Functions of Parts of the Control Panel
Chapter 2 Menus and Control Panel
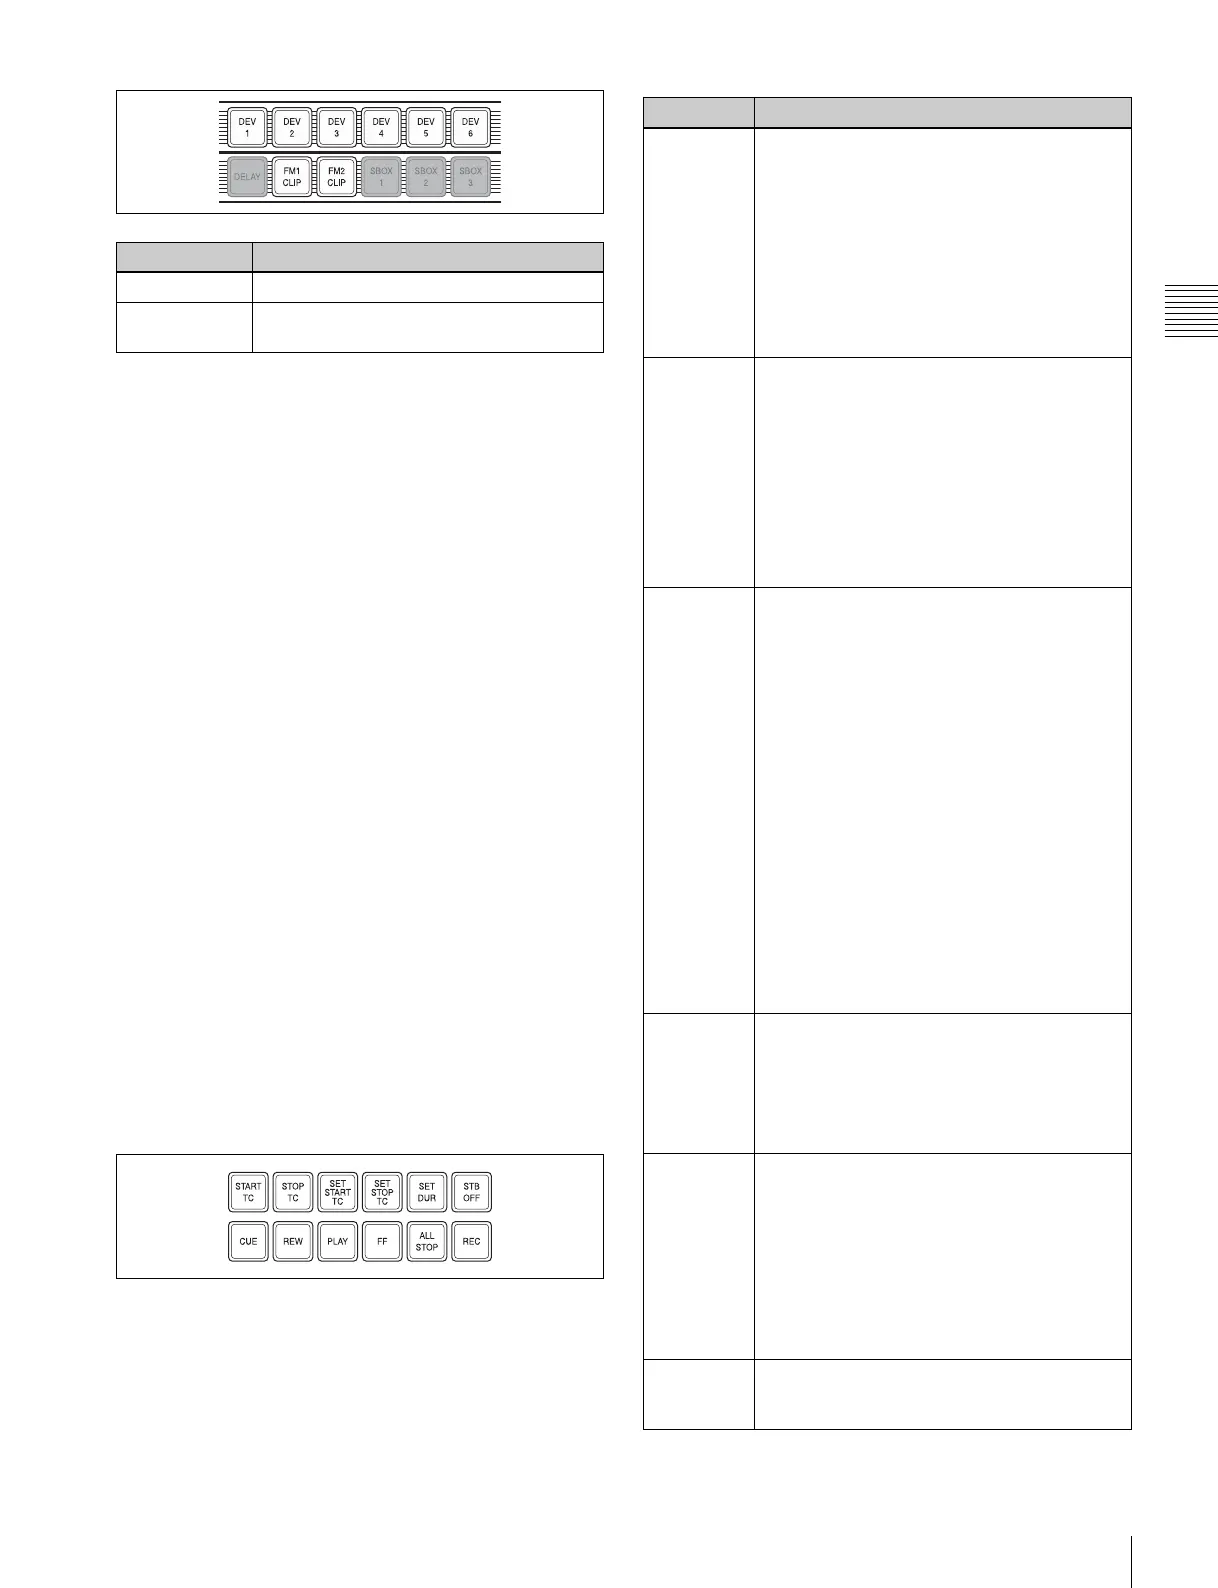
c SBOX (shotbox) buttons
Assign a shotbox saved in registers 1 to 99. When you
press a button, the assigned shotbox is selected, and
executed.
Carry out the assignment in the Setup menu.
For details, see “Assigning Functions to the Device
Control Block” in Chapter 19 (Volume 2).
You can freely assign the portions for device selection,
SBOX, and DELAY buttons in setup.
d DELAY button
When pressed, this button lights green, the numeric keypad
control block display changes to DELAY__ : , and you
can set the start delay time for the selected device. The
setting range is from 00:00 to 59:29 (depends on the video
format). This button goes off when another timecode
setting button ([START TC], [STOP TC], [SET START
TC], [SET STOP TC], or [SET DUR]) is pressed.
The DELAY button can be set as a device selection button
or an SBOX button in the Setup menu. Carry out the
assignment in the Setup menu.
For details, see “Assigning Functions to the Device
Control Block” in Chapter 19 (Volume 2).
e Editing buttons
These carry out Cueup & Play (rewind action) operations
on material, and timeline settings. These operations are
only valid while a device is selected with the device
selection buttons.
Name Description
DEV1 to DVE6 Assign external devices DEV1 to DEV12.
FM1 CLIP, FM2
CLIP
Assign frame memory clips FM1 to FM8.
Name Description
START TC Press this button to set the timecode of the
start point at that time. The timecode of the
start point is updated to the current time each
time this button is pressed. When the device
the operation applies to is a VTR/disk
recorder, the start point updated by the setting
of the [TIMELINE] button is as follows.
When the [TIMELINE] button is On: start
point of the timeline
When the [TIMELINE] button is Off: start
point of Cueup & Play
STOP TC Press this button to set the timecode of the
stop point at that time. The timecode of the
stop point is updated to the current time each
time this button is pressed. When the device
the operation applies to is a VTR/disk
recorder, the stop point updated by the setting
of the [TIMELINE] button is as follows.
When the [TIMELINE] button is On: stop
point of the timeline
When the [TIMELINE] button is Off: stop
point of Cueup & Play
SET START
TC, SET
STOP TC,
SET DUR
• When pressed, these buttons light green,
“START TC”, “STOP TC” or “DUR” appears
in the numeric keypad control block display,
and you can enter a timecode from the
numeric keypad. If you enter a numeric
value and press the [ENTER] button, the
button goes off, whereas if you press the
[ENTER] button without entering a numeric
value the numeric keypad control block
display shows “--:--:--:--”.
• If the timecode has been set correctly, the
entered numeric value appears in the
timecode display.
• To exit the numeric value entry mode, either
repeat pressing the same button, or press a
different numeric keypad control block
linked button, or a mode selection button
such as the [EFF] and [SNAPSHOT]
buttons in the numeric keypad control block.
STB
(standby)
OFF
• When pressed, this button flashes amber,
and the device selected with the device
selection buttons exits from the standby
mode.
• This button cannot be used for frame
memory clip operations.
CUE • When pressed, this button flashes amber
together with the [ALL STOP] button, and
the device selected with the device
selection button is cued up to the start point
of the material.
• When more than one device is selected, the
amber flashing continues until the reference
device is cued up, and when the cueing up
is finished, this button lights green.
REW When pressed, this button lights amber, and
material of the device selected with the device
selection buttons is rewound.