1
097-55501-01 Issue 6 – June 2003 75
2
5
3
Installation
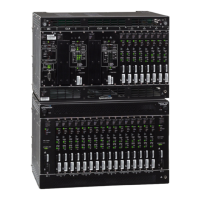
3.3 Rack Mounting
The procedure for rack mounting either a master shelf or an expansion shelf
is identical.
3.3.1 Shelf
The mounting ears, as shown in Figure 3-1, can be positioned for flush
mounting or 2 inch offset mounting in either a 19 inch or a 23 inch rack.
To mount the shelf, position the mounting ears as required, then mount the
shelf in the rack according to standard company practices.
Figure 3-1. Shelf Mounting Options
3.3.2 Wirewrap Panel
Mount the wirewrap panels in the rack just above, below, or one above and
one below the TimeHub 5500, leaving enough room for cable management
and following standard company practices.
N
OTE
: If using an existing connection panel, leave the panel in
the rack, remove the ribbon cables from the panel, and skip the
“Wirewrap Panel” subsection.
A. Rack mounting – 19 in. rack
Rear of rack
Top of shelf
B. Rack mounting – 23 in. rack
Rear of rack
Top of shelf
2 in. or 5 in.
Flush
mount
23 in. rack adapters
offset

 Loading...