3.
Enter the dye information:
Field/option Action
Custom Dye
Name
Enter a name for the custom dye.
IMPORTANT!
·
Do not use a system dye name for a custom dye name.
·
Dye names are spacing sensitive and cannot contain special
characters.
Type Select:
• Reporter—The dye works in conjunction with a quencher dye
to report an increase of PCR product.
• Quencher—The dye suppresses the fluorescence of a reporter
dye until amplification of PCR product.
• Both—The dye can be used as a reporter or quencher dye.
4.
Touch Save.
IMPORTANT! You must also add the custom dye to the desktop software dye library
before creating, running, or analyzing experiments that use custom dyes. For detailed
information, see the QuantStudio
™
Design and Analysis Software help.
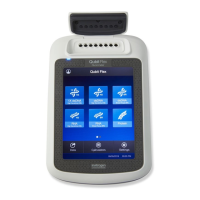
Perform a custom dye calibration
1.
Load the plate into the instrument.
2.
In the instrument home screen, touch
Seings4Maintenance and
Service4Calibrations4Custom4Custom Dye.
3.
Touch the custom dye to calibrate.
4.
Review the custom dye information, (optional) make changes, then touch Update.
5.
Enter the calibration temperature.
6.
(Optional) Touch Reagents, then enter reagent information.
7.
Touch Start.
8.
When the run is complete and the screen displays Calibration Complete, touch
View Results4Details.
Chapter 5 Calibrate and verify instrument performance
Calibrate custom dyes
5
66
QuantStudio
™
1 Real-Time PCR System Installation, Use, and Maintenance Guide