February 2013
6-17
ColorQube® 9303 Family
GP 6
General Procedures/Information
Move the Marking Unit into the Maintenance Position
CAUTION
Move the marking unit slowly on the rails. If the machine has not been allowed to cool for 30
minutes the ink in the reservoir will be fluid and can spill.
1. Prepare to move the marking unit into the service position, Figure 1.
Figure 1 Preparation
CAUTION
Ensure the carriages are both in the parked position. If the marking unit is moved while the car-
riages are not parked the printheads can contact the drum.
2. Ensure the carriages are in the parked position, Figure 4 and Figure 5.
CAUTION
Do not touch the face plates of the print heads.
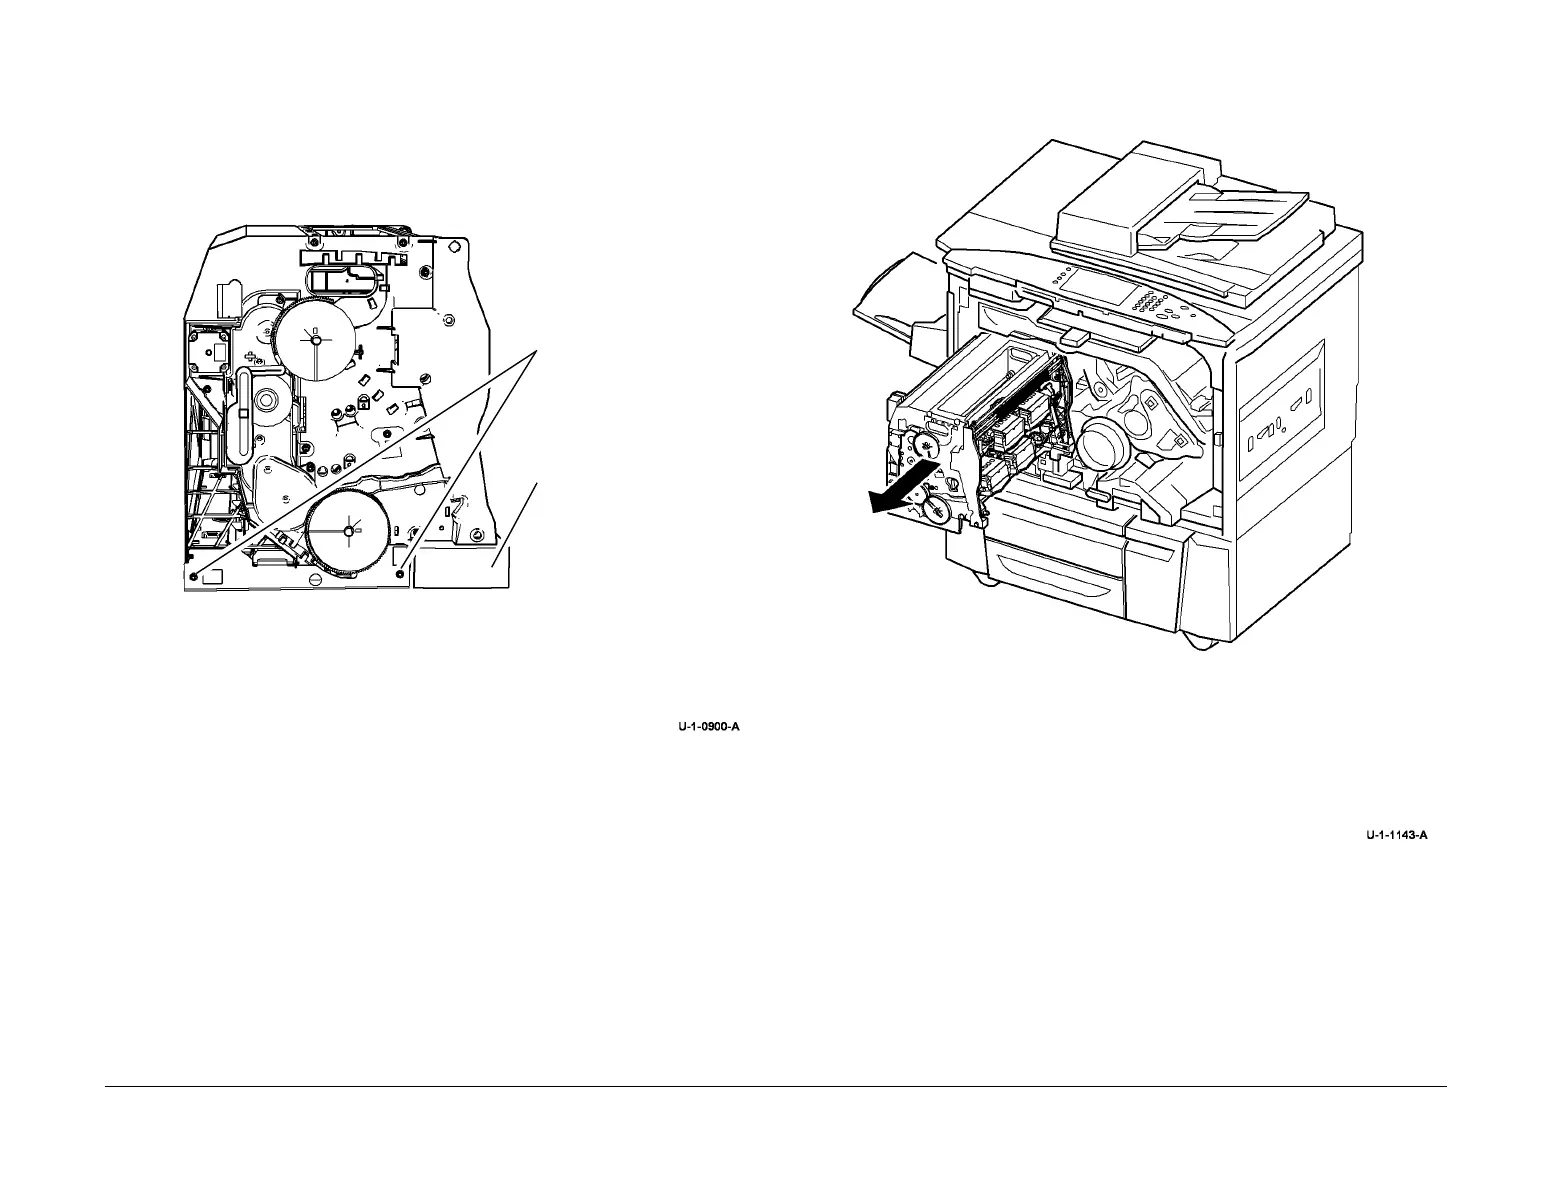
3. Move the marking unit into the service position, Figure 2.
Figure 2 Marking unit into service position
4. Reinstall the waste tray.
NOTE: The waste tray is attached to the underside of the marking unit assembly by 2 lugs
at the rear and 1 lug at the front.
Move the Marking Unit into the Operation Position
1. Remove the waste tray.
2
Remove 2 screws.
1
Remove the waste tray.
1
Gently pull the handle to move the marking
unit into the service position.
 Loading...


