3-37
Calibration (6X9 Digital Electronic Control)
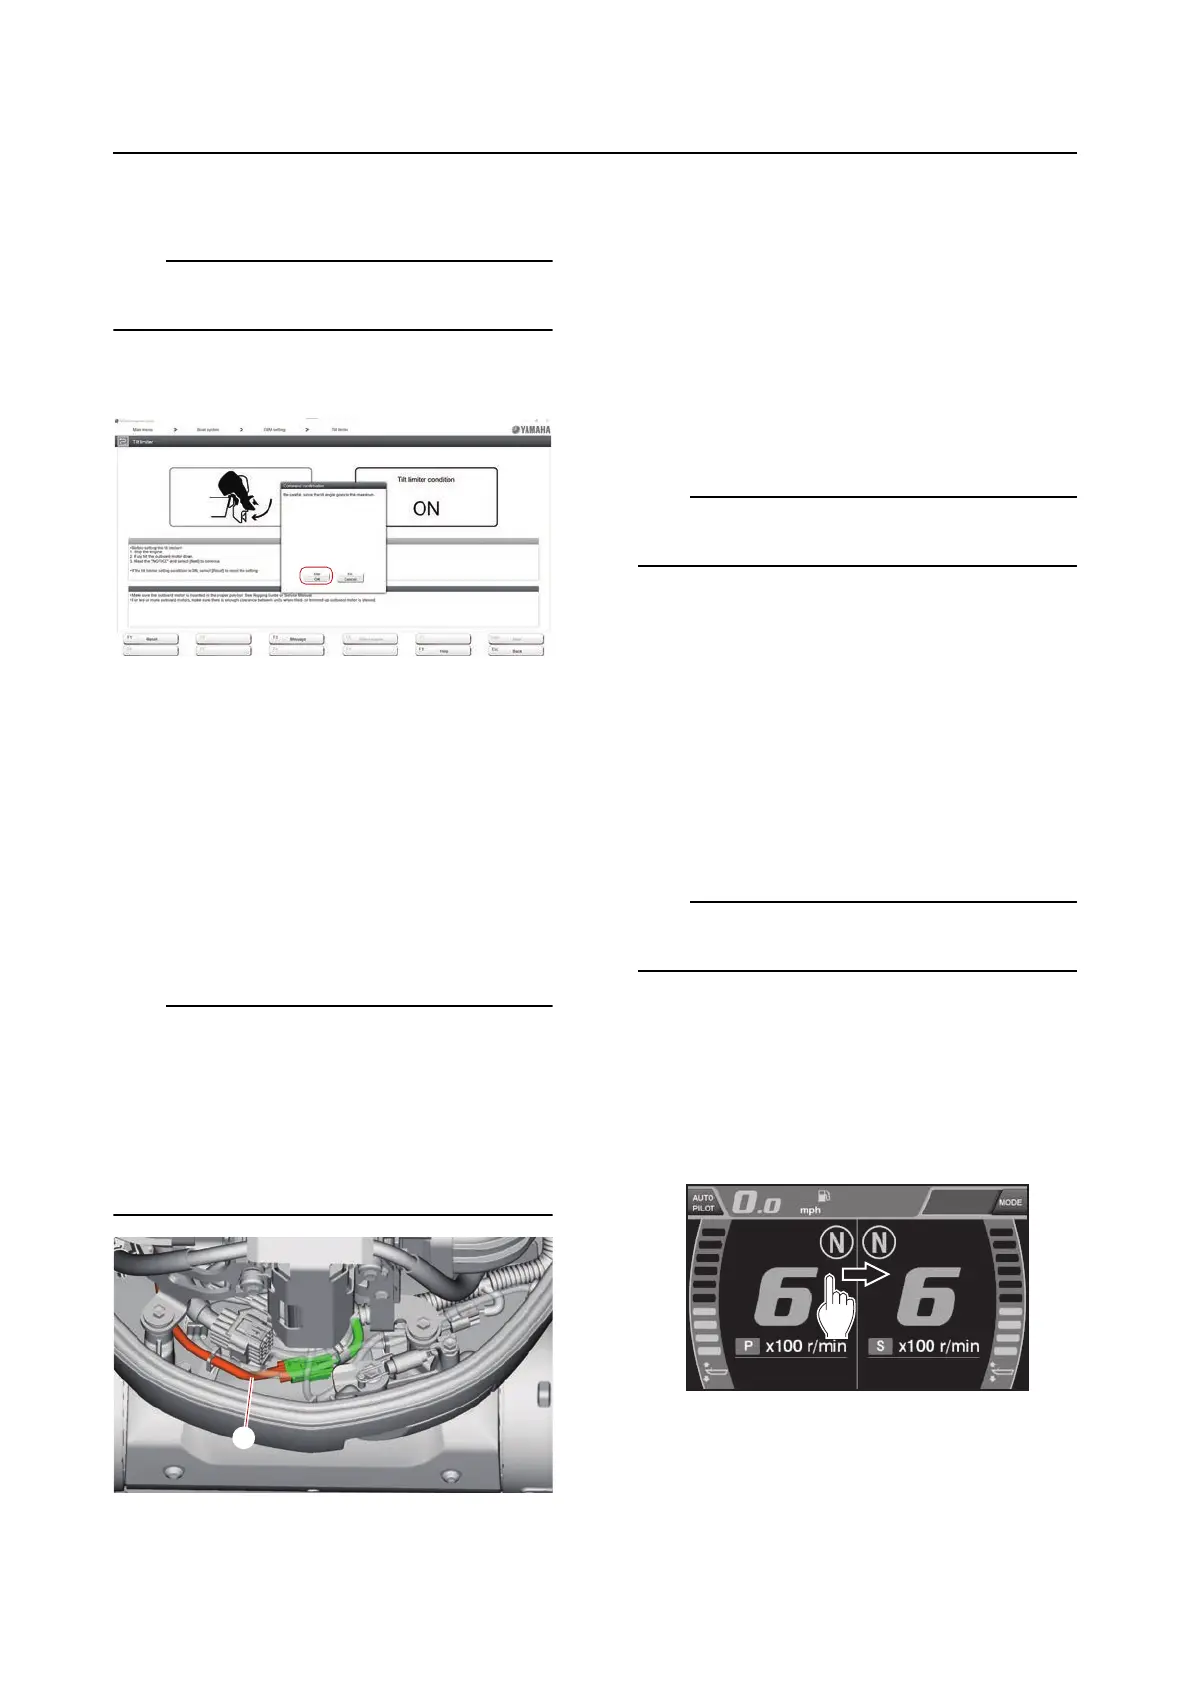
4. Click the “OK” button or press the Enter
key on the keyboard.
To reset the tilt limiter setting, see “Setting the
tilt limiter” (3-35).
Deactivating the tilt limiter
The tilt limiter can be deactivated temporarily
without using the YDIS for services or mainte-
nance. Deactivate the tilt limiter using the fol-
lowing procedure.
1. Disconnect the PTT sensor (sub lead)
coupler “a”.
When the “POWER” switch is turned to ON
with the PTT sensor coupler disconnected, di-
agnosis code 83 (PTT sensor malfunction) will
be recorded in the engine ECM. Make sure to
connect the PTT sensor coupler and delete the
diagnosis code after services or maintenance
is complete.
Calibration (6X9 Digital Electron-
ic Control)
• If the steering actuator is removed, the steer-
ing sensor must be calibrated after the unit is
installed.
• Check that the battery is fully charged before
performing the calibration. Otherwise, the
calibration cannot be performed properly.
• Do not turn the steering wheel while the cali-
bration is being performed.
Steering calibration is not required with the fac-
tory default setting.
CL5 Display calibration
• If the steering actuator is removed, the steer-
ing sensor must be calibrated after the unit is
installed.
• Check that the battery is fully charged before
performing the calibration. Otherwise, the
calibration cannot be performed properly.
• Do not turn the steering wheel while the cali-
bration is being performed.
Steering calibration is not required with the fac-
tory default setting.
Configuring the number of outboard
motors
1. Turn the power switch to “ON”.
2. Open the menu screen by swipe.



 To Next Page