8-28
Drive shaft and lower case (regular rotation model)
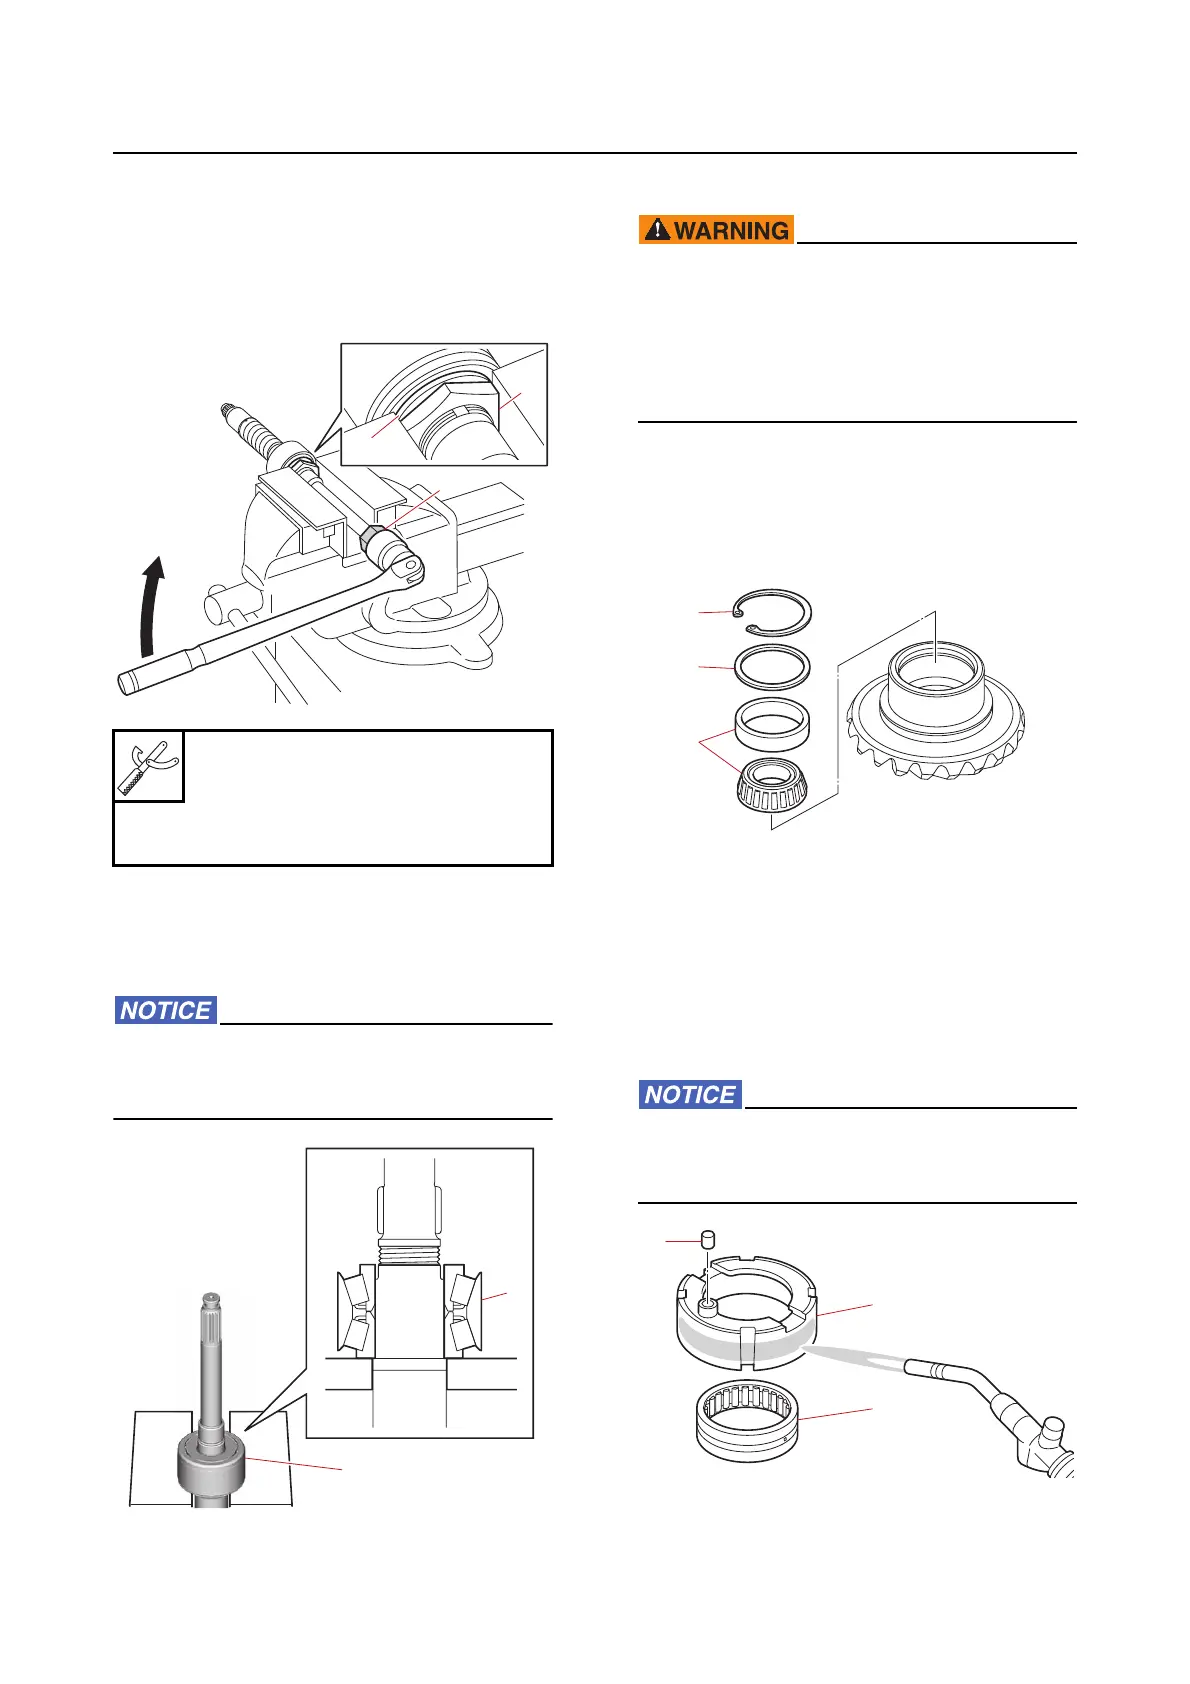
b. Secure the drive shaft nut “1” on the drive
shaft.
c. Loosen the drive shaft nut “1”, and then re-
move the drive shaft nut “1” and claw
washer “2”.
2. Remove:
• Washer
• Tapered roller bearing “1”
Make sure that the inner race of the tapered
roller bearing is placed properly on the
blocks.
Disassembling the forward gear
• Use heat-resistant gloves. Otherwise,
burns could result.
• To prevent fires, remove any flammable
substances, such as gasoline and oil,
around the working area.
• Keep good ventilation while working.
1. Remove:
•Circlip “1”
• Washer “2”
• Tapered roller bearing “3”
2. Remove:
• Dowel “1”
• Adapter “2”
• Roller bearing “3”
a. Heat the installation area of the roller bear-
ing in the adapter “2” using a gas torch,
and then remove the roller bearing “3”.
When heating the adapter, heat the entire
installation area evenly. Otherwise, the
adapter could be damaged.
Drive shaft holder 6 “3”
90890-06520
Driveshaft holder “3”
YB-06520
1
1
1
2
3
2
1
3



 To Next Page