5 - 4 IM 4H3B1-01E
CAUTION
5.2.2 How to Install (& Replace) Pens and Ribbon Cassette
In case of felt-tip pens:
Normal procedure:
1 Open the front door and make sure the recording is not in progress (by pressing the
RCD-key; power can be either ‘ON’ or ‘OFF’).
2 Swing up the display by grasping and pulling the tabs located at the lower left and right
corner.
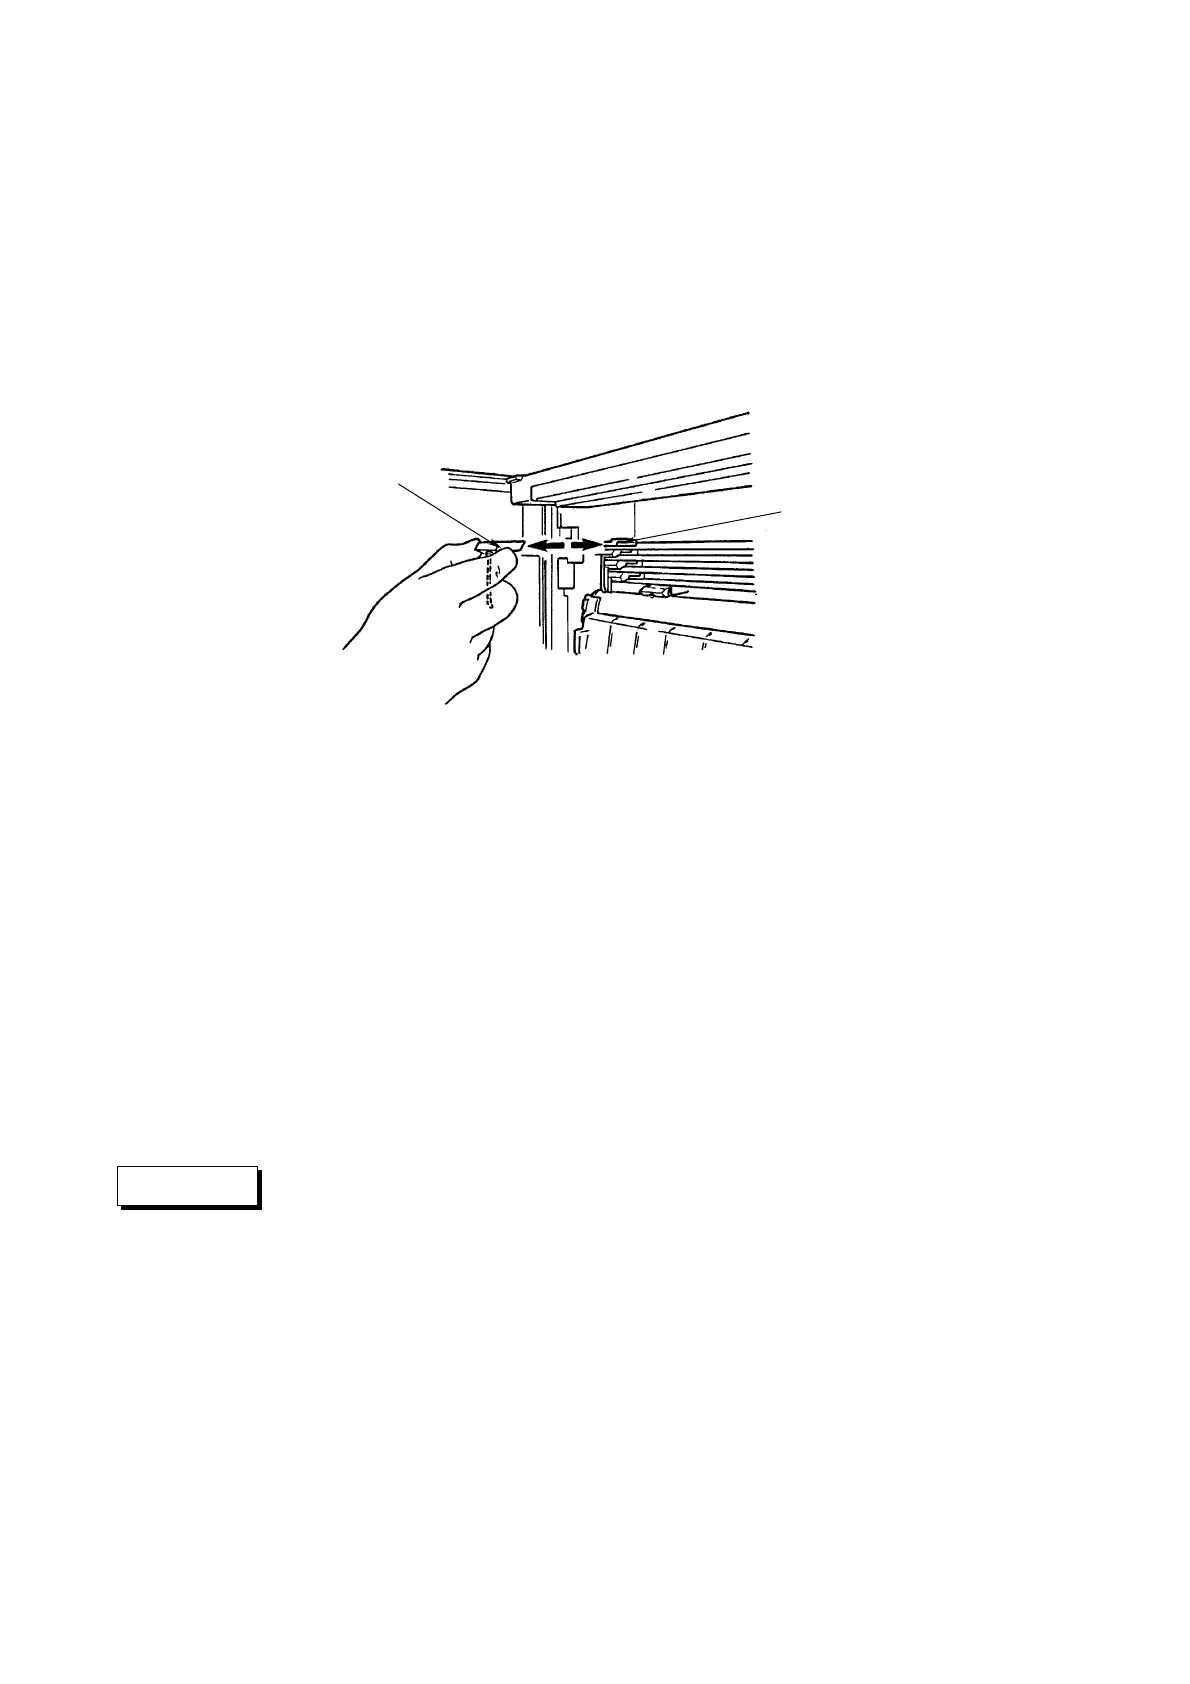
3 Grasp the protruding part of the felt-tip pen cartridge and gently pull/slide it out of the
cartridge holder (see figure 5.7).
4 Remove the pen cap before replacing the cartridge with a new one.
Insert a new felt pen cartridge in the pen cartridge holder (see figure 5.7). Start with the
smallest pen.
Figure 5.7
5 Close the display by pulling the 'release'-handle until this handle is at the same level as
the display. Then push the display back into its normal position until the tabs click shut.
6 To (re)start the recording, press the RCD-key.
2nd procedure when the pens are located at a place where it is difficult to replace them:
1 Open the front door and make sure the recording is not in progress (by pressing the
RCD-key; power must be ‘ON’).
2 Press the MENU-key. Use the UP/DOWN-keys to select the display
‘MENU=SELECT_FUNCTION’. Press the ENT-key.
3 Use the UP/DOWN-keys to select the display ‘CHANGE_PEN’. Press the ENT-key.
The pens will move to 55% of the chart, where it is easy to replace them. Note that this
will leave a line on the chart.
4 Handle as described in ‘Normal procedure’, steps 2, 3, 4 and 5.
5 The display ‘PRESS_ENT’ will appear. After finishing, press the ENT-key.
6 To (re)start the recording, press the RCD-key.
To protect the pens and the internal mechanism, never grasp the pen tip nor
apply excessive force to the cartridge holder. Always make sure to remove the
pen cap.
Pen 1 : red
Pen 2 : green
Pen 3 : blue
Pen 4 : violet
Felt pen
Pen cartridge holder

 Loading...