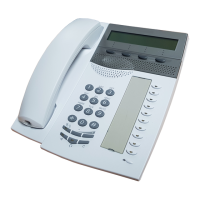
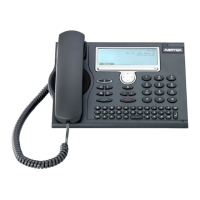
Installation
182
Aastra 470 ab R3.0
syd-0337/1.5 – R3.0 – 05.2013
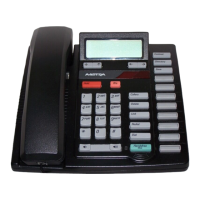
– The statements in this section also apply to Aastra 1910 and
Aastra 1930 analogue phones. On these models, the MWI switch is on
the rear of the phone and the switch settings for polarity reversal are
labelled PR1 and PR2.
Installing the phone on the table
Insert the feet into the corresponding recesses on the underside of the phone until
they snap into place. Four different set-up angles are possible through selecting
the recesses and turning the feet.
Installing the phone on the wall
1. Place the supplied drilling template for wall installation in the desired location
and mark the positions of the installation screws. Dowel plugs may be required,
depending on the wall type. Screws and dowel plugs are included with the de-
livery.
2. Position the phone with the mounting holes over the heads of the wall screws
and pull the phone downwards to lock it into place.
3. There is a small clamp in the handset cradle that is flush with the cradle surface.
Prise it upwards using a small flat-headed screwdriver and remove it from the
phone.
4. With the clamp arms pointing towards you and the flat side of the clamp point-
ing towards the phone, turn the clamp 180° and insert it back into the recess on
the phone cradle. Press in the clamp until it is flush with the surface and only the
clamp legs stick out.
Labelling the phone
1. Remove the cover with logo above the control panel by pressing it down lightly
and pushing it upwards.
2. Pull out the designation label using the flaps, label it and then insert it back into
the recess.
3. Carefully reattach the cover with logo so that the paper flaps are covered.
Powering the phone
The phone is supplied with power via the FXS line.

 Loading...