56 XFC G4 2103335 Rev AB
4.4 Wall Mount Installation
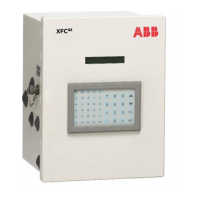
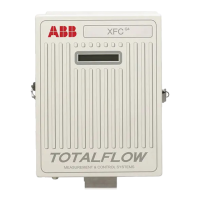
If the flow computer is mounted to a wall near the meter run or inside a meter shed, use the following procedure. Before
beginning, review the procedure and the materials required for installation. Refer to Figure 39 through Figure 44 for mounting
dimension requirements.
4.4.1 Optionally Supplied Materials
— Flow computer wall mounting brackets
4.4.2 Materials Not Supplied
— Four ¼” x ¼” machine bolts
— Standard 3 or 5 valve manifold or static pressure tap valve
— 3/8-inch stainless steel tubing
— ¼” x 3/8” tubing fittings
Tools needed
— 3/8” combination wrench x 2
— Hand drill
— ¼” drill bit
IMPORTANT NOTE: If the flow computer
is to be wall mounted, the wall itself should have sufficient strength to
support the hanging weight of the unit.
There should be no obstruction(s) that would prevent the flow computer
door from being opened to access interior
installed components or to interfere with the installation of the solar panel.
4.4.3 Step-by-Step Instructions
To perform a wall mount installation:
Drill the mounting holes in the wall supports.
Install the supplied wall mounting brackets on the back of the flow computer.
Lift and align the flow computer
wall mounting brackets with the mounting holes drilled in the wall.
Insert the 1/4” x 1/4” machine bolts through the flow computer mounting brackets and into the wall.
Securely tighten all bolts to secure the unit to the wall.
IMPORTANT NOTE: Orifice - Position the flow computer high enough on the wall to allow slope from the externally
mounted manifold to the tap valves.
Pulse – Position the flow computer
high enough on the wall to allow slope from the externally mounted static
pressure tap valve.