Installation 2
Installation, Operation, and Maintenance 33
Part 1, Installation
6 Install two screws and washers through the bracket into the standoffs to
loosely hold the bracket (see Figure 5). Do not tighten the screws.
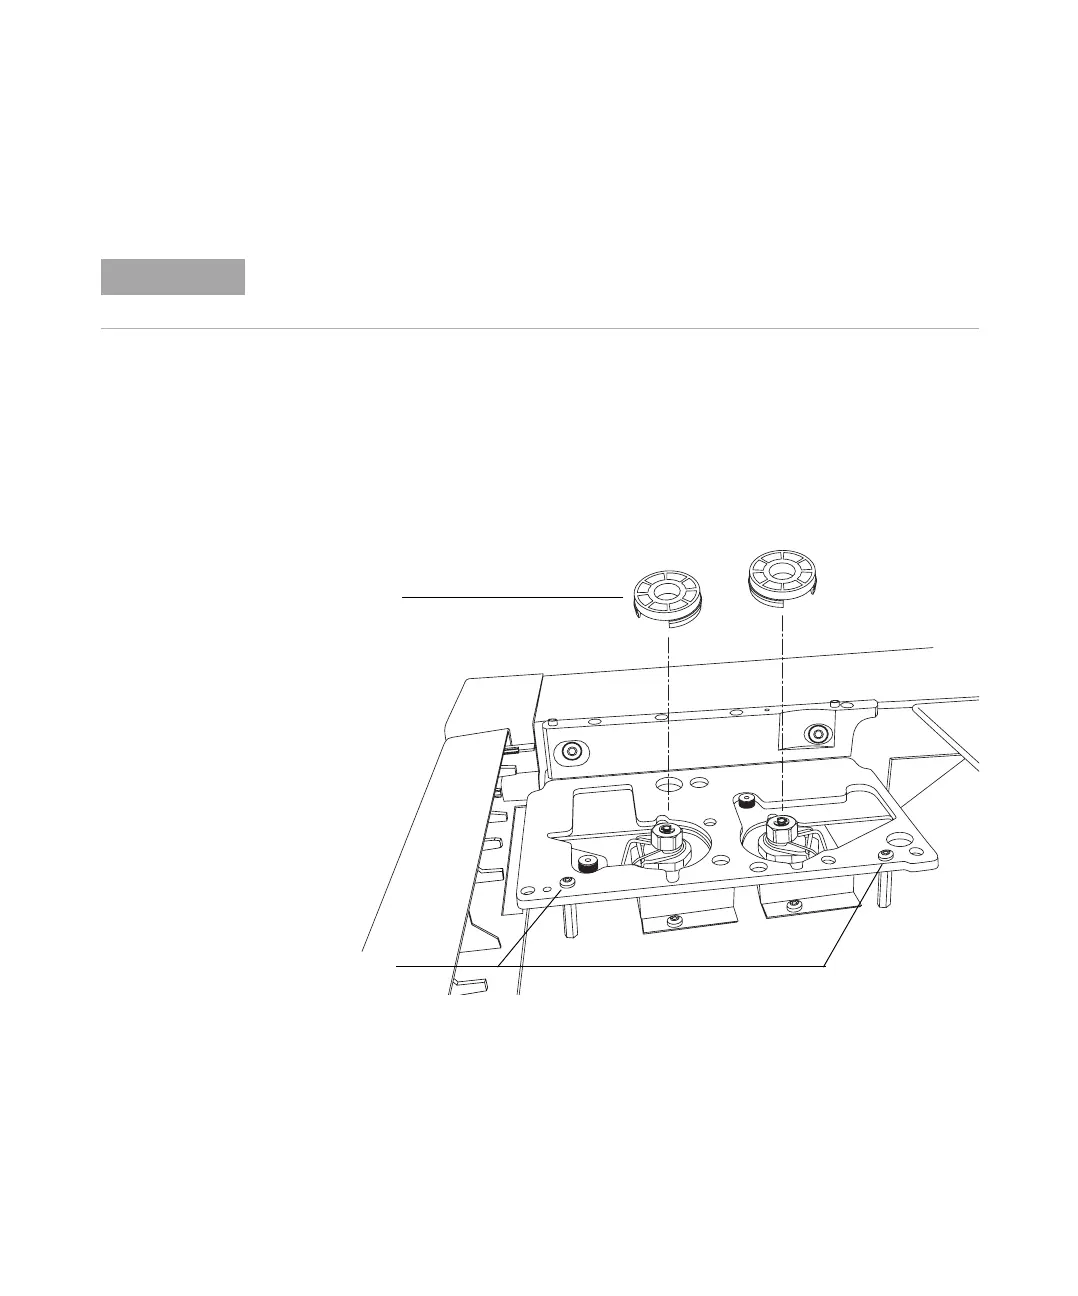
7 Place the plastic alignment tool(s), honeycombed side up, over the GC
inlet(s). See Figure 6. Move the bracket until both alignment tools fit flush
on the bracket.
If you cannot make them fit flush by moving the bracket, you will have to
adjust the positions of the inlets. Loosen the two screws that hold the inlets
to the oven top. Once aligned, tighten the two inlet screws.
8 Tighten the two screws that hold down the bracket. Remove the alignment
tools and save them for future adjustments.
NOTE
Bracket alignment is critical for proper sampler operation.
If you have an on-column inlet, install the cooling tower before starting alignment.
Figure 6 Aligning the injector bracket
Alignment tools
Tighten screws
 Loading...