4. Setting the Laser Light Output Schedule
111
ML-5120A
Chapter 2 Various Settings
Introduction Part
Installation and
Preparation Part
Operating Part Maintenance Part Appendixes
When SKIP or KEEP is set, the active heat control function set on the ACTIVE HEAT
CONTROL screen is enabled.
⇒
When this function is not used, set it to "-."
(3) Press the “TARGET TEMP.” button.
Enter the target temperature in the rated range of the heat detector by using the
numeric keypad and then press the ENT key.
2
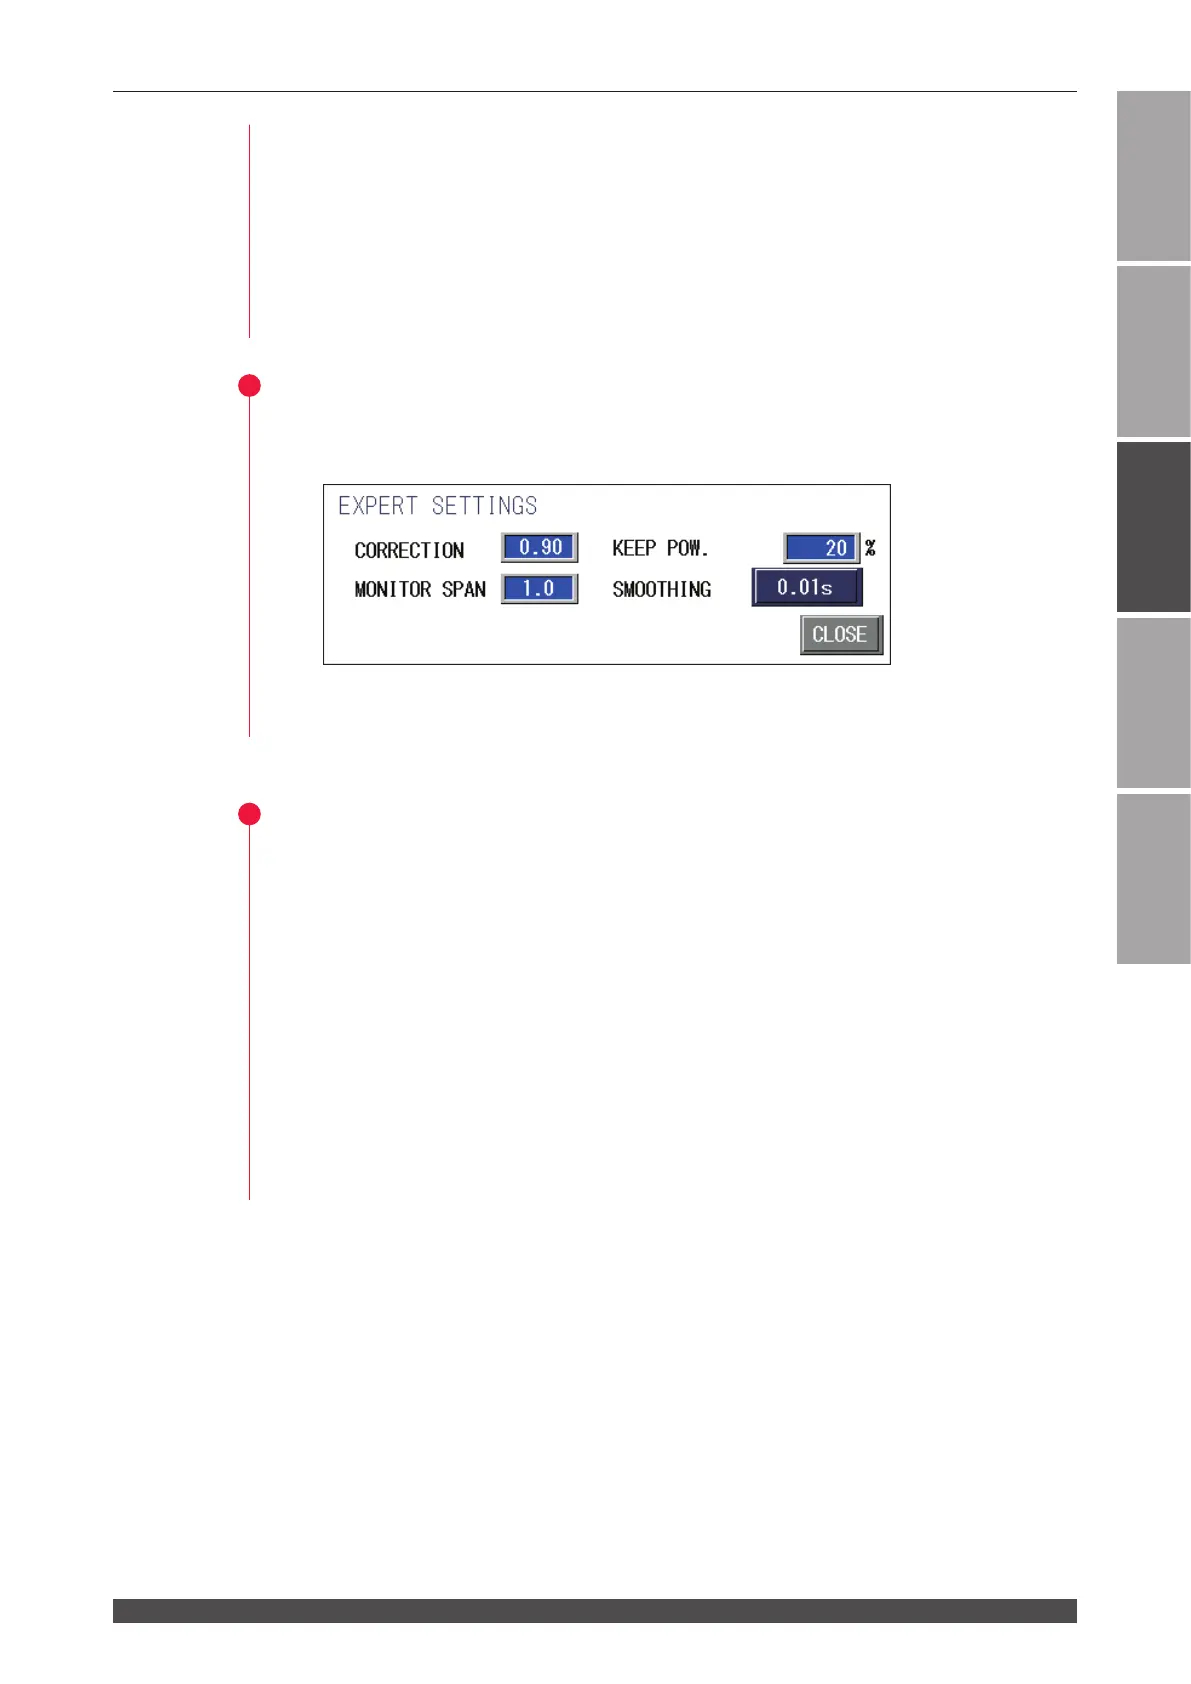
Making Detailed Settings
(1) Press the “EXPERT SETTING” button to display the EXPERT SETTINGS screen.
(2) Accordingly, set each items.
Setting the Correction Factor
The indicated temperature is not a warranty value. It may change depending on the
workpiece material, the surface condition, or the angle of the output unit.
By changing the correction factor, you can correct the indicated temperature. When
the correction factor is set higher, the indicated temperature is lowered.
(1) Measure the workpiece temperature in processing with a contact-type tempera-
ture sensor such as thermocouple and thermistor.
At this time, note that the temperature is likely to be lower due to the heat con-
duction caused by contact pressure and contact.
(2) Set the correction factor so that the indicated temperature ts to the workpiece
temperature.
 Loading...