User Manual – Rev BE AMETEK Programmable Power
MX Series 227
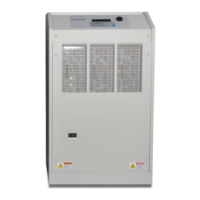
SINGLE CHASSIS SYSTEMS
1) Verify the controller is indeed set for 1-phase operation.
2) Shut off all power to the cabinet. Disconnect the two wires
going to Terminal 6 and Terminal 7 on the lower front of the
power modules. Do this to module B and C only. Place some
temporary insulation over the lug ends.
3) Connect a DMM between terminals 6 and 7 on the A module.
Power up the cabinet. Set the controller to the 300V range,
program 230V at 60Hz. Enable the output by pressing the
OUTPUT ON/OFF key.
4) Measure the A module output voltage and write it down. Press
the OUTPUT ON/OFF key to disable the output.
5) Move the DMM leads to the B module terminals 6 and 7. Press
the OUTPUT ON/OFF key again to enable the output. Verify the
phase B module output is within 50mVolts of the A module. If
it is not, adjust the pot behind the hole in the upper left corner
of the module so the B output matches the A output within
50mVolts. Press the OUTPUT ON/OFF key to disable the
output.
6) Move the DMM leads to the C module terminals 6 and 7. Press
the OUTPUT ON/OFF key again to enable the output. Verify the
phase C module output is within 50mVolts of the A module. If
it is not, adjust the pot behind the hole in the upper left corner
of the module so the C output matches the A output within
50mVolts.
7) Power down system and replace the wires to terminals 6 and 7
on the B and C modules.