Using the APP Recorder 6-48
Configuring Modbus
1. In the APP Recorder window, from the Tools menu, click DNP3/Modbus Config.
The following window appears.
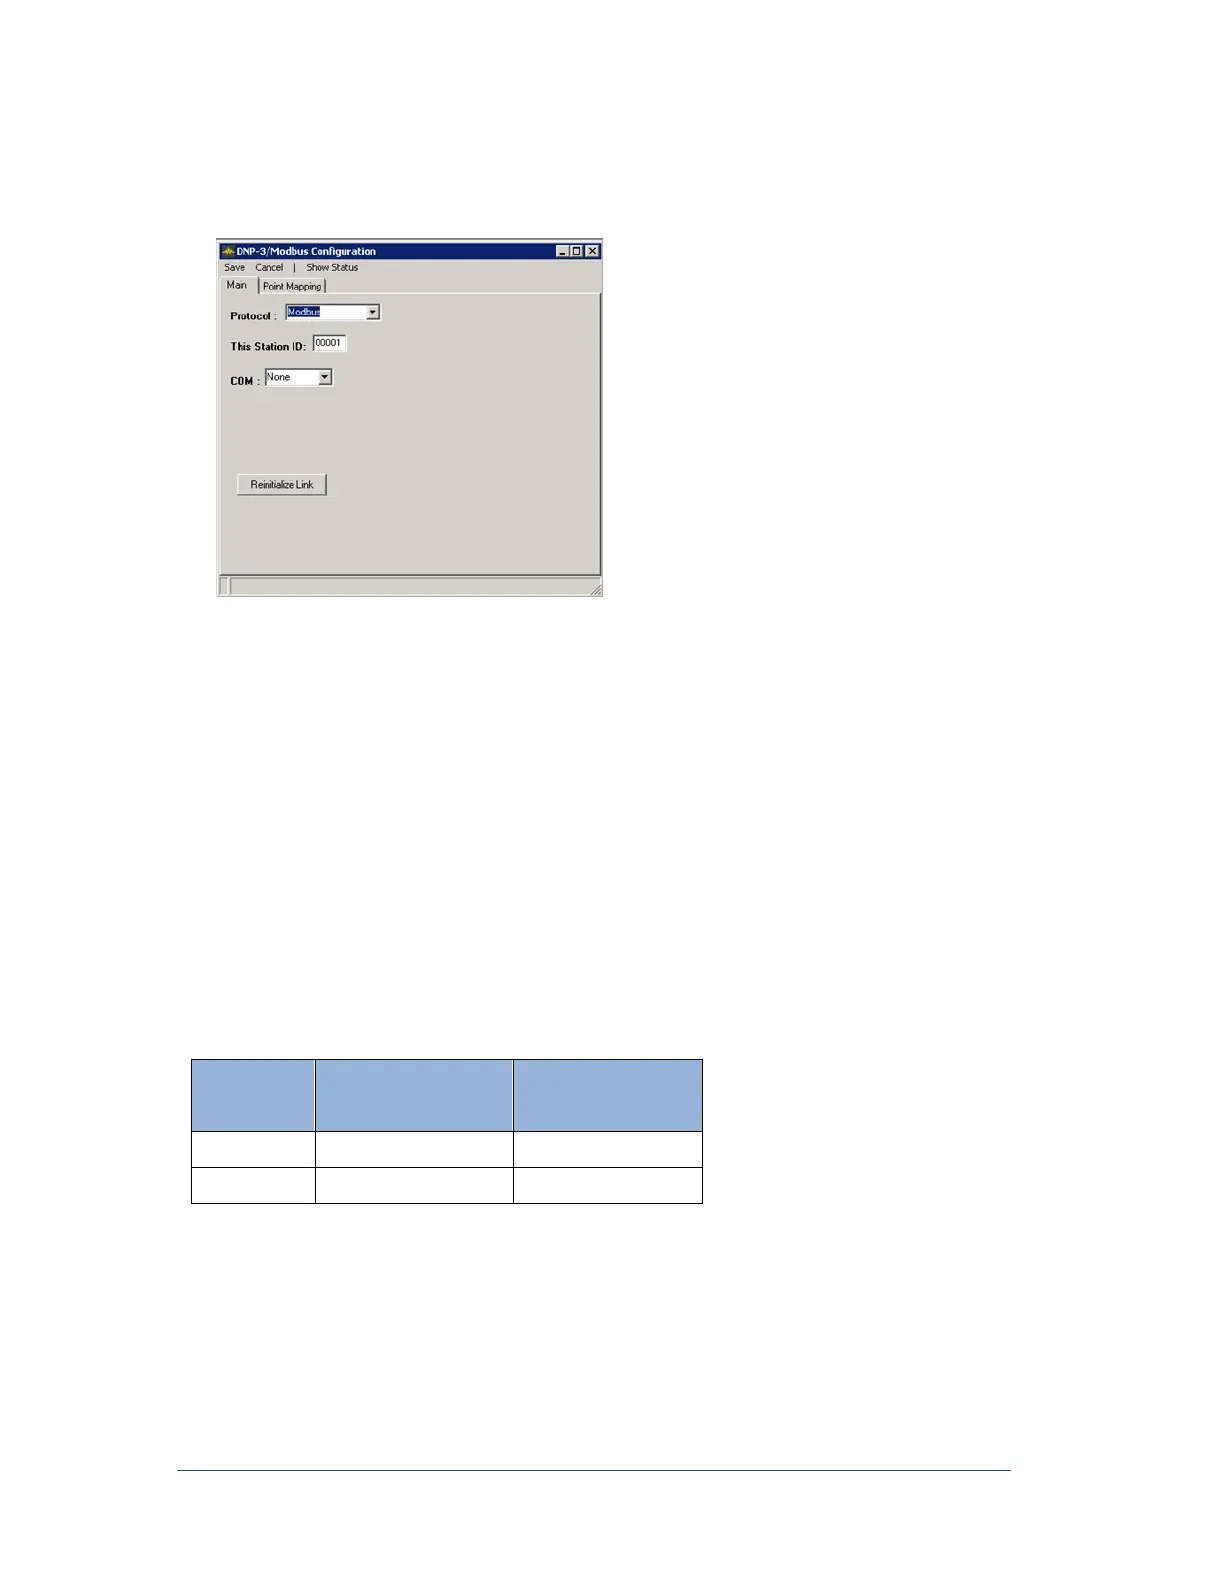
Figure 51: DNP-3/Modbus Configuration Window (Modbus)
2. In the Protocol field, select the protocol Modbus
3. In the This Station ID box, type the Recorder ID, which was setup in the Recorder Configuration
window. For information on setting the Recorder ID, see Configuring the Main Configuration
Settings.
4. From the COM list, select the desired communication port.
5. Are you using an RS232 port or a TCP/IP network protocol?
If you are using a RS232 port, select RS232, then from the Baud Rate list select a baud rate
that will work with your RTU.
If you are using a TCP/IP, select Network, then enter the port number. The standard port is
502 for Modbus.
6. From the menu bar, click Save.
APP-601 Recorder accepts the Modbus Function Codes as shown in Table-14.
Table 14: Modbus Function Codes
6.13.4 To Configure a DNP3/Modbus Outstation Point Mapping TAB
Click Point Mapping Tab
The Point Mapping Tab allows you to limit the records sent to the RTU. You can limit the channels for
RMS, Frequency and Phase, as well as limit the Lines provided for Fault Location.