Using the APP Recorder 6-27
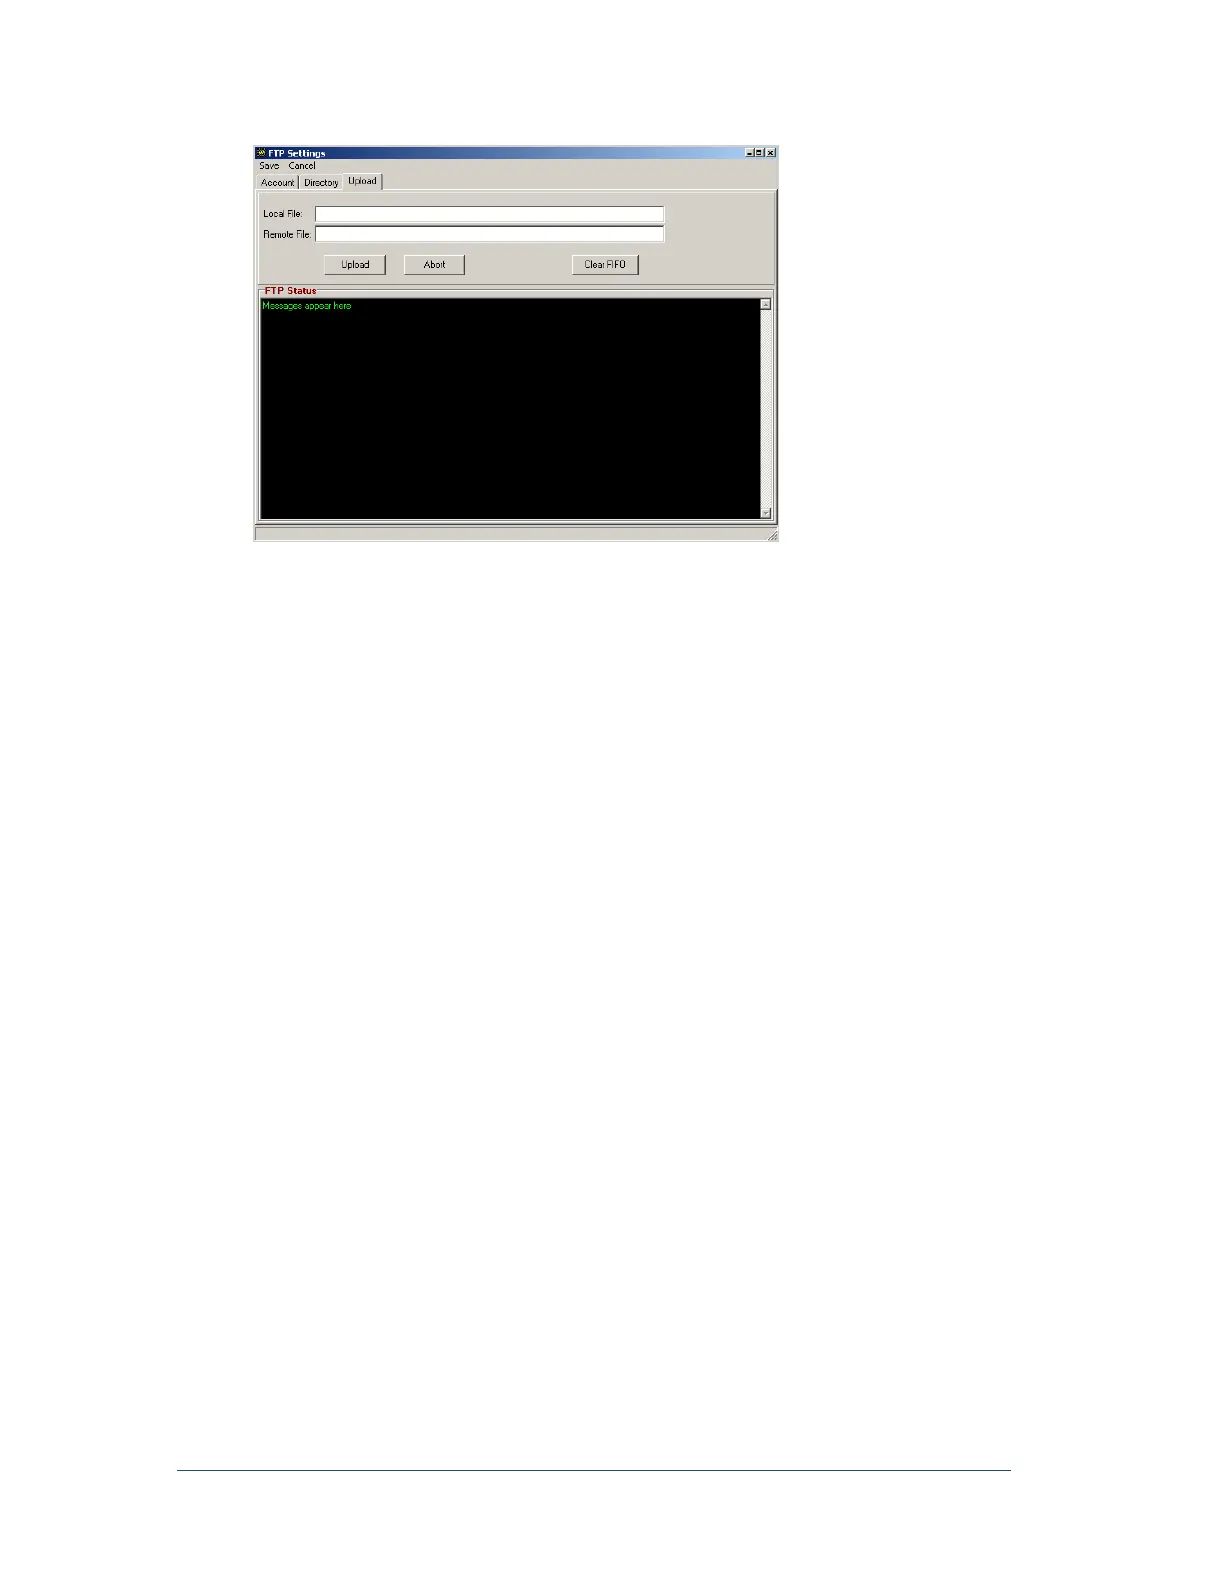
Figure 35: FTP Upload or Testing Window
To Perform a Test Upload
1. In the Local File box, type the name of the file you wish to send to the remote file. This file must
be located in the local directory that is defined on the Directory tab.
2. Do you want the file name to remain the same when it is placed in the remote directory?
If yes, then in the Remote File field enter the same file name that you entered in the Local
File box.
If no, type a different file name.
3. Click Upload.
The test file transfer process begins.
4. After the transfer is successful, click the Show Remote Dir Content button. The file appears in
the remote directory that you specified on the Directory tab.
To Stop the Automatic Retry Attempts
If the transfer fails and you wish to stop the automatic retries, click Abort.
To Clear the Buffer of Any Fault Record
Note: You can clear the buffer for troubleshooting or testing purposes.
Click Clear FIFO to clear the buffer of any fault record or test file that the APP Recorder is trying to
send to the remote directory.
6.7.14 Configuring Automatic SER Reports
If a receipt printer is connected to the parallel port of the computer running the APP Recorder, the APP
Recorder can automatically print an SER report when a SER (SOE) channel experiences a change of state.
The printed report includes the date, time, channel description, channel number, and if the channel has
switched to a normal or abnormal state.