57Examples
9.2 Example
This paragraph describes a practical example of measuring a ceramic capacitor.
The basic procedure flow to perform this measurement is the same as the Basic
Measurement Procedure described previously. In this example, a ceramic capacitor is
measured under the following conditions.
Sample (DUT) Ceramic capacitor
Measurement Conditions:
• Function: Cp-D
• Test Frequency: 100 kHz
• Test Signal Level: 1V
Step 1. Turn the AT281x ON
Step 2. Set up the measurement conditions by filling in the fields on the MEAS DISPLAY page.
Move to the FUNC field using the cursor keys and choose Cp-D.
Move to the FREQ field using the cursor keys and input 100 kHz
Move to the LEVEL field using the cursor keys and input 1 V
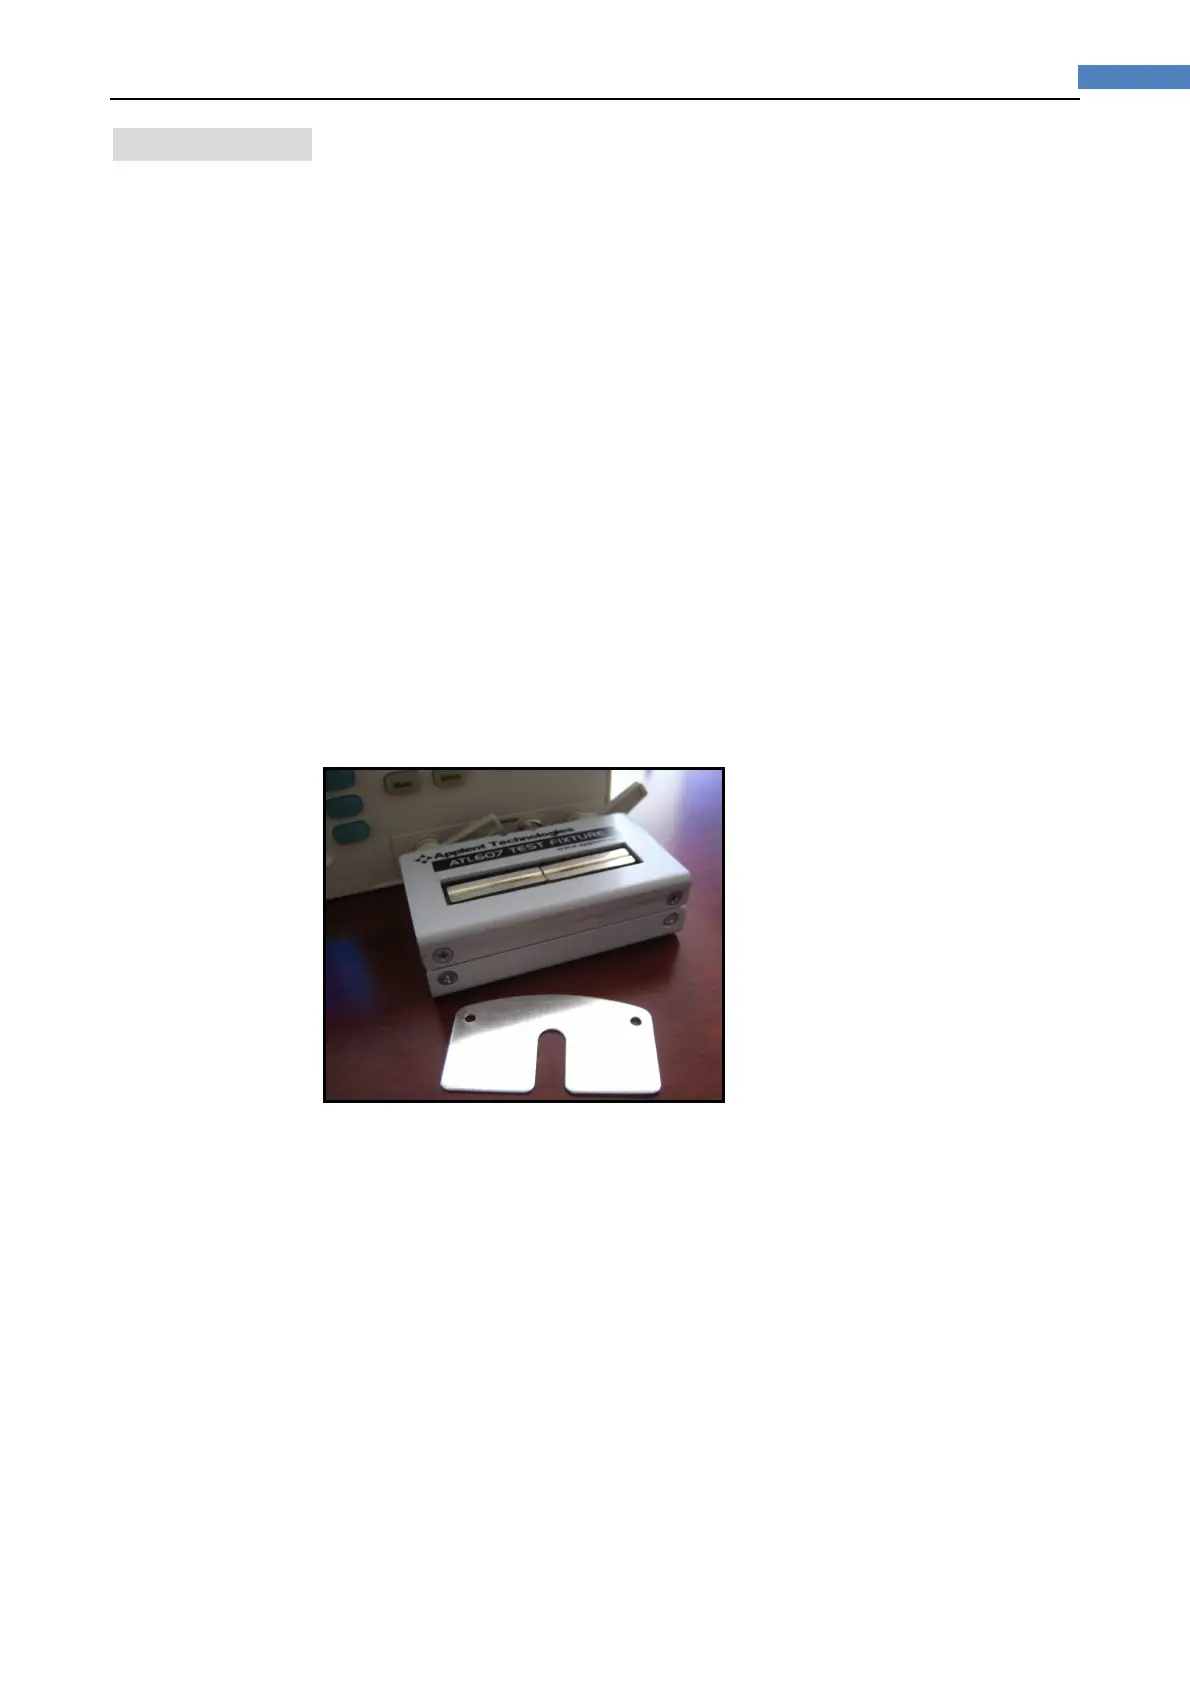
Step 3. Connect the test fixture ATL607 to the AT281x.
Step 4. To compensate for the test fixture ATL807, a user correction is required.
Don’t connect any DUT to ATL607 as shown like this:
1. Press [Setup] key and [CORRECTION] soft key.
2. Move to the OPEN field by using the cursor keys.
3. Press [MEAS OPEN] soft key and [OK] soft key.
Wait until the message “Correction finished” displays.
4. Press [ON] soft key if OPEN field is OFF.
5. Move to the SHORT field by using the cursor keys.
6. Connect a shorting bar to the ATL607 as shown like this: