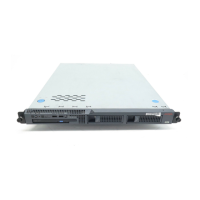
Job Aid: Replacing the SAMP on the Avaya S8500 Series server
104 Job Aids for Field Replacements (FRUs) for the Avaya S8500 Server
Powering up the S8500C server
To power up the server:
1. Plug the power cord into the power receptacle on the rear of the server.
2. If necessary press the Power button located on the front right-hand side.
3. After the server is up, verify that there is network activity by looking at the network activity
LEDs (see Notes 13 or 14 in Figure 25: S8500C server, rear view
on page 107).
4. Log into the server after the startup to make sure that the installation is complete.
5. Check the original Ethernet configuration settings by selecting Server Configuration >
Configure Server from the Maintenance Web Interface.
6. Confirm that the server’s Ethernet configuration settings are the same as before.
Reconfiguring the SAMP card on the S8500C server
After replacing the SAMP card, you might need to update the firmware on the SAMP before you
use it. The SAMP comes loaded from the factory with Avaya defaults.
1. Check the Avaya support Website (http://support.avaya.com
) for more recent firmware for
the SAMP.
!
Important:
Important: The R2.1 firmware update to the SAMP in the S8500C server is required only on
servers running Communication Manager Release 3.1.2. The R2.1 firmware is
not backward -compatible with prior releases of Communication Manager.
2. Download the newer firmware to your laptop.
3. From the Maintenance Web interface, select Miscellaneous > Download Files and press
Enter.
The Download Files page displays.

 Loading...