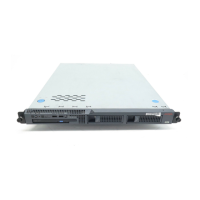
Replacing the fan unit (S8500 only)
03-300529 Issue 4 January 2008 151
Replacing the fan unit (S8500 only)
Note:
Note: This section applies to the S8500 server only.
To replace the fan unit in the S8500 server:
1. Replace the fan unit with the fan blades pointed down toward the NIC, securing the fan unit
with the two original screws.
2. Continue with Replacing the cover and cabling
.
Replacing the cover and cabling
To replace the cover and cabling on the S8500/B/C server:
1. Replace the cover onto the server:
l S8500C: Slide the cover forward so the cover’s tabs slide into place under the top slots of
the front panel and the top left latch snaps in place (see Figure 40: Removing and
replacing the cover on the S8500C server on page 143).
l S8500/B: Slide the cover forward so the cover’s tabs slide into place under the top slots
of the front panel and finger-tighten the thumb screw(s) on the back of the server. See
Figure 41: Removing and replacing the cover on the S8500B server
on page 144) or
Figure 42: Locating the S8500 server cover’s captive screws
on page 145.
2. Release the retaining tabs on the rails and slide the server back into place on the data rack.
3. Locate the marked cable(s) that you removed from the old NIC and reconnect to the new
NIC.
4. Reconnect all other cables.
Powering up the server
To power up the S8500/B/C server:
1. Plug the power cord into the power receptacle on back of the server.
2. Press the Power button on the front panel.
3. Log in to the server after the startup to ensure that the installation is complete.

 Loading...