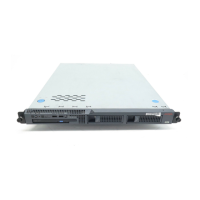
Job Aid: Replacing the Hard Drive on the Avaya S8500 server
88 Job Aids for Field Replacements (FRUs) for the Avaya S8500 Server
Installing the replacement drive on the S8500B server
To install the replacement hard drive in the S8500B server:
1. Position the hard drive on the drive tray and secure with the four screws.
2. Slide the hard drive into the server (see Figure 18: Removing/installing the hard drive in the
S8500B server on page 87).
3. Reinstall the bezel.
4. Return to Tasks for replacing a hard drive on an S8500 server
on page 79 to continue with
the listed tasks.
Replacing the hard drive in the S8500 server
This procedure contains the following sections:
l Removing the cover of the S8500 server
l Removing the hard drive from the S8500 server
l Installing the new hard drive in the S8500 server
l Replacing the cover of the S8500 server
Removing the cover of the S8500 server
For these steps, see Figure 19: Removing and replacing the cover on the S8500 server on
page 89.
1. With the server extended on the slide rails, loosen the 2 captive screws on the back of the
server that hold the top in place.
2. Slide the server cover back from the front panel until the cover’s tabs are released from the
top slot of the front panel.
3. Lift the cover straight up and remove it from the server.

 Loading...