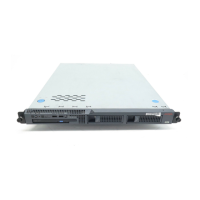
Job Aid: Replacing the Avaya S8500/B/C server
34 Job Aids for Field Replacements (FRUs) for the Avaya S8500 Server
6. Make sure the drive cage is secure and that the cables are not bunched or blocking the fan
unit.
!
CAUTION:
CAUTION: Be sure the ribbon cable is pushed completely inside the server and is not
bunched, pinched, or caught between the top of the hard drive and the hard drive
slot.
7. Replace the cover and tighten the captive screws (see Figure 1: Removing and replacing
the cover on the S8500 server on page 24.
8. Return the defective server to Avaya.
Expanded Procedures
Determining if a hard drive is functional
Note:
Note: This procedure is for the S8500 server.
There are occasions when the defective server may have a functional hard drive. To determine
if the hard drive in the defective server is functional:
1. On the defective server, connect the laptop cross-over cable to the Ethernet RJ45 port on
the RSA card (see Connector panel on the Remote Supervisor Adapter
on page 34 for
locations of the connectors and components of the RSA).
Figure 6: Connector panel on the Remote Supervisor Adapter
2. Open a web browser to the RSA card and in the Address field, type 192.11.13.6 and
press Enter.
The system displays the Enter Network Password window.
Figure notes:
1. Clip
2. External power-supply connector
3. Power and error LEDs
4. ASM RS-485 RJ14 connector
5. Serial connector
6. Ethernet RJ45 connector
h3msrsap LAO 071503
1 2 3 4 5
6

 Loading...