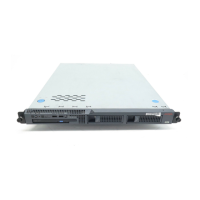
Replacing the S8500 server
03-300529 Issue 4 January 2008 35
3. In the Enter Network Password window, in the User Name field, type craft and in the
Password field, type the password (same as the server password) and press Enter.
The system displays the Welcome window.
4. On the Welcome window, click Continue.
5. On the navigation pane, click Event Log.
6. On the Event Log window, look for red boxes in the Sev(everity) column. This indicates
problems that need attention. A fatal server failure should be near the top of the Event Log.
If there is no mention of a hard drive failure, you can presume the hard drive is operational
and can be moved to the replacement server.
7. Remove the defective server. See Removing the S8500 server from the rack
on page 23.
8. Remove the hard drive from the defective server. See Removing the hard drive from the
failed S8500 server on page 25.
9. Remove the hard drive from the replacement server. See Removing the hard drive from the
replacement S8500 server on page 26.
10. Install the hard drive from the replacement server. See Installing the original hard drive in
the replacement S8500 server on page 27.
11. Install the replacement server. See Installing the replacement S8500 server in the rack
on
page 32.
12. Connect the laptop cross-over cable to the Ethernet RJ45 port on the RSA card.

 Loading...