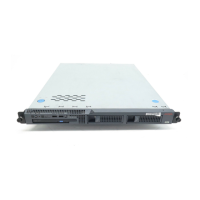
Job Aid: Replacing the Avaya S8500/B/C server
16 Job Aids for Field Replacements (FRUs) for the Avaya S8500 Server
Hard drive
l If you cannot reuse the original hard drive, you must install the Linux operating system and
Avaya Communication Manager on the new, blank hard drive, then restore the backed up
system files. Follow the procedure in Using the blank hard drive
on page 16.
l If you are reusing the original hard drive, follow the procedure in Re-using the original hard
drive on page 21.
Using the blank hard drive
Using this procedure means that you are not re-using the old hard drive.
Final tasks for replacing an S8500/B/C server using the blank hard drive
9
Task Description
1 Disconnect the RJ45 cable Disconnect the Ethernet RJ45 crossover cable from the
Services port on the server.
2 Clear ARP cache on laptop
if you cannot log in
From a DOS command line, type arp -d
192.11.13.6 and press Enter.
3 Connect laptop to the RSA/
SAMP card
l RSA: connect to the Ethernet port (see Note
Figure 5: S8500 rear panel
on page 33) using a
crossover cable
l SAMP: see Figure 11: S8500B rear panel on
page 52 or Figure 16: S8500C rear panel on
page 69.
4 Log into the RSA/SAMP
card
Open a browser on your laptop. Type 192.11.13.6 and
press Enter to log into the RSA/SAMP.
Note: Use the initial installation craft login and the initial
RSA password.
5 Set a timeout value
l RSA: On the RSA welcome screen, on the
Inactive session timeout value field, select no
timeout and click Continue. This allows 60
minutes of use before disconnecting.
l SAMP: At the home page select Controls. Select
boot protection timer. Select a value of 0. Click
on set control. Logout of the SAMP.
6 RSA (S8500) only: set the
loader watchdog timeout
Under ASM Control, click System Settings. Scroll down
to the Server Timeouts section, and in the Loader
watchdog field, select disabled and click Save.
1 of 6

 Loading...