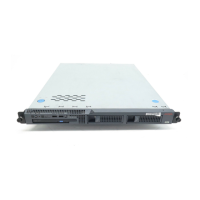
Replacing the S8500B server
03-300529 Issue 4 January 2008 53
Preparing the failed server for shipment
If you have re-used the original hard drive from the failed S8500B server, you must install the
new hard drive that shipped with the replacement S8500B server in the failed server before
returning the failed S8500B server to Avaya.
The following steps prepare the failed S8500B server for return shipment to Avaya:
1. Position the hard drive on the drive tray and secure with the four screws.
2. Slide the hard drive into the server (see Figure 8: Removing/installing the hard drive
(S8500B) on page 46).
3. Reinstall the bezel.
4. Slide the server cover until the cover’s tabs are seated in the top slot on the front panel (see
Figure 7: Removing and replacing the cover on the S8500B server on page 44 if
necessary).
5. Tighten the captive screw on the back of the server that holds the cover in place.
6. Return the failed S8500B server to Avaya.
Installing Communication Manager on the S8500B server
The following steps install the Communication Manager on the replacement S8500B server.
1. Connect the services laptop to services port (Eth2) on the rear of the server.
2. Connect to 192.11.13.6 and press Enter to view the first screen.
Note:
Note: To navigate on these screens, use the arrow keys to move to an option, then
press the space bar to select the option. Press Enter to submit the screen.

 Loading...