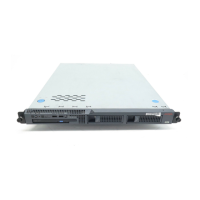
Job Aid: Replacing the Hard Drive on the Avaya S8500 server
98 Job Aids for Field Replacements (FRUs) for the Avaya S8500 Server
Verifying the server configuration
The following steps verify the configuration.
1. Under Server Configuration, click Configure Server to start the configure server process.
2. Click Continue through the Review Notices to get to the Select Method for Configuring
Server page.
3. Select “Configure all services using the wizard.”
4. Click Continue through all the screens to verify that the configuration is complete and
correct.
Note:
Note: You might need to reset the port speeds for the Ethernet interfaces.
Note:
Note: You do not need to fill in the static routes for Release 2.0 and later.
5. When you click through all the pages, click Continue on the Update System screen. The
Update System screen displays each configuration task as it completes.
When done, the screen displays “All configuration information was entered.”
6. Click Close Window to close the Configure Server wizard.
7. If this server is a LSP or an ESS, issue these commands from the server command line:
a. stop -af or stop -caf to stop the LSP/ESS
b. start -a or start -ca to start the LSP/ESS

 Loading...